
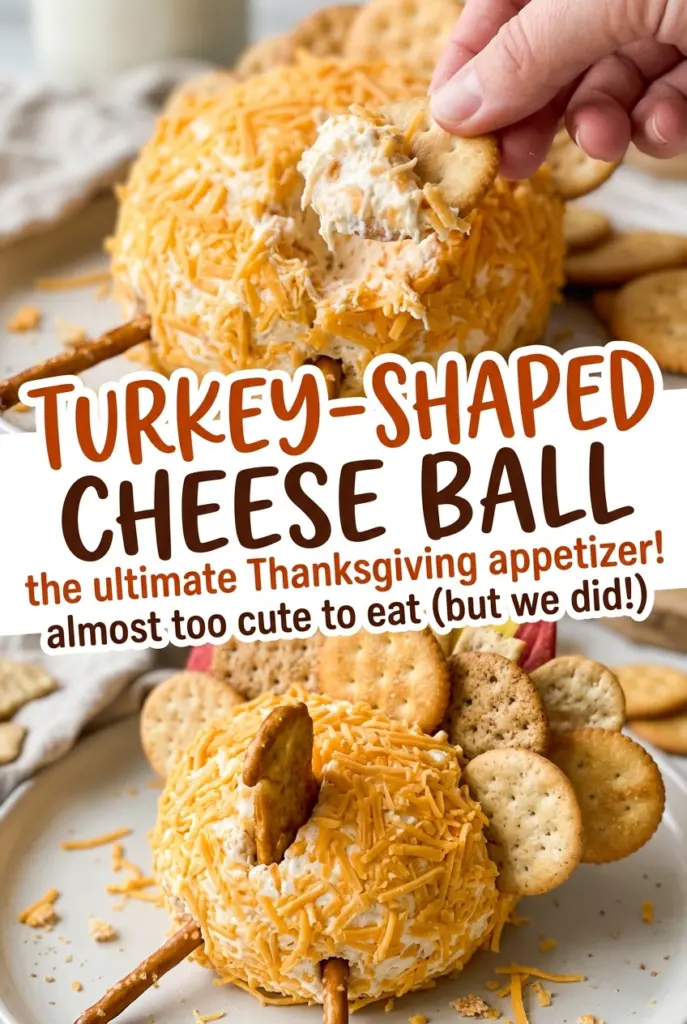
Turkey-Shaped Cheese Ball
The crackers are what make this little centerpiece read as a turkey: pressed into one short end, they fan out like feathers instead of disappearing into the cheese. I wanted…
Tip: save now, cook later.The crackers are what make this little centerpiece read as a turkey: pressed into one short end, they fan out like feathers instead of disappearing into the cheese. I wanted a party cheese ball that felt festive without asking for complicated carving or extra ingredients, and this one keeps the shaping simple. The cream cheese and sharp cheddar mix into a savory base with scallions, Worcestershire, garlic powder, and black pepper, then a few familiar decorations give it a face and legs.
I shape the mixture while it’s wrapped in plastic, which keeps it together and makes it easier to form a neat oval. A proper chill gives that oval enough firmness to hold the crackers and small decorations when you assemble the turkey. With the carrot beak, olive eyes, red pepper wattle, and pretzel-stick legs in place, the platter has a cheerful centerpiece that’s ready to share.
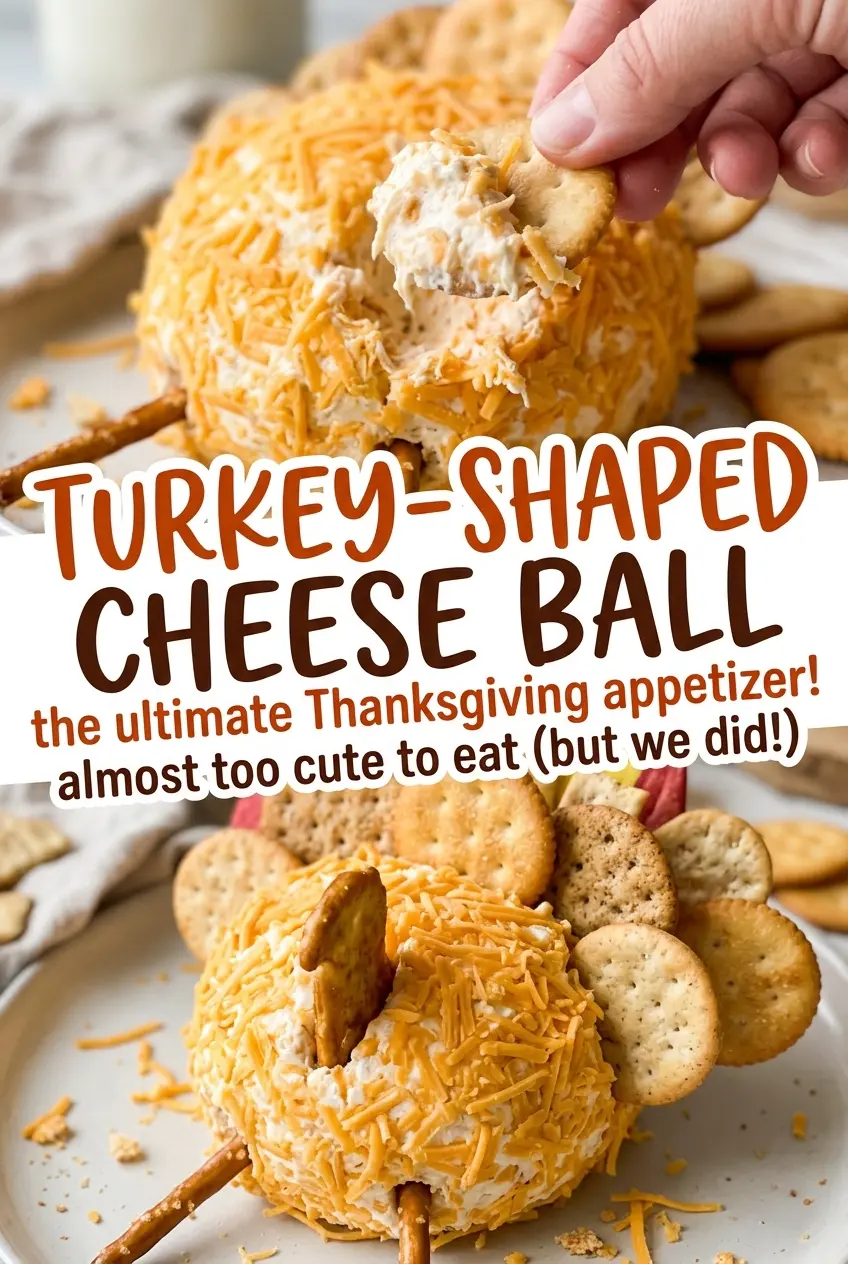
Kitchen Note
Two hours is the minimum chill, not a signal to decorate if the center still feels soft. I wait until the whole oval feels firm so the crackers and face details have a steady surface to press into.
Save this Turkey-Shaped Cheese Ball for a party platter with sharp cheddar, a cracker tail, and a simple little turkey face.
Why the Cracker Tail Belongs on One Short End
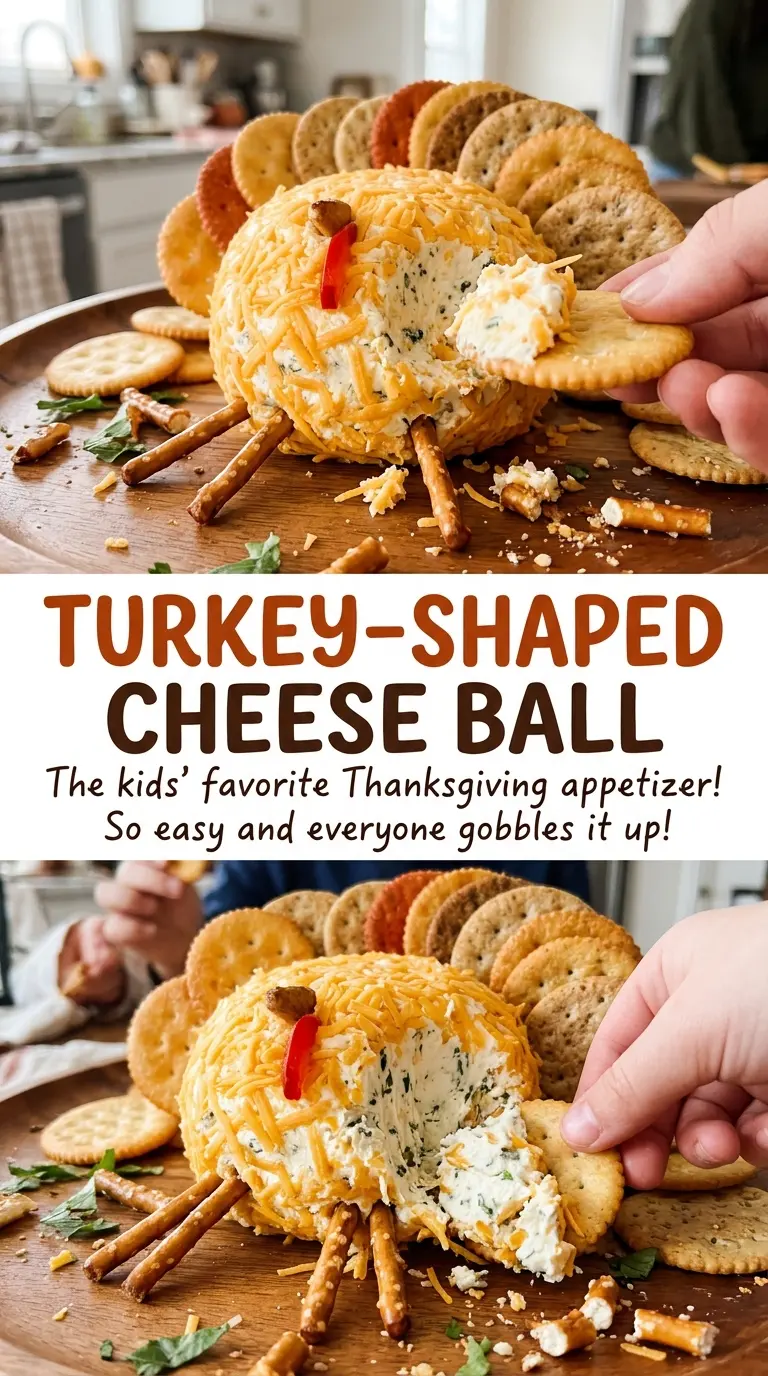
An oval gives the turkey a clear front and back. The crackers go into one short end so their fan shape reads as a tail; pressed along a long side, they look more like a border than feathers. That small placement choice does much of the visual work, which is why the decorations can stay simple.
The sturdy round crackers are useful here for more than their shape. They create a recognizable fan and have enough structure to press into the chilled cheese mixture. Keep the fan together rather than scattering the crackers around the platter. The pretzel sticks then define the lower front as legs, while the olive slices, carrot triangle, and red pepper strip make a compact face. Leave a little room between the cracker fan and the face so each part stays easy to read.
This arrangement also makes the cheese ball straightforward to serve. Guests can take crackers from the tail or from the platter and scoop up the cheddar mixture. The finished turkey is meant to be charming, not intricate: a firm oval, a clear fan, and a few small details are enough to give it character.
Sharp Cheddar and Softened Cream Cheese Set the Character
- Cream cheese — Softened blocks blend more evenly with the shredded cheese and seasonings than cold, firm cream cheese. Let it soften enough to mix without forcing lumps through the bowl. For the smoothest texture, start with the block-style cream cheese used here.
- Sharp cheddar — Its fuller, tangier taste keeps the cheese ball from tasting like plain cream cheese. A mild cheddar works in the same amount if that’s what you have, but the finished mixture will taste gentler. Shred the cheese so it can distribute through the softened base.
- Scallions, Worcestershire sauce, garlic powder, and black pepper — Finely chopped scallions spread their fresh onion flavor through each bite, while the other seasonings deepen the savory taste. Chop the scallions small enough that they don’t form large pockets in the mixture. Garlic powder blends directly into the cheese; fresh garlic is not a like-for-like swap in this version.
- Crackers and turkey decorations — Choose sturdy round crackers for the fan, since fragile ones are more likely to snap when pressed into the chilled oval. The pretzel sticks form the legs, the olive slices become eyes, and the carrot and red bell pepper make the beak and wattle. Cut the carrot slice into a small triangle and the pepper into a narrow strip so the face stays in proportion.
Mix, Chill, Then Give the Turkey Its Shape
Blend the Cheese Mixture Evenly
Add the softened cream cheese, shredded sharp cheddar, finely chopped scallions, Worcestershire sauce, garlic powder, and black pepper to a medium bowl. Mix until the ingredients are evenly combined, scraping the bowl as needed so plain cream cheese doesn’t stay tucked at the bottom. The mixture should look consistent, with scallion and cheddar distributed throughout. If cold cream cheese is leaving stubborn lumps, let it soften further before continuing rather than trying to hide the lumps in the finished oval.
Shape the Oval Inside the Plastic Wrap
Mound the mixture onto plastic wrap and use the wrap to shape it into an oval about 6 inches long. Keep the ends rounded rather than pointed; this gives you a more stable short end for the cracker fan and a broad front for the face. Wrap the cheese ball and refrigerate it for at least 2 hours, until firm. The chilled oval should hold its shape when unwrapped instead of slumping across the platter.
Press in the Tail, Legs, and Face
Unwrap the firm cheese ball onto a serving platter. Press the 12 sturdy round crackers into one short end in a fan shape, then add the 2 pretzel sticks at the lower front for legs. Place the 2 black olive slices as eyes, the carrot triangle as the beak, and the small red bell pepper strip below it as the wattle. Press each piece in gently so it sits against the cheese without flattening the oval.
Ways to Change the Shape Without Losing the Party-Ready Feel
A plain round cheese ball
For a simpler centerpiece, shape the same mixture into a round ball instead of a 6-inch oval and leave off the turkey decorations. The seasoned cheddar mixture stays the same, but the platter looks more classic and takes less arranging.
A gluten-free cracker tail
Use 12 sturdy round gluten-free crackers in place of the regular crackers for a gluten-free tail. Look for crackers that hold their shape when handled; a fragile cracker can break as you press it into the chilled cheese ball. The cheese mixture and decorations stay unchanged.
Individual cracker bites
For a hand-held version, divide the cheese mixture among the 12 sturdy round crackers rather than shaping one large centerpiece. The result is less sculptural but easier to pass around, and each cracker gets its own cheddar-and-scallion topping. Add the turkey decorations only if you want a few bites to carry the same playful look.
Storage and Reheating
- Refrigerator: Keep leftovers covered in the refrigerator for 3 to 4 days. The crackers will soften where they touch the cheese, so expect the tail to lose some crunch.
- Freezer: Freezing isn’t recommended; cream cheese can become grainy or separate after thawing, changing the smooth texture.
- Reheating: This is a cold cheese ball, so don’t reheat it. Let it sit out briefly before serving if you prefer a softer, easier-to-spread texture, and avoid leaving it out for an extended time.
Questions That Come Up When Shaping and Serving This Cheese Ball
Turkey-Shaped Cheese Ball
Ingredients
Method
- In a medium bowl, mix the cream cheese, cheddar, scallions, Worcestershire sauce, garlic powder, and black pepper until evenly combined.
- Mound the mixture on plastic wrap and shape it into an oval about 6 inches long.
- Wrap and refrigerate for at least 2 hours, until firm.
- Unwrap the cheese ball onto a serving platter.
- Press the crackers into one short end in a fan shape.
- Press the pretzel sticks into the lower front for legs.
- Place the olive slices as eyes.
- Place the carrot triangle as a beak.
- Place the bell pepper strip below it as a wattle.