
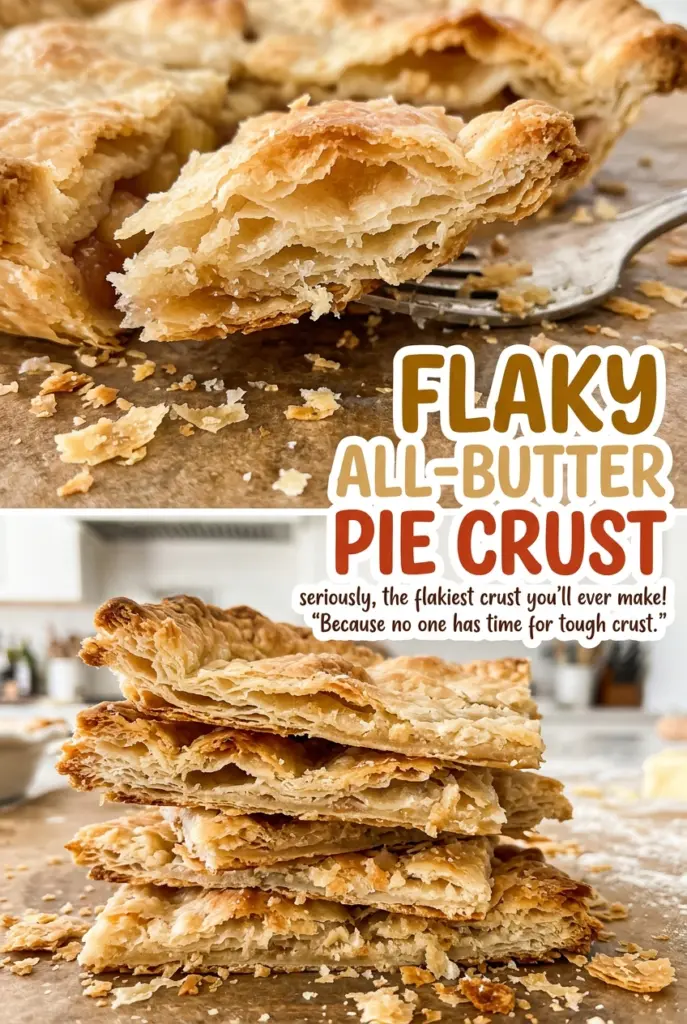
Flaky All-Butter Pie Crust
The bowl looks uneven long before the dough looks like a neat ball, and that’s exactly what I want for this Flaky All-Butter Pie Crust. I look for bits of…
Tip: save now, cook later.The bowl looks uneven long before the dough looks like a neat ball, and that’s exactly what I want for this Flaky All-Butter Pie Crust. I look for bits of butter that are still visible in the flour, not a smooth, uniform mixture. When the crust bakes, those pieces help create delicate layers instead of a firm, cookie-like shell.
Cold butter and a light touch do most of the work here. I cut the butter in until there are pea-size pieces alongside some larger, flat bits, then bring the dough together without kneading it. After a good chill, it rolls into a 12-inch round that fits a 9-inch pie plate without stretching. Once blind-baked until dry and golden, the shell is ready to cool completely before you fill it.
Kitchen Note
Start with the first 3 tablespoons of ice water, then add any more a teaspoon at a time. Stop when a squeezed handful holds together; the dough shouldn’t look wet in the bowl.
Save this all-butter pie crust for a crisp, golden shell with flaky layers and a dough that’s easy to roll after chilling.
Why the Butter Should Stay in Pieces, Not Disappear into the Flour
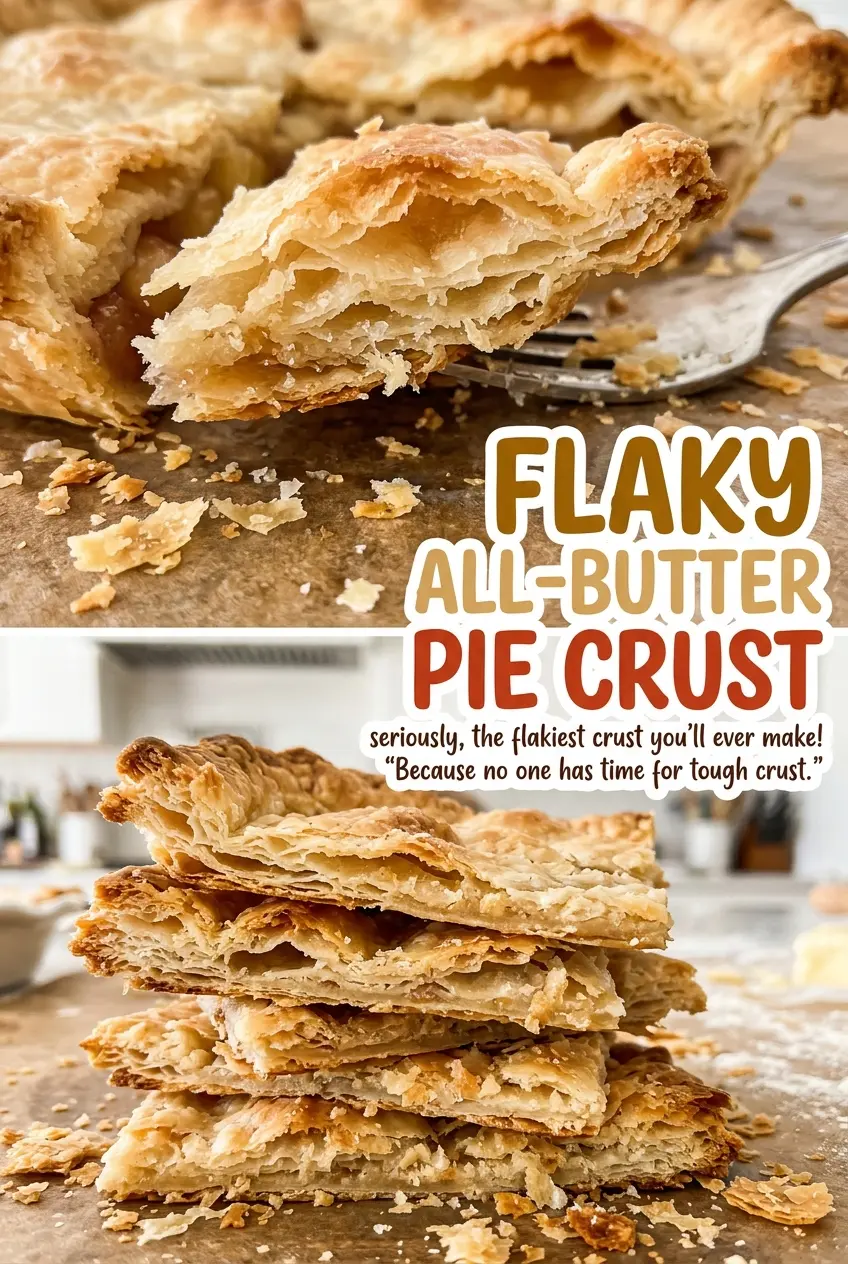
A pie crust can look more finished when the butter has been worked in until the flour is evenly sandy, but that smooth look is misleading. For this crust, the pieces of butter are part of the structure. As the crust bakes, the butter melts and leaves little spaces in the dough, helping the finished shell separate into tender, flaky layers.
That’s why the mixture should have more than one size of butter piece. Pea-size bits are useful, but some larger, flat pieces matter too; they make the dough less uniform and give you a range of textures in the baked crust. If every piece gets rubbed down to a fine crumb, you lose that contrast. A pastry cutter makes it easy to stop while the butter is still visible, and fingertips work too if you use a light touch and keep moving rather than squeezing the mixture into a paste.
This is a single-crust dough, so there’s no need to develop a perfectly smooth, elastic ball. Gather it into a disk once it holds together, wrap it, and let the refrigerator firm the butter back up before rolling. That short rest also gives the flour time to hydrate, making the disk easier to handle without kneading it.
What the Flour, Butter, and Ice Water Each Bring to This Crust

- All-purpose flour — It gives the dough enough structure to roll and hold its shape in the pie plate. A standard, fresh bag from the grocery store works well; you don’t need specialty flour for this crust. Keep a little extra nearby for the rolling surface, and use only what you need so the outside doesn’t get dusty and dry.
- Unsalted butter — Butter brings the distinct flavor and tender, layered texture that define an all-butter crust. Since its salt isn’t built into the butter, the kosher salt stays a separate, controlled part of the dough. Use butter straight from the refrigerator, cut into the specified cubes; a premium brand isn’t essential, but fresh butter with a clean flavor is worth choosing.
- Kosher salt — Salt keeps the crust from tasting flat and balances the butter. Kosher salt is what I use here; table salt has finer crystals and doesn’t measure the same by volume, so keep the specified type for the most reliable result.
- Ice water — Cold water brings the flour and butter mixture together while helping keep the butter firm. Use water with ice in it, then measure from the cold water rather than tipping ice into the dough. There isn’t a direct water substitute that gives this dough the same simple, clean texture.
From Visible Butter Pieces to a Dry, Golden Pie Shell
Cut the butter in without smoothing it out
Whisk the flour and kosher salt together in a medium bowl first, then add the cold butter cubes. Cut them in with a pastry cutter or your fingertips until you see pea-size pieces and some larger, flat bits. Stop before the mixture looks uniform; if it starts to feel greasy or pasty, the butter has warmed and been worked too far. Those visible pieces are exactly what you want to carry into the dough.
Bring the dough together and let it chill
Sprinkle the first 3 tablespoons of ice water over the mixture and toss gently with a fork. Add more water a teaspoon at a time only as needed, then gather the dough into a disk when it holds together under a squeeze. Wrap the disk and refrigerate it for 1 hour. Don’t knead it into a smooth ball, which would make the crust tougher.
Roll and fit the dough without stretching it
Lightly flour your work surface and roll the chilled disk into a 12-inch round. Ease it into a 9-inch pie plate, guiding the dough down into the bottom rather than pulling it across the plate. Stretching the dough can make it shrink back during baking, so let it settle into place before trimming and crimping the edge. Refrigerate the shaped crust for 15 minutes while the oven heats to 400°F.
Blind-bake until the bottom is dry and golden
Line the chilled crust with parchment paper, then fill it with pie weights or dried beans so the parchment covers the bottom and sides. Bake for 20 minutes before carefully lifting out the parchment and weights. Return the crust to the oven for 10 to 15 minutes, until the bottom looks dry and the shell is golden. Cool it completely on a wire rack before adding filling.
Small Changes to the Edge Without Changing the Dough
A neat, fork-pressed edge
Instead of pinching the rim into a taller crimp, press the tines of a fork around the edge after fitting and trimming the dough. It gives the crust a flatter, even border and is a handy option when you want a simple finish. Press gently so the fork marks the dough without cutting through it.
A fluted edge with your fingers
For a more pronounced rim, pinch the dough between the thumb and forefinger of one hand while pressing gently from the other side. Work around the circumference a little at a time rather than pulling up one long section. The shape changes, but the dough and baking method stay the same.
Decorative accents from the trimmed dough
Gather the clean trimmings and press them together just enough to cut a few small shapes for the rim. Keep the scraps cool and handle them lightly so they don’t turn dense. Press each accent gently onto the edge before chilling the shaped crust.
Storage and Reheating
- Refrigerator: Keep the wrapped raw dough disk refrigerated for up to 2 days. It will firm up as it chills; let it soften just enough to roll without forcing it.
- Freezer: Freeze the wrapped dough disk for up to 3 months. Thaw it overnight in the refrigerator before rolling. A fully cooled, blind-baked shell can also be wrapped airtight and frozen for up to 1 month.
- Reheating: A blind-baked shell should cool completely before filling, so it doesn’t need reheating on its own. If you’ve frozen a baked shell, thaw it before filling rather than microwaving it, which can soften the crust.
Questions That Come Up While Rolling and Blind-Baking This Crust
Flaky All-Butter Pie Crust
Ingredients
Equipment
Method
- Whisk the flour and salt in a medium bowl.
- Cut in the cold butter with a pastry cutter or your fingertips until the mixture has pea-size pieces and some larger, flat bits.
- Sprinkle 3 tablespoons ice water over the mixture and toss gently with a fork.
- Add more water, 1 teaspoon at a time, just until the dough holds together when squeezed.
- Gather the dough into a disk, wrap, and refrigerate for 1 hour.
- On a lightly floured surface, roll the dough into a 12-inch round and fit it into a 9-inch pie plate, easing it into the bottom without stretching.
- Trim and crimp the edge, then refrigerate the crust for 15 minutes while the oven heats to 400°F.
- Line the chilled crust with parchment paper and fill with pie weights or dried beans, covering the bottom and sides.
- Bake for 20 minutes.
- Carefully remove the parchment and weights.
- Bake for 10 to 15 minutes more, until the bottom is dry and the crust is golden.
- Cool completely on a wire rack before filling.