
Red, White, and Blue Whoopie Pies
Soft chocolate cakes with a cloud of vanilla filling make these Red, White, and Blue Whoopie Pies the kind of dessert people reach for before the platter even lands on…
Tip: save now, cook later.Soft chocolate cakes with a cloud of vanilla filling make these Red, White, and Blue Whoopie Pies the kind of dessert people reach for before the platter even lands on the table. The cookies bake up tender and cakey, not dry or crumbly, and the cream centers keep that marshmallow-soft bite that makes a whoopie pie worth eating in the first place. The red, white, and blue finish gives them a festive look without turning them fussy.
The texture comes from a batter that leans more cake than cookie, which is exactly what you want here. Buttermilk keeps the crumbs delicate and gives the cocoa a little depth, while the butter-and-sugar base builds enough structure for the cookies to dome slightly and stay soft after cooling. The filling is simple on purpose: butter, powdered sugar, vanilla, and just enough cream to whip it into something pipeable without going runny.
Below, I’ve included the one place people usually go wrong with whoopie pies, plus a few swaps and storage notes so you can make them ahead without losing that soft center.
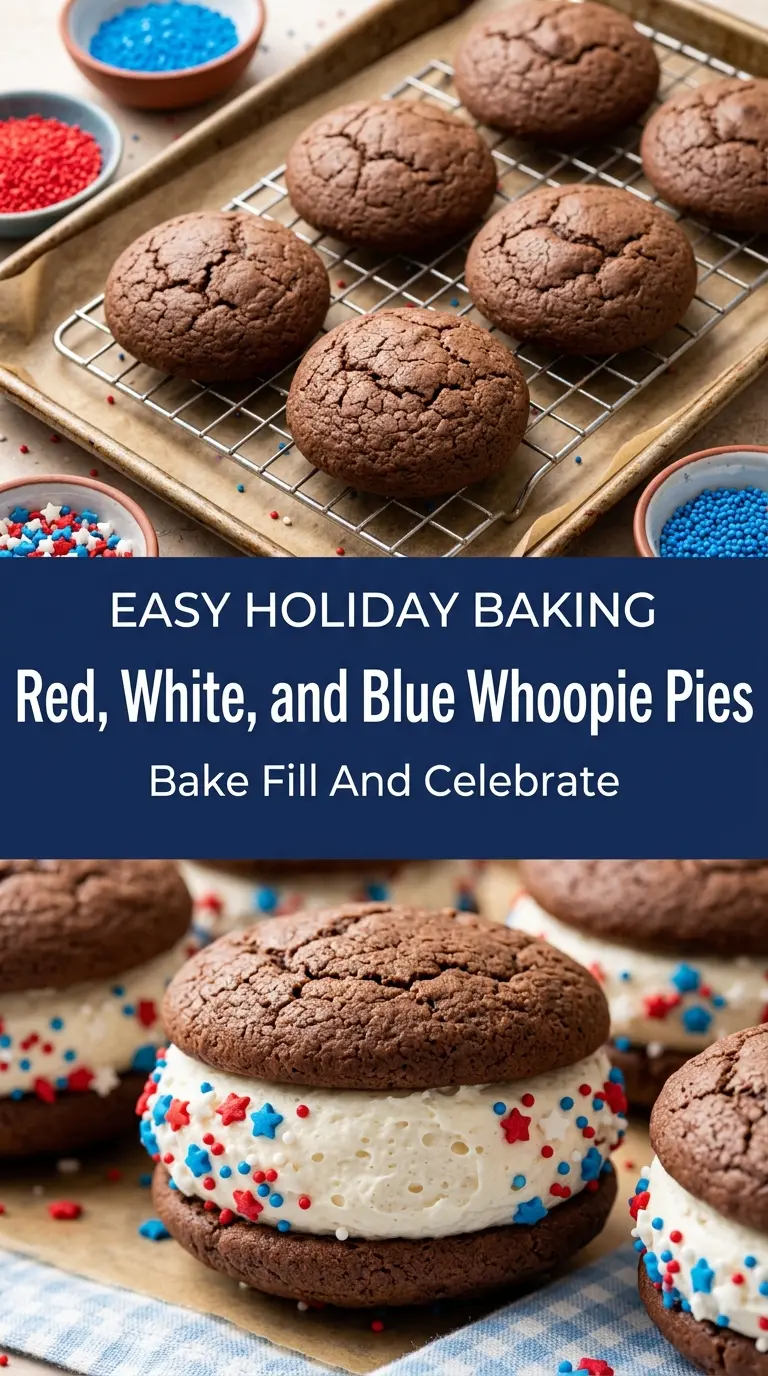
The cookies baked up soft and cakey with clean edges, and the vanilla filling stayed fluffy even after chilling them overnight. My kids loved the red and blue sugar on the edges, and I liked that they held together without getting sticky.
Save these soft chocolate whoopie pies for your next patriotic dessert tray when you want a fluffy vanilla center and a bright red, white, and blue finish.
The Reason Whoopie Pies Stay Soft Instead of Drying Out
Whoopie pies only work when the batter stays thick enough to hold its shape but soft enough to bake into a tender dome. Too much flour and they turn cakey in the wrong way, meaning dry edges and a crumb that falls apart as soon as you fill them. Too little flour, or batter that’s overmixed, and they spread into flat discs that won’t sandwich neatly.
The other quiet problem is bake time. These are done when the tops spring back lightly and the centers no longer look wet, not when they feel firm all the way through. Pull them early rather than late, because they keep cooking on the sheet and set up as they cool.
- Buttermilk — This gives the cakes their tender crumb and a slight tang that keeps the chocolate from tasting flat. If you don’t have it, use whole milk with 1 teaspoon vinegar or lemon juice per cup and let it sit for 5 minutes.
- Cocoa powder — Use unsweetened cocoa, not Dutch-process unless the recipe was built for it. Natural cocoa plays well with baking soda and gives the cookies that classic deep chocolate edge.
- Butter — Softened butter beats with the sugar into a pale, fluffy base that helps the cookies rise evenly. Margarine won’t give the same structure or flavor, and the filling depends on butter for a stable whip.
- Heavy cream — Just a small amount loosens the filling enough to pipe cleanly. Add it slowly; too much turns the frosting soft and slippery instead of fluffy.
What Happens in the Bowl Matters More Than the Oven Here
Beat the butter and sugar until the mixture looks pale and slightly billowy. That step traps air, which gives the cakes their lift before they even hit the oven. Add the egg and vanilla next, then stop mixing as soon as the batter comes together once the dry ingredients and buttermilk are added. Overmixing here builds toughness, and whoopie pies need softness more than anything else.
Scoop the batter into even rounds so each half bakes at the same rate. If one tray has larger mounds than the other, you’ll end up with mismatched tops and bottoms that slide around when you fill them. Bake just until the tops spring back when touched and the centers look set; if the surface still looks shiny, they need another minute or two.
Mixing the Base
Cream the butter and sugar until the texture changes from gritty to fluffy and lighter in color. That visual cue matters more than the clock. If you stop too soon, the cakes bake up dense and uneven. Scrape the bowl well so the egg and butter fully combine instead of leaving streaks that show up later as uneven texture.
Folding in the Batter
Add the dry ingredients and buttermilk in alternating additions, beginning and ending with the dry mix. That keeps the batter smooth and prevents it from breaking or curdling in spots. Mix only until the flour disappears. A few streaks are better than a beaten-up batter that turns rubbery in the oven.
Baking and Cooling
Use parchment-lined sheets and leave room between mounds because these spread just enough to need breathing room. Bake until the tops bounce back lightly when touched and the bottoms release without tearing. Let them cool completely before filling. Warm cakes melt the filling and turn the sandwich slippery fast.
Whipping the Filling
Beat the butter first until smooth, then add the powdered sugar gradually so it doesn’t fly everywhere. The filling should look light and hold a soft peak, not stiff like paste. If it gets too thick, add cream a teaspoon at a time. If it gets too loose, more powdered sugar brings it back.
How to Adapt These Patriotic Whoopie Pies Without Losing the Soft Center
Dairy-Free Version That Still Tastes Rich
Swap the butter for a good dairy-free baking stick and use unsweetened non-dairy milk with 1 teaspoon vinegar in place of the buttermilk. The cakes stay tender, though the filling will taste a little less round and creamy unless you use a dairy-free butter that whips well.
Gluten-Free Whoopie Pies
Use a 1:1 gluten-free flour blend that contains xanthan gum. The batter may need a minute or two to rest before scooping so the flour hydrates fully, and the texture will be slightly more delicate, but they still sandwich well.
Extra-Pretty Finish for a Party Tray
Roll the exposed filling edge in patriotic sprinkles right after assembling while the frosting is still tacky. The sugar sticks best before the filling sets, and the result is neater if you chill the pies for 15 minutes before serving.
Storage and Reheating
- Refrigerator: Store assembled whoopie pies in an airtight container for up to 4 days. The cakes soften a little more as they sit, which is part of their charm, but the filling may firm up cold.
- Freezer: They freeze well. Wrap each pie individually and freeze for up to 2 months. Thaw in the refrigerator so the filling doesn’t sweat and loosen the sugar coating.
- Reheating: These aren’t meant to be reheated. Let chilled pies sit at room temperature for 15 to 20 minutes before serving so the filling softens back up and the chocolate cake tastes less dense.
Answers to the Questions Worth Asking

Red, White, and Blue Whoopie Pies
Ingredients
Equipment
Method
- Preheat the oven to 350°F (175°C) and line baking sheets with parchment paper for nonstick release.
- Whisk together all-purpose flour, unsweetened cocoa powder, baking soda, and salt until evenly combined and no streaks remain.
- Beat unsalted butter, softened, and granulated sugar until fluffy and lighter in color.
- Add the large egg and vanilla extract to the butter mixture and mix until smooth.
- Alternate adding the dry ingredients and buttermilk, mixing just until incorporated and the batter looks thick and smooth.
- Scoop the batter into evenly sized rounds on the prepared baking sheets, leaving space between each cookie.
- Bake for 10–12 minutes, until the tops look set and spring back lightly when touched.
- Cool completely on the baking sheets or a rack so the cookies don’t soften when filled.
- Beat the filling ingredients—unsalted butter, softened; powdered sugar; vanilla extract; and heavy cream—until light and fluffy.
- Pipe the vanilla cream filling onto half the cooled cookies, forming a mound near the edges.
- Top with the remaining cookies to form sandwich whoopie pies.
- Roll the edges in patriotic sprinkles and colored sugars, using the red sanding sugar and blue sanding sugar for the signature look.
- Serve immediately or refrigerate until needed for about 45 minutes so the filling firms up.
- Confirm all decoration includes red sanding sugar, blue sanding sugar, and patriotic sprinkles; if any remain, sprinkle them lightly over the finished whoopie pies before serving.
