
Patriotic S’mores Brownies
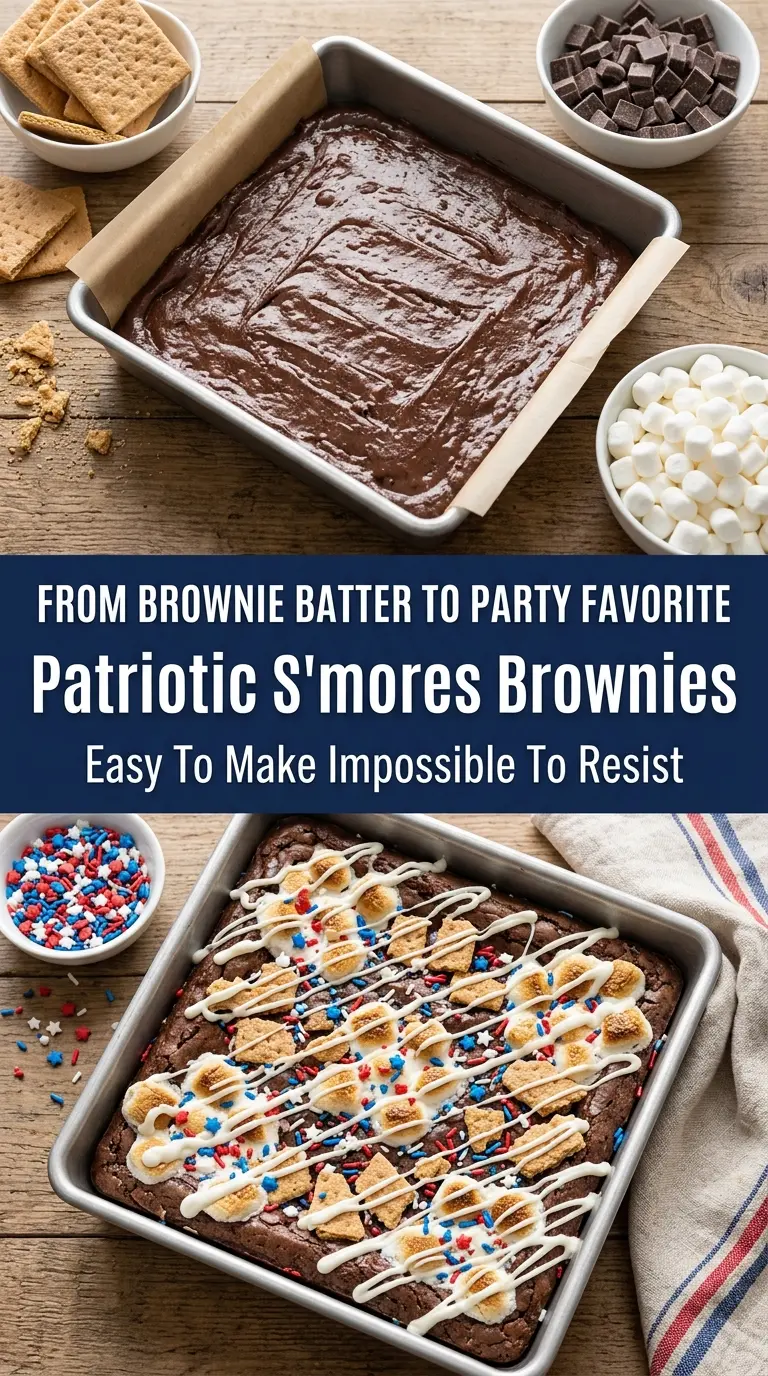
Fudgy brownies, toasted marshmallows, and crunchy graham cracker pieces make these Patriotic S'mores Brownies the kind of pan dessert that disappears before the platter even hits the table. The base…
Tip: save now, cook later.Fudgy brownies, toasted marshmallows, and crunchy graham cracker pieces make these Patriotic S’mores Brownies the kind of pan dessert that disappears before the platter even hits the table. The base stays rich and dense, the topping turns sticky and molten, and the sprinkles give the whole thing that red, white, and blue finish without getting in the way of the chocolate.
The trick here is timing. The brownies need a head start so they can set enough to support the toppings, but they should still be a little underdone when they come out the first time. That short second bake softens the marshmallows and melts the chocolate chunks without drying out the pan. The result is layered instead of muddy, which is where a lot of s’mores-style bars go wrong.
Below, I walk through the one timing detail that keeps the marshmallows pillowy instead of hard, plus a few ways to adapt these for different pans and make-ahead plans.
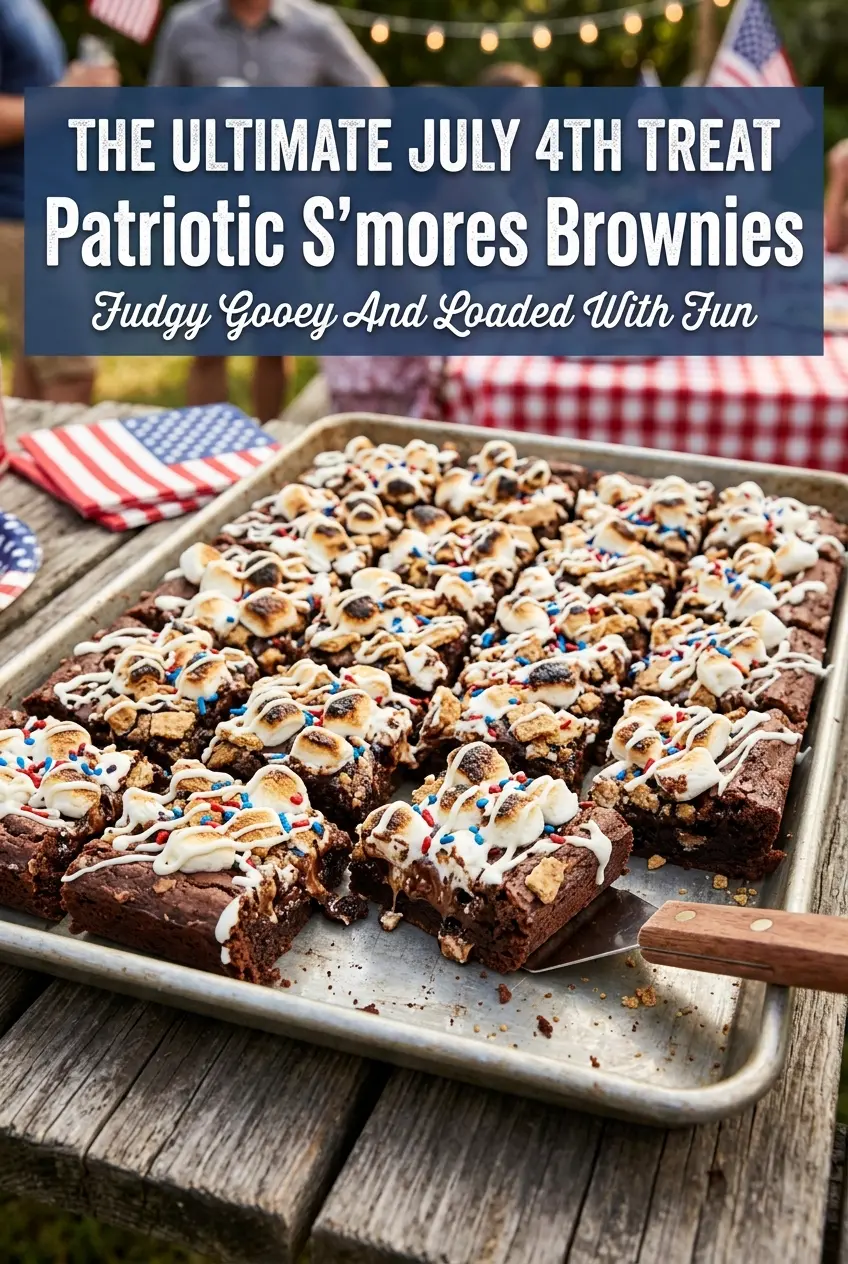
The brownies stayed fudgy under the marshmallows, and the graham crackers kept just enough crunch after the second bake. I cut them after 20 minutes and they held together cleanly without the topping sliding off.
These Patriotic S’mores Brownies bring the gooey marshmallow top, chocolate chunks, and graham crunch that make every square worth saving for the last bite.
The One Timing Mistake That Turns S’mores Brownies Dry
The biggest problem with layered brownies is treating the topping like an afterthought. If the brownie base bakes all the way through before the marshmallows go on, the second bake pushes them past soft and starts drying out the edges. That is how you end up with a pan that tastes fine on day one but eats like a stale bar on day two.
These work because the first bake stops when the center is still a touch soft. The brownies finish setting as they cool, which leaves enough structure for the graham crackers and marshmallows to sit on top without sinking. The brief return to the oven is just long enough to melt and toast the topping, not enough to fully bake it again.
What Each Layer Is Actually Doing Here
- Brownie mix — A boxed mix keeps the base reliable and fudgy, which matters because the topping already brings enough texture and sweetness. Any standard family-size box works, but use one with a deep chocolate flavor if you can. If you want to swap in homemade brownie batter, use one that bakes up dense rather than cakey.
- Eggs, oil, and water — These are doing the heavy lifting for texture. Oil keeps the brownies tender after the second bake, while the eggs give enough structure to support the marshmallow layer. Don’t cut the liquid too much or the base bakes up dry before the topping even goes on.
- Mini marshmallows — Mini marshmallows melt evenly and give you that sticky s’mores look across the whole pan. Large marshmallows can work if you tear them into smaller pieces, but they won’t spread as smoothly.
- Graham cracker pieces — The crackers should be broken, not crushed into dust. You want some bigger shards for crunch and some smaller bits that catch in the marshmallow layer and help every bite taste like s’mores.
- Milk chocolate chunks — Chunks stay a little more distinct than chips, which gives you those pockets of melted chocolate on top. Chocolate chips work in a pinch, but they hold their shape more and won’t puddle as much.
- White chocolate drizzle and sprinkles — These are for the patriotic finish, not the core flavor. Use good melting wafers or white chocolate chips thinned with a tiny bit of neutral oil if you need a smoother drizzle.
Building the Pan in Two Bakes
Getting the Brownie Base Just Set
Line the pan with parchment so you can lift the brownies out cleanly after they cool. Spread the brownie batter all the way into the corners, then bake until the top looks set and a toothpick in the center comes out with moist crumbs, not wet batter. If the center is already fully dry at this point, the finished bars will lean cakey once the topping is added.
Adding the S’mores Layer Without Crushing the Base
Pull the pan from the oven and scatter the marshmallows, graham cracker pieces, and chocolate chunks evenly over the surface. Work quickly, but don’t press them down hard. You want them resting on top so they soften and melt in place rather than sinking into the batter.
The Short Finish Bake
Return the pan to the oven just long enough for the marshmallows to puff and soften at the edges. They should look glossy and slightly toasted, not browned all over. If you leave them in until they turn deeply golden, they harden as the brownies cool and the top loses that gooey s’mores pull.
Cooling Before the Drizzle
Let the pan cool for about 20 minutes before adding the white chocolate and sprinkles. That pause keeps the drizzle from melting into the marshmallows and disappearing. Slice too soon and the layers slide; wait until the pan is warm, not hot, and the squares hold together much better.
How to Adapt These for Different Pans and Diets
Gluten-Free Version
Use a gluten-free brownie mix and swap the graham crackers for gluten-free graham-style crackers. The texture stays close to the original, though the topping may be a little more fragile when you slice it. Let the pan cool fully before cutting so the bars don’t crumble.
More Chocolate, Less Sweet
Swap half the milk chocolate chunks for dark chocolate chunks if you want a deeper, less sugary finish. Dark chocolate cuts through the marshmallow sweetness and makes the bars taste more balanced without changing the structure.
Make It in an 8×8 Pan
Use half the batter if your brownie mix can be scaled down, or bake the full recipe in a thicker, smaller pan only if the box directions allow it. The center needs more time to set, so start checking early and expect a few extra minutes in the oven. The topping layer will be thicker, which is a good thing if you want a gooier square.
Storage and Reheating
- Refrigerator: Store in an airtight container for up to 4 days. The marshmallow layer firms up in the fridge, but the bars still taste great once they come back to room temperature.
- Freezer: These freeze well. Wrap individual squares tightly and freeze for up to 2 months, then thaw at room temperature before serving.
- Reheating: Warm a square in the microwave for 8 to 10 seconds if you want the topping soft again. Don’t overheat it or the marshmallows turn sticky and the brownie edges dry out.
Answers to the Questions Worth Asking
Patriotic S'mores Brownies
Ingredients
Equipment
Method
- Preheat the oven to 350°F so it reaches the right baking temperature before you cook.
- Line a 9x13-inch baking pan with parchment paper to prevent sticking and make slicing easier.
- Prepare the brownie batter according to the package directions for the correct fudgy texture.
- Pour the batter into the prepared pan and spread it into an even layer.
- Bake for 25 minutes, until the center looks set but still slightly soft.
- Remove the brownies from the oven when the first bake is complete.
- Sprinkle mini marshmallows, graham cracker pieces, and milk chocolate chunks over the top in an even layer.
- Return to the oven for 5–7 minutes at 350°F until the marshmallows soften and look slightly puffed.
- Cool the brownies for 20 minutes so the toppings set enough to slice cleanly.
- Drizzle the white chocolate over the surface in thin lines.
- Add red, white, and blue sprinkles over the top for a festive finish.
- Slice into squares and serve once fully cooled and set.
