Red White and Blue Cupcakes
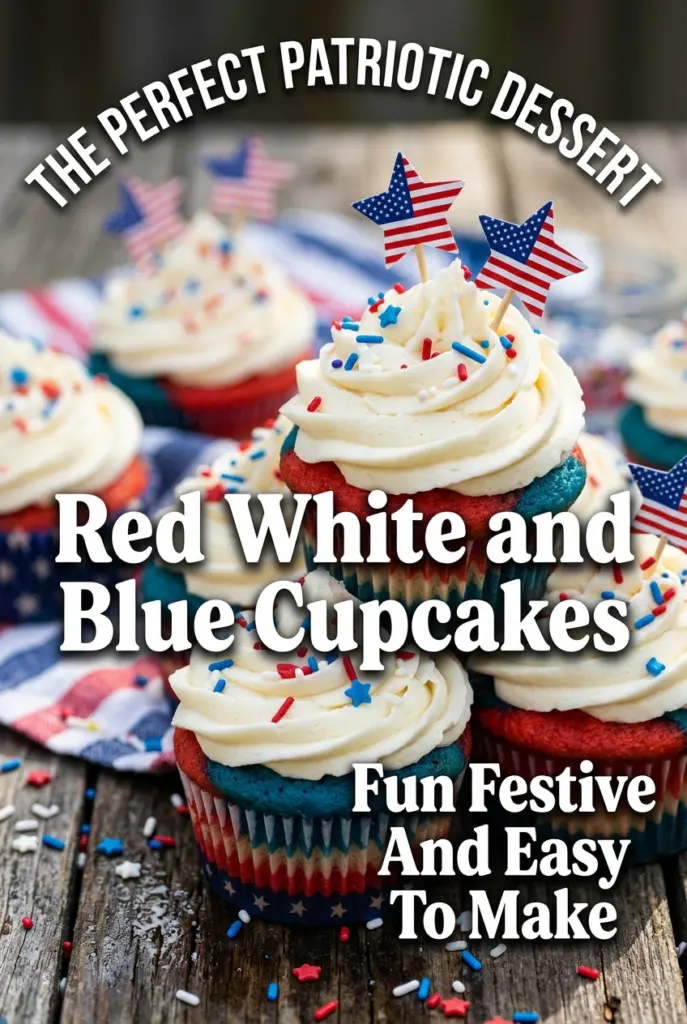
Red, white, and blue cupcakes pull off that festive striped look without asking for advanced decorating skills, and that’s why they keep showing up for parties. The cake stays soft…
Tip: save now, cook later.Red, white, and blue cupcakes pull off that festive striped look without asking for advanced decorating skills, and that’s why they keep showing up for parties. The cake stays soft and moist, the colors bake into distinct little swirls, and the buttercream gives you a clean, sweet finish that holds its shape under sprinkles. They look like you spent all afternoon on them, but the actual method is straightforward once you know how to layer the batter without muddling the colors.
The trick is starting with a boxed white cake mix and turning it into three separate batters instead of trying to tint one bowl after the fact. White cake mix gives you a pale base that takes food coloring well, and dividing it before coloring keeps the red and blue from turning into a muddy purple. The buttercream uses enough powdered sugar to pipe well, but the touch of cream keeps it from feeling stiff or chalky. If you’ve ever had cupcake batter bleed together in the oven, the notes below will help you keep those colors crisp and the crumb tender.
The layers baked up clean instead of turning into one mixed color, and the frosting held its swirls even after sitting out on the table for a couple of hours.
These striped Red White and Blue Cupcakes are the kind of patriotic dessert that keeps the colors bright and the frosting tall.
The Reason the Colors Stay Sharp Instead of Turning Muddy
The biggest mistake with layered patriotic cupcakes is overmixing once the colors are added. Red and blue batter need to stay separate long enough to bake into distinct ribbons, and the urge to swirl too much is what turns the whole thing into a gray-purple mess. A light swirl with a toothpick is plenty. The oven finishes the job.
Another place people lose the look is with batter that’s too thin. Boxed cake mix already has enough structure for this, so follow the package liquid ratios and don’t add extra milk or sour cream here. Thicker batter holds color better, layers cleanly in the liner, and gives you those obvious red, white, and blue pockets when you break the cupcake open.
What Each Ingredient Is Doing in These Cupcakes
The white cake mix is doing the heavy lifting for structure and sweetness. It gives you a pale batter that accepts food coloring cleanly, which is harder to get from a yellow or chocolate mix. If you want to swap in a homemade vanilla cupcake base, use one that bakes up light in color and has a fairly tight crumb.
Eggs, water, and oil follow the box mix directions for a reason. The eggs add stability, the oil keeps the crumb soft, and the water keeps the batter loose enough to portion into multiple colors without getting heavy. Vegetable oil works well here because it stays neutral; melted butter will add flavor but can make the cake a little firmer and less plush.
Buttercream frosting needs real butter, not margarine, if you want it to pipe in clean swirls. The powdered sugar gives it body, while the cream loosens it just enough to spread without tearing the cupcake tops. If the frosting seems stiff, add cream a teaspoon at a time. If it looks slack, beat in a bit more powdered sugar and let it rest for a few minutes before piping.
Food coloring and decorations are the fun part, but gel coloring will give you stronger reds and blues with less liquid than the grocery-store squeeze bottles. That matters when you want vivid color without thinning the batter. The sprinkles, sanding sugar, and little stars are purely decorative, so use what you have, but add them after the frosting is piped so they sit on top instead of sinking in.
Building the Batter So the Colors Don’t Blend
Mix the base first
Prepare the cake batter exactly as the box directs before dividing it. You want a smooth, evenly mixed base before any coloring goes in, because streaks at this stage will show up later as uneven baked spots. Once the batter is mixed, split it into three bowls as evenly as you can. Eyeballing is fine, but aim for roughly equal portions so one color doesn’t disappear in the final cupcake.
Tint without thinning
Leave one bowl white, then color the other two red and blue. Gel coloring is the easiest way to keep the batter thick and vivid, but liquid coloring works if you use it sparingly. Stir just until the color is uniform. If you keep mixing after that, you’ll start activating the structure in the batter and lose the clean color separation you’re after.
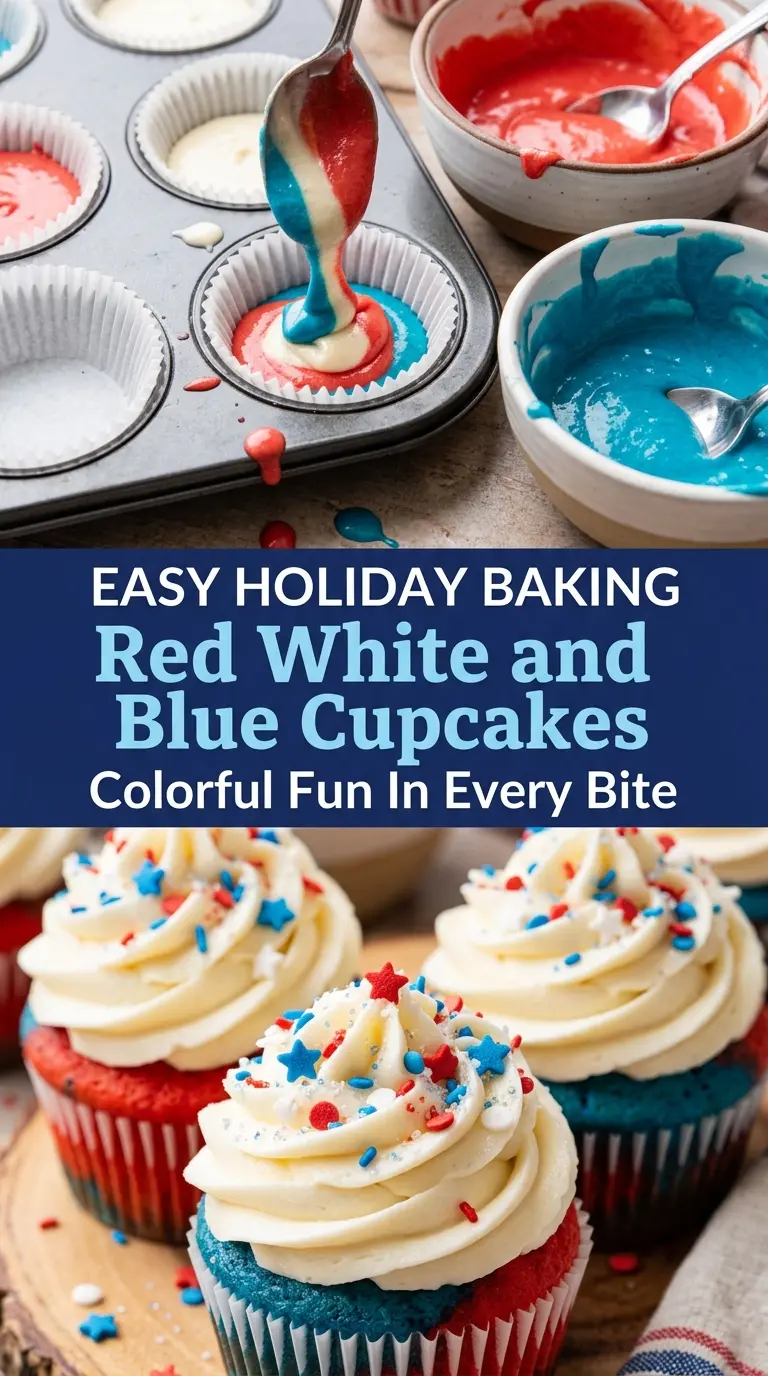
Layer, then barely swirl
Spoon the colors into the liners in small portions instead of dumping one whole color on top of another. That layering creates the patchwork effect once the cupcakes bake. Finish with one light pass of a toothpick if you want a marble look. Stop there. Deep swirling blends everything together and erases the red, white, and blue contrast.
Bake until set at the center
Bake at 350°F until the tops spring back when touched and a toothpick comes out with a few moist crumbs. If the tops dome quickly but the centers still look wet, give them a couple more minutes. Overbaking dries out the crumb and makes the colors look dull. Cool them completely before frosting, because warm cupcakes will melt the buttercream and pull the sprinkles into the surface.
How to Make These Cupcakes Work for Different Parties and Diets
Gluten-Free Cupcakes
Use a gluten-free white cake mix that bakes as a 1:1 replacement. The texture will be a little more delicate, so let the cupcakes cool fully before moving them. The color layering still works the same, and the frosting covers any slight crumb difference on top.
Dairy-Free Frosting
Swap the butter for a plant-based butter that comes in sticks and use an unsweetened non-dairy cream or milk in place of heavy cream. The frosting will pipe a little softer, so chill it briefly if your kitchen is warm. The flavor stays close to classic buttercream without the dairy.
Cupcake-Top Mini Version
Bake the batter in mini muffin tins for a party tray that disappears fast. Cut the bake time down and start checking early, since minis go from tender to dry in a hurry. They’re especially good if you want a higher ratio of frosting and sprinkles to cake.
Storage and Reheating
- Refrigerator: Store frosted cupcakes in an airtight container for up to 4 days. The cake stays soft, but the sprinkles can bleed a little color into the frosting over time.
- Freezer: Freeze unfrosted cupcakes for up to 2 months. Wrap them well and thaw at room temperature before frosting for the cleanest finish.
- Reheating: These don’t need reheating. If you’ve frozen unfrosted cupcakes, let them thaw completely before frosting so the buttercream doesn’t slide off a cold top.
Answers to the Questions Worth Asking

Red White and Blue Cupcakes
Ingredients
Equipment
Method
- Preheat the oven to 350°F (175°C). Set out a muffin pan and cupcake liners.
- Line a muffin pan with cupcake liners. This prevents sticking and keeps the layers neat.
- Prepare the cake batter according to package directions. Stop when the batter is smooth and uniform.
- Divide the batter into three bowls. Keep one bowl untinted for the white layer.
- Tint one bowl red with red food coloring and the other bowl blue with blue food coloring. Mix until the colors are even with no streaks.
- Layer spoonfuls of white, red, and blue batter into the cupcake liners. Aim for visible layers rather than mixing them fully.
- Swirl lightly with a toothpick. Create gentle ribbons of color without over-blending.
- Bake for 18–20 minutes at 350°F (175°C). Bake until a toothpick in the center comes out clean.
- Cool the cupcakes completely. Let them reach room temperature before frosting so the buttercream won’t melt.
- Beat the butter until creamy. Stop when it looks lighter in color and smoother in texture.
- Add powdered sugar, heavy cream, and vanilla extract. Mix on low to start, then increase until combined.
- Beat until fluffy. The frosting should hold shape and pipe cleanly.
- Pipe frosting onto cooled cupcakes. Add a smooth swirl or a ridged rosette as desired.
- Decorate with patriotic sprinkles, mini patriotic stars, and red and blue sanding sugar. Finish while the frosting is fresh so toppings adhere.
- Serve the cupcakes. Keep leftovers covered to maintain the frosting texture.
