
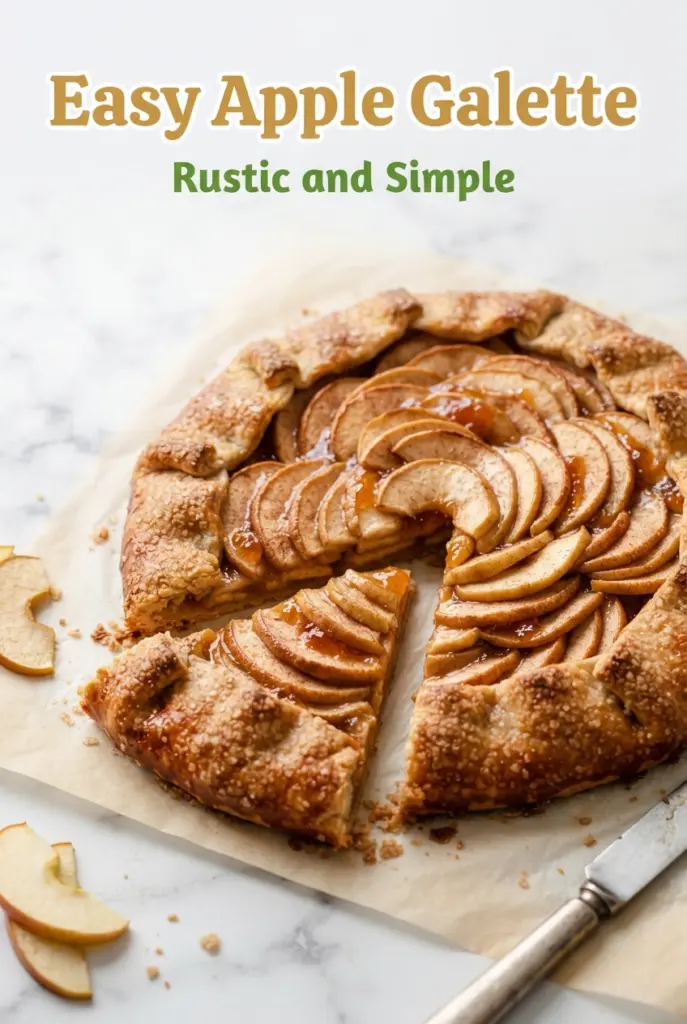
Easy Apple Galette
Flaky, golden crust and tender cinnamon apples are a hard combination to beat, especially when the whole dessert looks like it came from a bakery but takes almost no finesse…
Tip: save now, cook later.Flaky, golden crust and tender cinnamon apples are a hard combination to beat, especially when the whole dessert looks like it came from a bakery but takes almost no finesse to pull off. An apple galette gives you all the charm of pie without the pressure of crimped edges or a perfect top. The rustic folds do the work for you, and the fruit bakes into a glossy, jammy center that slices neatly after a short rest.
This version leans on a refrigerated pie crust, which is exactly why it works on a busy day. The apples are tossed with a little flour, so the juices thicken instead of running out across the pan, and the lemon juice keeps the filling bright rather than flat. A brush of egg on the crust gives you that deep color, while turbinado sugar adds the little crunch that makes each bite feel finished.
Below, I’ve laid out the small details that matter most: how thin the apples should be, why the jam glaze goes on after baking, and what to do if your apples are extra juicy. Those are the places where a galette either stays tidy and beautiful or turns soggy.
The crust stayed crisp on the bottom and the apples baked up tender without turning mushy. The apricot glaze on top made it look like something from a pastry case, and my family asked for seconds before it had even cooled completely.
Love the flaky crust and glossy apple filling? Save this easy apple galette for the next time you want a rustic dessert that looks polished without the pie stress.
The Little Trick That Keeps the Bottom Crust Crisp
The biggest failure point with a galette is leaking juice. Apples give off moisture as they bake, and if the filling sits too thick in the center or the crust is underbaked, you end up with a soggy middle instead of a crisp, sliceable dessert. The flour in the filling helps catch some of that juice, but the real protection comes from keeping the apple layer in the middle and leaving enough border to fold cleanly over the fruit.
Another thing people miss is that a galette needs direct heat from the baking sheet. Putting it on parchment over a sheet pan helps the bottom crust set quickly before the filling has time to soak through. That’s also why the apples should be sliced thinly and arranged in overlapping layers rather than piled into a mound. Thin slices bake tender at the same rate, and the whole tart holds together better when you cut into it.
What Each Ingredient Is Actually Doing in This Apple Galette

- Refrigerated pie crust — This is the shortcut that makes the galette approachable. A store-bought crust bakes up flaky and sturdy enough for the apple juices, and it saves you the time and temperature control a homemade dough asks for. Let it sit just long enough to roll without cracking.
- Apples — Use a firm baking apple if you can. You want slices that soften and slump without disappearing into applesauce. If your apples are very tart, the sugar covers that; if they’re very sweet, the lemon juice keeps the filling balanced.
- Brown sugar, cinnamon, and nutmeg — Brown sugar melts into the apples and gives the filling a caramel note. Cinnamon is the main spice, while nutmeg stays in the background and makes the filling taste warmer and fuller. Don’t overdo the nutmeg or it takes over fast.
- Flour — This is the thickener that keeps the juices from flooding the crust. It won’t make the filling pasty; it just helps the fruit syrup set once it cools. If you skip it, the center is more likely to slide apart.
- Apricot jam — The glaze is more than decoration. Warm jam brushed over the apples adds shine and a thin protective layer that keeps the fruit looking fresh. If you don’t have apricot, apple jelly works too, but apricot has the cleanest finish.
Building the Galette So It Bakes Flat, Not Leaky
Rolling and Filling the Crust
Roll the crust into a rough 12-inch circle on parchment so you can move it without tearing it later. The shape does not need to be perfect; uneven edges are part of the look. Keep the apple slices centered and leave a solid 2-inch border, because the border has to fold over the fruit and hold its shape in the oven. If the filling creeps too close to the edge, the folds won’t seal well and juices will escape.
Folding and Finishing the Edges
Lift the crust up and over the apples in sections, pleating as you go. Press the folds just enough so they stay put, but don’t squeeze the crust flat or you’ll lose the flaky layers. Brushing the dough with egg gives it color and helps the turbinado sugar stick. This is the difference between a pale, dry-looking crust and one with deep color and a crisp finish.
Baking Until the Apples and Crust Sync Up
Bake until the crust is a deep golden brown and the apples are tender when pierced through the center. If the crust is coloring too slowly, the oven is probably running cool, and the galette needs the full time so the bottom sets. The apples should still hold their shape; you’re not looking for collapse. Let the galette sit for at least 10 minutes before slicing so the juices thicken and the filling stops shifting around.
How to Adapt This for a Different Apple Situation
Use pears instead of apples
Firm pears work well here, especially Bartlett or Bosc, but they soften faster than apples. Slice them a little thicker and watch the bake time closely so they don’t turn watery. The result is a more delicate, floral galette with the same rustic shape.
Make it dairy-free
Swap the butter for a plant-based butter that comes in stick form and use the same amount. You’ll lose a little of the classic butter flavor, but the crust and filling will still bake up with the same structure. Keep the egg wash if you eat eggs, or brush the crust with a little plant milk for a less shiny finish.
Use a gluten-free crust
A gluten-free refrigerated crust works here as long as it rolls without cracking too badly. Handle it gently and patch any breaks with extra dough because gluten-free pastry is less elastic. The filling stays the same, so the flavor is familiar even if the texture is a little more delicate.
Swap the apricot glaze
If apricot jam isn’t in the pantry, use warmed apple jelly or strained orange marmalade. Apple jelly gives a clean shine with almost no extra flavor, while marmalade adds a brighter, slightly bitter edge. Either one should be brushed on while the galette is still warm so it melts into the fruit.
Storage and Reheating
- Refrigerator: Store covered for up to 3 days. The crust softens a little as it sits, but the flavor stays good.
- Freezer: Freeze the baked galette tightly wrapped for up to 1 month. Thaw it in the refrigerator before reheating; freezing does work, though the crust won’t be quite as crisp after thawing.
- Reheating: Warm slices in a 325 F oven until the crust wakes back up, about 10 minutes. The microwave makes the crust limp, which is the fastest way to lose the best part of the dessert.
Answers to the Questions Worth Asking
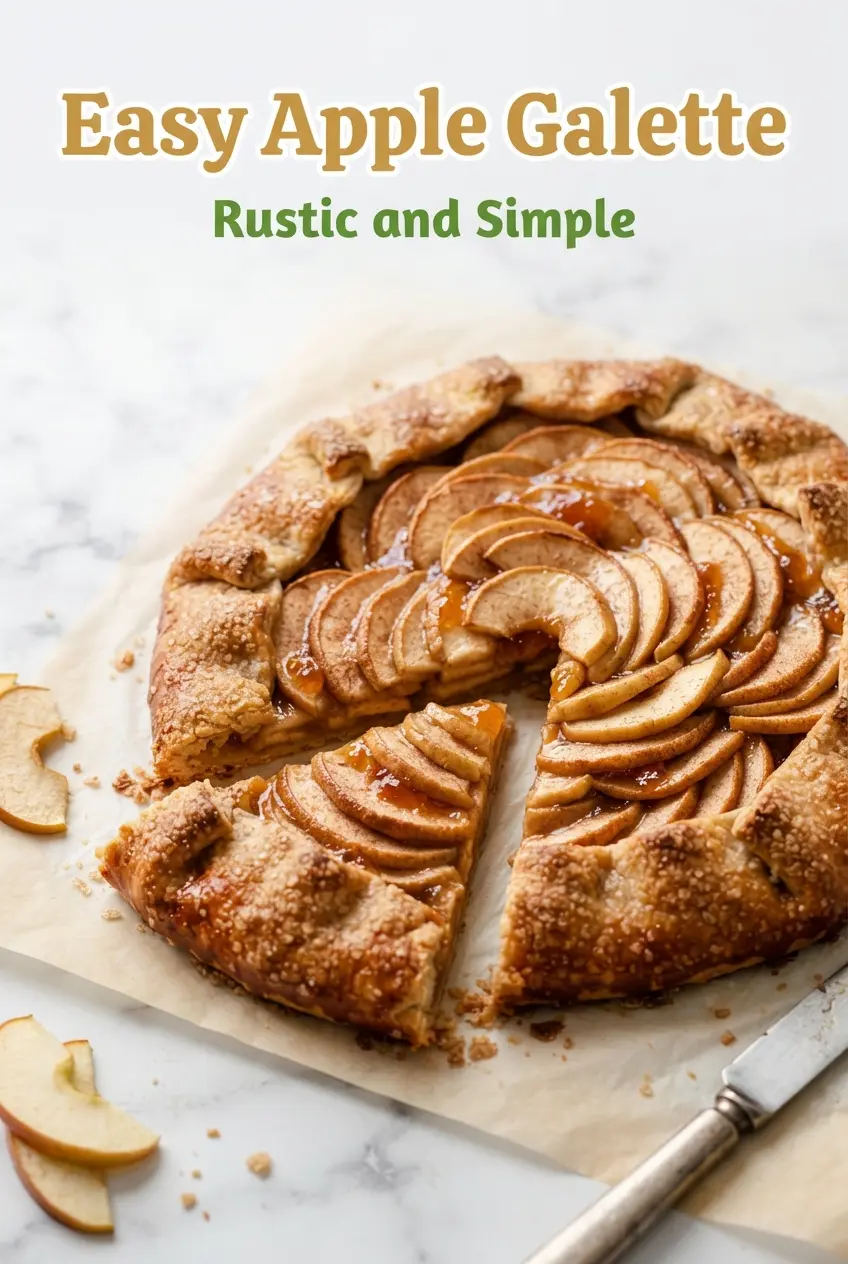
Easy Apple Galette
Ingredients
Equipment
Method
- Preheat the oven to 400 F (200 C) and line a baking sheet with parchment paper.
- Unroll the pie crust onto the parchment and roll it out slightly to a 12-inch circle.
- Toss the apple slices with the brown sugar, flour, cinnamon, nutmeg, and lemon juice until evenly coated.
- Arrange the apples in overlapping circles in the center, leaving a 2-inch border around the edges.
- Fold the border up over the apples, pleating as you go so the apples stay visible in the middle.
- Dot the apples with the butter cubes.
- Brush the crust with the beaten egg, then sprinkle the crust with turbinado sugar for a crisp, sparkling finish.
- Bake for 30 to 35 minutes, until the crust is deep golden and the apples are tender (look for bubbling filling near the center).
- Warm apples with the apricot jam for shine right after baking.
- Cool for 10 minutes before slicing to let the juices set slightly.
