
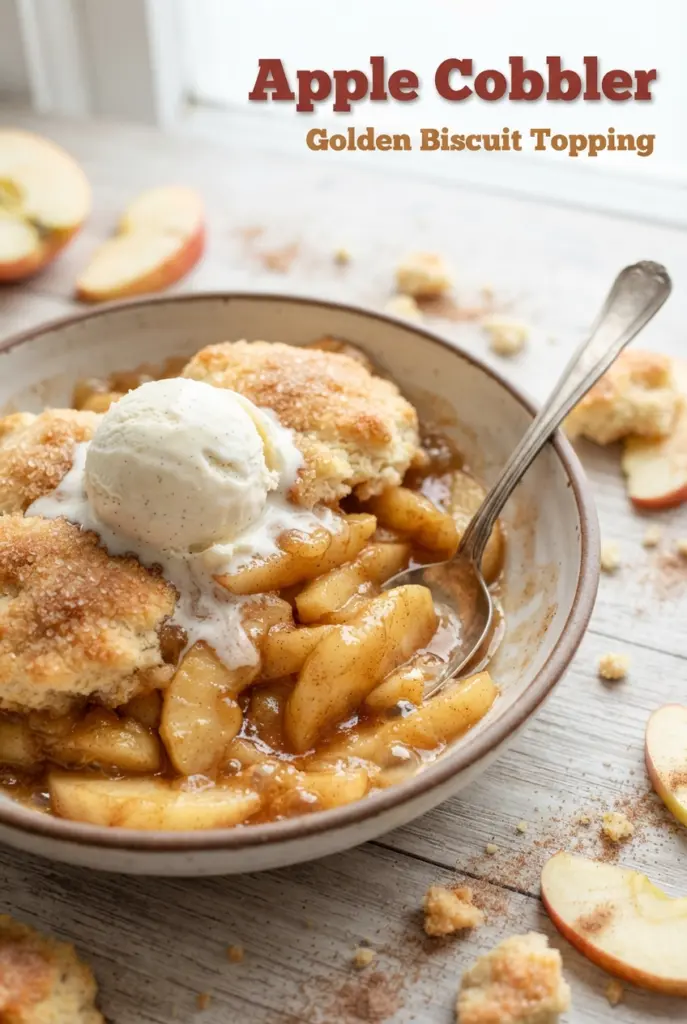
Apple Cobbler
Warm apple cobbler hits the table with the kind of comfort that makes everyone linger a little longer at dessert. The filling turns soft and syrupy without collapsing into mush,…
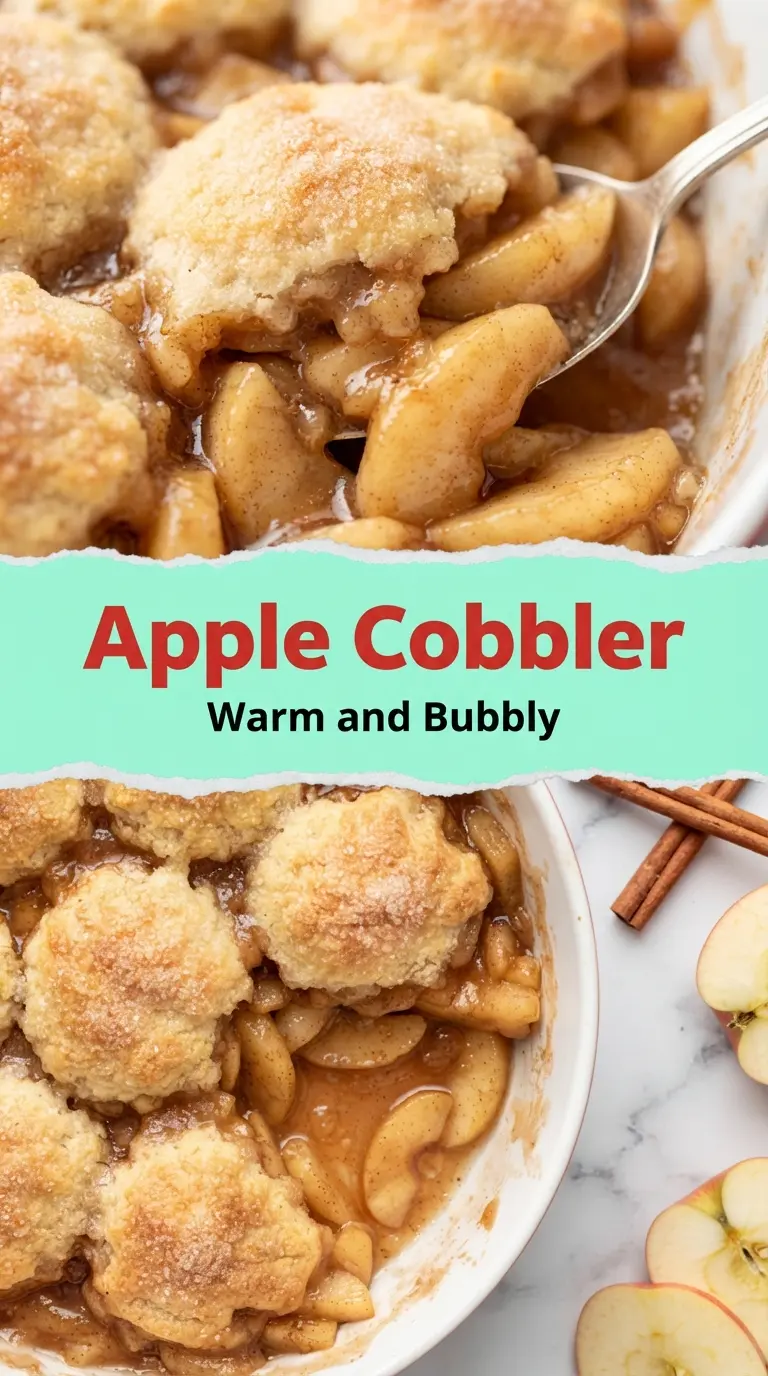
Tip: save now, cook later.Warm apple cobbler hits the table with the kind of comfort that makes everyone linger a little longer at dessert. The filling turns soft and syrupy without collapsing into mush, and the biscuit topping bakes up golden with crisp sugared edges and a tender center that soaks up just enough of the spiced juices underneath. When it comes out of the oven bubbling at the edges, it smells like cinnamon, butter, and baked apples in the best possible way.
The trick here is balancing the apples so they release enough juice to turn glossy, but not so much that the bottom goes watery. A little cornstarch thickens the filling while the lemon juice keeps the sweetness bright. For the topping, cold butter and a light hand with the milk matter more than people think. You want a shaggy dough, not a smooth one, because those uneven bits bake into the biscuit texture that makes cobbler worth making.
Below, I walk through the small details that keep the filling from turning thin and the topping from baking up heavy. There’s also a simple way to choose the right apples, plus a few swaps if you need to adjust for what’s in your kitchen.
The apples baked down perfectly and the topping stayed crisp on top instead of getting soggy. I loved that the filling thickened as it cooled, so it sliced cleanly but was still spoonable with ice cream.
Save this apple cobbler for the nights when you want tender cinnamon apples under a crisp biscuit topping.
The Reason Apple Cobbler Stays Juicy Instead of Turning Watery
The filling needs enough sugar to draw juice out of the apples, but it also needs a thickener that can hold that liquid once it bakes. Cornstarch does that job here without making the sauce pasty. If you skip it, the apples can still taste good, but the juices slide straight through the dish and pool at the bottom when you serve it.
The other thing that matters is the apple choice. A mix of tart and sweet apples gives you better flavor and better structure. Very soft apples can break down too fast, while firmer apples keep the filling textured and the cobbler from eating like applesauce under biscuits.
What Each Ingredient Is Actually Doing in This Cobbler
- Apples — Use apples that hold their shape when baked, like Granny Smith, Honeycrisp, Braeburn, or a mix. Softer varieties will still work, but the filling turns looser and sweeter. Slice them evenly so they cook at the same rate.
- Brown sugar and granulated sugar — The mix gives you both depth and clean sweetness. Brown sugar melts into the juices and adds a caramel note, while white sugar keeps the filling from tasting flat.
- Cornstarch — This is what turns the apple juices into a spoonable sauce. Flour can work in a pinch, but cornstarch gives a clearer, lighter finish.
- Cold butter for the topping — Cold butter is what creates little pockets in the biscuit dough as it bakes. If the butter softens too much before it goes in the oven, the topping turns dense instead of flaky and tender.
- Buttermilk — Buttermilk gives the biscuit topping a slight tang and helps it bake up tender. Whole milk works too, but the flavor is a little flatter. If using milk, don’t add extra liquid beyond what the dough needs.
- Turbinado sugar — This is the crunchy finish that keeps the top from tasting plain. It bakes into a sparkly crust and gives each bite a little texture contrast.
Building the Filling and Topping in the Right Order
Coating the Apples First
Toss the sliced apples with the sugars, cornstarch, cinnamon, nutmeg, and lemon juice until every piece looks lightly coated. That first mix is where the filling starts, because the sugar pulls out moisture and the cornstarch begins to distribute before the heat hits. Spread the apples into the dish right away so they sit in an even layer. If they mound too high in the center, the middle bakes into a soft heap while the edges overcook.
Cutting the Butter Into the Dough
Work the cold butter into the flour mixture until it looks like coarse crumbs with some pea-sized pieces still visible. Those larger bits matter. They melt in the oven and create the tender, biscuit-like texture instead of a cakey top. If the butter starts smearing into the flour, stop and chill the bowl for a few minutes before continuing.
Dropping and Baking the Cobbler
Spoon the dough over the apples in uneven mounds and leave gaps between them. Cobbler is meant to look rustic, and those open spaces let the filling bubble up and steam the biscuit edges from below. Bake until the topping is deeply golden and the fruit is visibly bubbling at the sides. If the top browns before the filling bubbles, cover it loosely with foil and keep baking until the fruit has thickened.
Letting It Set Before Serving
The cobbler needs a short rest after it comes out of the oven. That cooling time lets the cornstarch finish thickening the juices, which is why the filling looks loose at first and then settles into that perfect spoonable consistency. Serve it too soon and the filling runs all over the plate. Fifteen minutes is enough to help it hold together while it stays warm.
How to Adapt This for Different Apples, Diets, and Serving Styles
Use a mix of tart and sweet apples
A combination like Granny Smith and Honeycrisp gives the best balance of structure and flavor. Tart apples keep the filling lively, while sweeter ones soften into the sauce and round everything out. If you use only sweet apples, the cobbler can taste a little one-note.
Make it dairy-free
Swap the butter in both the filling and topping for a high-quality plant-based butter that stays firm when cold. Use an unsweetened non-dairy milk in place of buttermilk, and add a teaspoon of lemon juice to help mimic the slight tang. The texture stays close to the original as long as the fat stays cold.
Make it gluten-free
Use a 1:1 gluten-free baking flour that contains xanthan gum. The topping will be a little more delicate and less bready, but it still bakes up with a good crust and tender center. Let the cobbler cool a bit longer before serving so the topping has time to set.
Store leftovers for the best texture
Refrigerator: Store covered for up to 4 days. The topping softens as it sits, but the flavor stays good. Freezer: Freeze baked cobbler in a tight container for up to 2 months; the apples will soften a little more after thawing. Reheating: Warm in a 325°F oven until the edges are hot and the topping firms back up. The microwave works in a pinch, but it makes the biscuit topping soft instead of crisp.
Questions I Get Asked About This Recipe
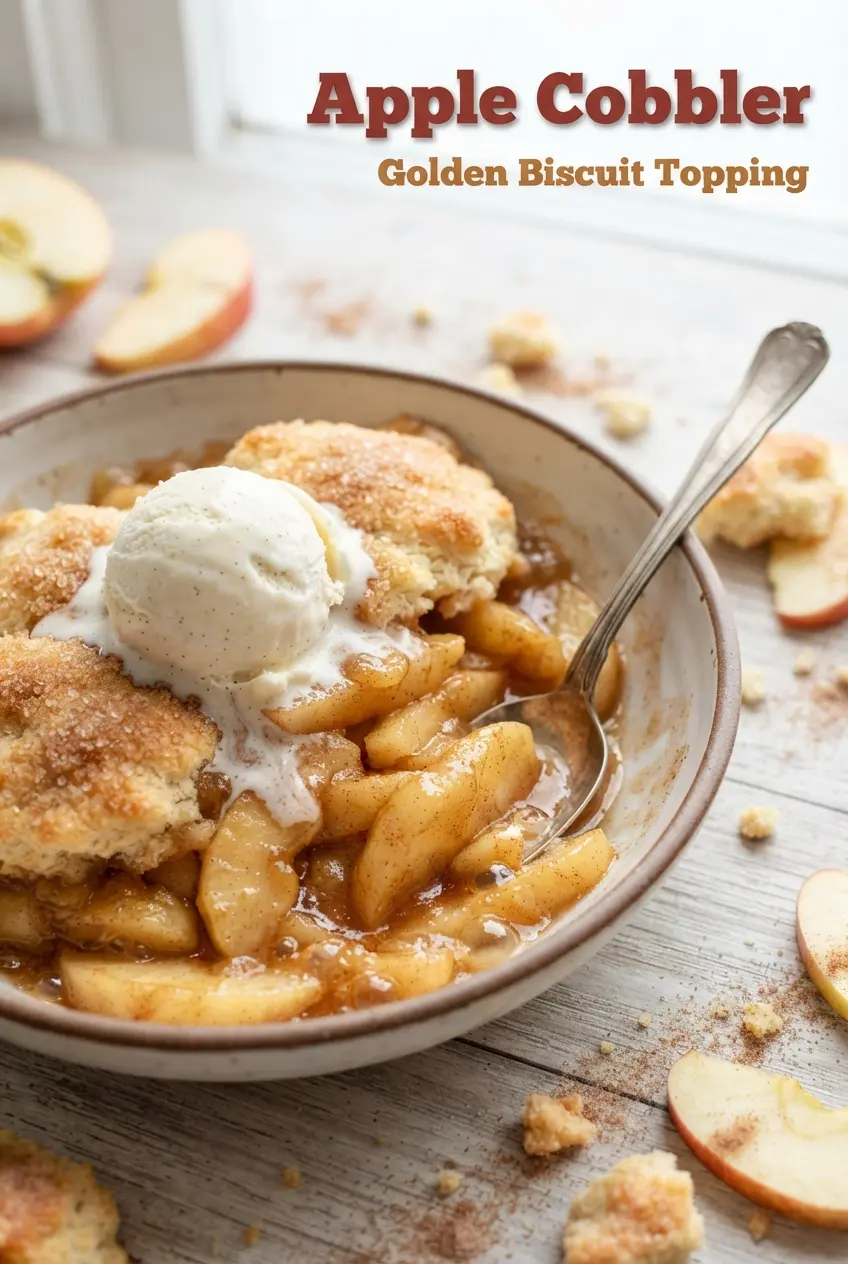
Apple Cobbler
Ingredients
Equipment
Method
- Preheat the oven to 375 F (190 C) and grease a 9x9-inch or 2-quart baking dish.
- Toss the apples with granulated sugar, brown sugar, cornstarch, ground cinnamon, ground nutmeg, and lemon juice until evenly coated.
- Spread the apple mixture in the dish and dot with 2 tbsp butter.
- Whisk together the all-purpose flour, topping granulated sugar, baking powder, and salt in a bowl.
- Cut in the cold butter until the pieces are pea-sized.
- Stir in the buttermilk and vanilla extract until a thick, shaggy dough forms.
- Drop spoonfuls of the dough over the apples, leaving small gaps.
- Sprinkle with turbinado sugar over the top.
- Bake for 40 to 45 minutes at 375 F (190 C), until the topping is golden and the filling is bubbling.
- Cool for 15 minutes before serving.
