
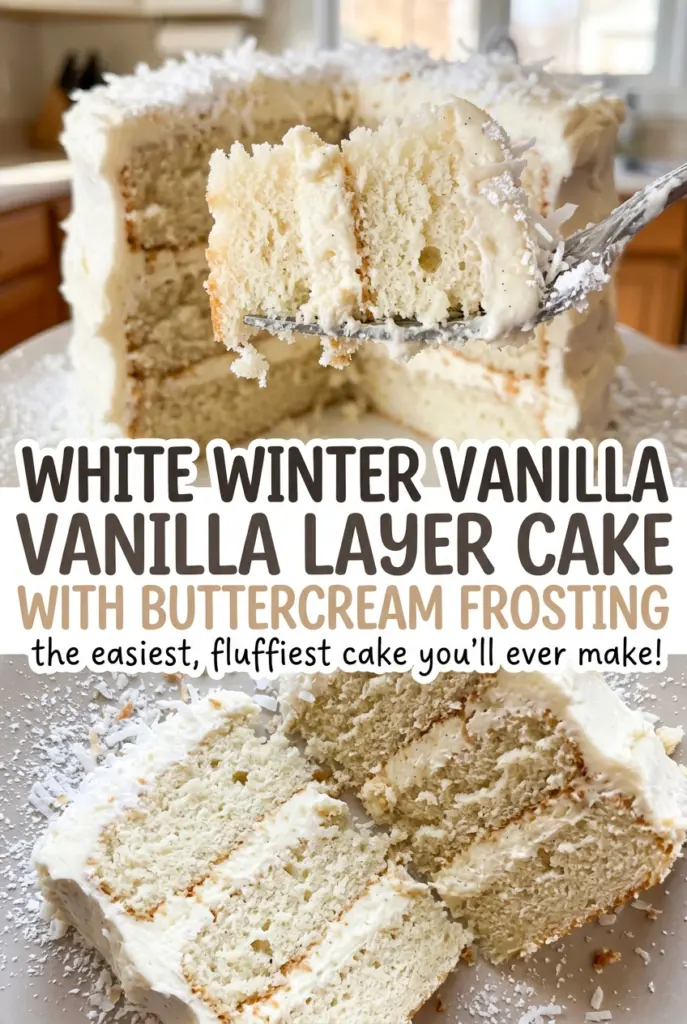
White Winter Vanilla Layer Cake with Buttercream Frosting
When the cake layers come out of the oven, the centers should spring back gently under your fingertip, not feel firm all the way through. That small cue matters: bake…
Tip: save now, cook later.When the cake layers come out of the oven, the centers should spring back gently under your fingertip, not feel firm all the way through. That small cue matters: bake them just until a toothpick comes out clean, and the crumb stays tender instead of drying at the edges. I use that same check for this White Winter Vanilla Layer Cake with Buttercream Frosting, a two-layer cake with a soft vanilla crumb and a generous, creamy finish.
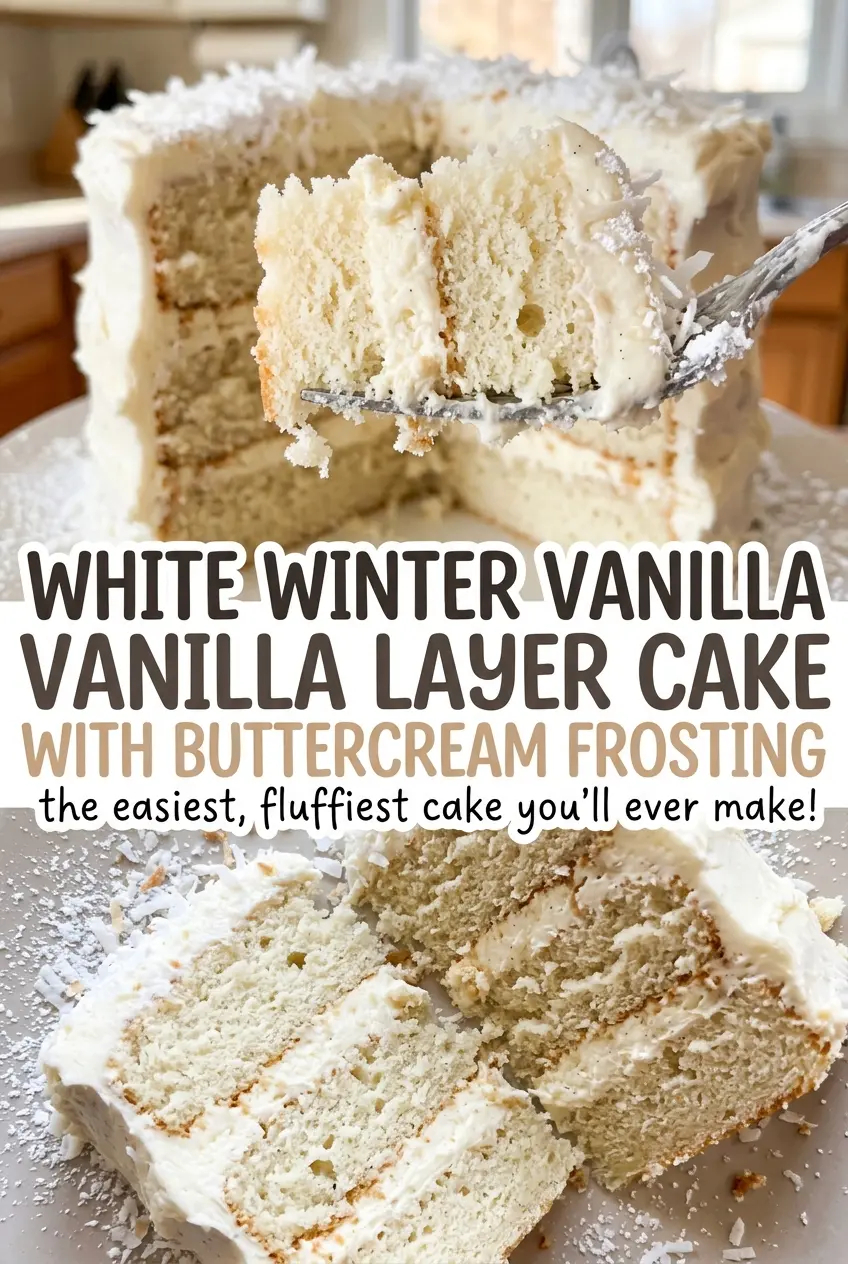
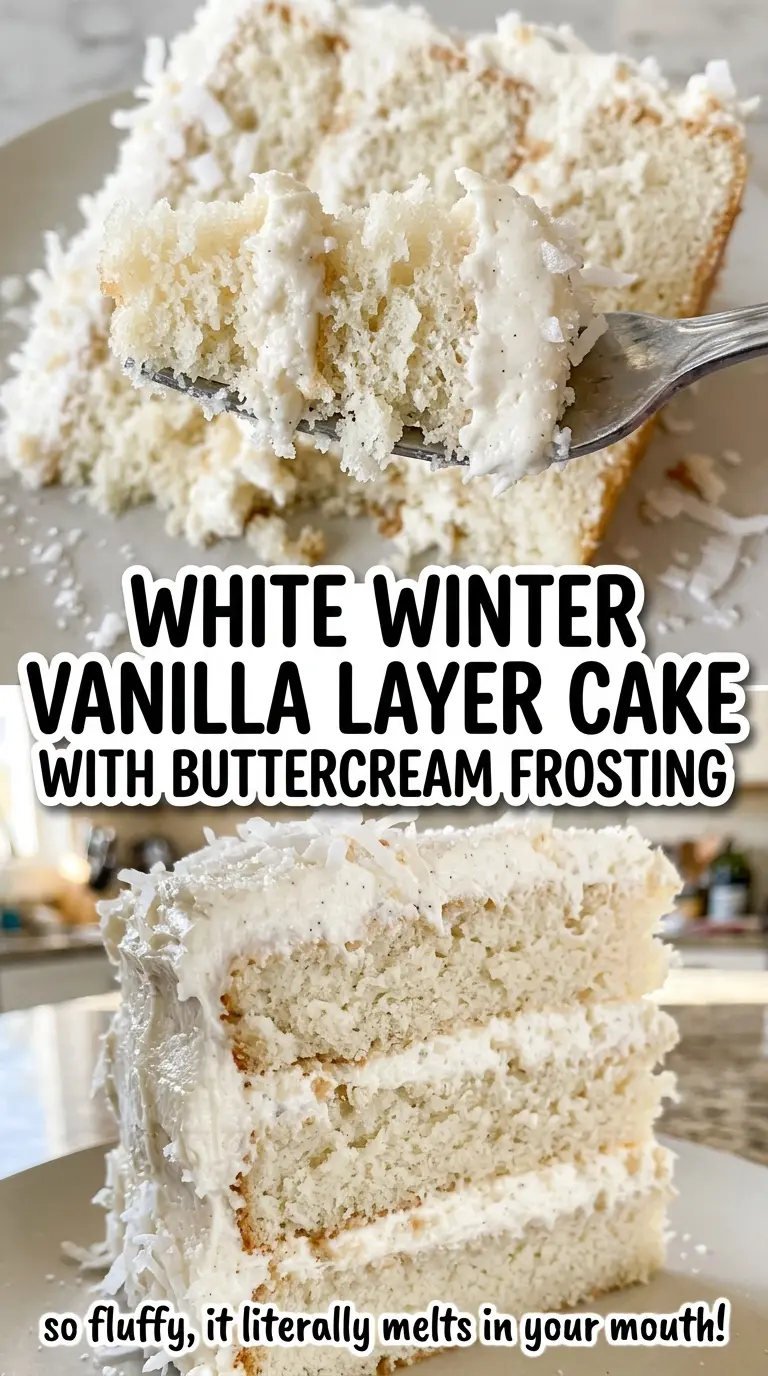
The batter gets its light texture from cake flour and egg whites, while butter keeps the cake rich enough to stand up to frosting. I take care when alternating the flour mixture and milk, mixing on low only until the batter comes together. Once the layers are completely cool, the vanilla buttercream spreads smoothly without sliding or melting. The cut slice shows pale, even layers under a soft sweep of frosting.
Kitchen Note
I don’t skip the parchment circles in these pans. Greasing the paper as well as the pan bottoms gives the delicate layers a clean release, so you aren’t prying a tender edge loose after baking.
Save this White Winter Vanilla Layer Cake for its tender white layers and smooth, fluffy vanilla buttercream.
Why Egg Whites Keep This Vanilla Cake Pale Without Making It Dry
White cake isn’t just yellow cake with the color taken out. Egg yolks bring richness, but they also deepen the color of the crumb. Using egg whites keeps the layers pale, which gives this cake its clean white-and-vanilla look when you cut into it. The butter still brings plenty of richness, so the cake doesn’t eat like a dry, airy sponge.
Cake flour supports that delicate texture, too. It has less protein than all-purpose flour, so the batter develops less gluten when mixed. That matters in a layer cake: too much mixing after the flour goes in can make the crumb tight instead of tender. The balance here is a sturdy-enough cake that holds two layers of buttercream, with a fine crumb that feels soft on the fork. The result is a classic butter cake, not a fragile foam cake that needs careful handling to survive assembly.
The Ingredients That Give This Cake Its Fine, White Crumb
- Cake flour — This is worth using rather than trying to approximate with another flour; its lower protein helps keep the crumb fine and tender. Spoon it into the measuring cup and level it, as packing it can add too much flour and make the cake heavy. A standard bag of cake flour works well; no specialty brand is needed.
- Unsalted butter — Butter gives both the cake and frosting their richness, and unsalted butter lets the measured fine salt do its job without guessing how salty the finished cake will be. Use it softened, not melted, so it can cream properly. I wouldn’t substitute another ingredient here; it changes both the cake texture and the buttercream.
- Egg whites — Room-temperature whites blend more evenly into the creamed butter than cold ones. Separate them carefully so no yolk gets into the whites, which helps preserve the pale crumb. Whole eggs aren’t a direct substitute for this cake’s texture or color.
- Whole milk — Its fat and liquid help make the batter tender while keeping it easy to mix. Bring it to room temperature with the egg whites so it doesn’t chill the creamed butter. The other liquid in this ingredient list is heavy cream, which is much richer and isn’t a one-for-one replacement for milk in the cake.
- Vanilla extract — Vanilla is the main flavor, so a good everyday extract is worth choosing, but an expensive bottle isn’t necessary. The extract goes into both the cake and the buttercream, giving the two parts a consistent flavor. Keep the portions for each part separate while measuring.
- Powdered sugar and heavy cream — Powdered sugar gives the buttercream its smooth body, while the cream loosens it enough to spread. Add the sugar gradually on low speed to avoid a cloud of sugar and to keep the frosting from turning lumpy. There isn’t a direct swap among the listed ingredients that gives the same texture.
From Fluffy Batter to Stable, Frosted Layers
Set Up the Pans and Dry Ingredients
Heat the oven to 350°F and grease two 8-inch round cake pans. Line the bottoms with parchment paper, then grease the parchment as well; this helps the delicate cake release in one piece. Whisk the cake flour, baking powder, and the cake portion of the salt in a medium bowl. Set the bowl aside so the dry ingredients are ready before you start mixing.
Cream the Butter and Build the Batter
Beat the cake portion of the softened butter with the granulated sugar on medium-high for 3 to 4 minutes, until light and fluffy. Add the egg whites one at a time, beating after each, then mix in the cake portion of the vanilla. On low speed, add the flour mixture in three additions, alternating with the milk in two additions; start and finish with flour. Stop mixing as soon as the batter is combined, since extra mixing after the flour goes in can toughen the crumb.
Bake Until the Centers Spring Back
Divide the batter evenly between the prepared pans and bake at 350°F for 25 to 30 minutes. The tops should spring back when lightly pressed, and a toothpick inserted into the center should come out clean. If the toothpick has wet batter on it, give the cakes a little more time rather than relying only on the color of the tops. Let the layers cool in their pans for 10 minutes, then turn them onto wire racks, remove the parchment, and cool completely.
Whip the Frosting and Stack the Cake
Beat the remaining softened butter in a large bowl until smooth. Gradually beat in the powdered sugar on low speed, then add the remaining vanilla, salt, and heavy cream. Beat on medium-high for 2 to 3 minutes, until fluffy. Set one completely cooled layer on a serving plate, spread frosting over its top, place the second layer on it, then frost the top and sides with the remaining buttercream.
Two Ways to Change the Finish Without Changing the Cake
Leave the Sides Bare
For a more casual layer-cake look, spread frosting between the layers and across the top, leaving the sides uncovered. Use the frosting that would have gone on the sides to make a thicker top layer. The pale cake layers show clearly around the outside, though the exposed crumb dries faster than a fully frosted cake.
Give the Buttercream a Soft-Swoop Finish
Instead of smoothing the frosting completely flat, spread it across the top and sides in loose curves. This changes only the finish, not the ingredients or the cake layers, and gives the buttercream a handmade look. Keep the swirls shallow so the layers stay balanced when you cut slices.
Storage and Serving
- Refrigerator: Keep the cake covered for up to 4 days. The buttercream firms when cold, and the cake crumb gradually dries out.
- Freezer: Freeze individual slices wrapped tightly, then thaw them in the refrigerator. For the best texture, use frozen slices within 2 months.
- Serving: Let refrigerated slices sit at room temperature for about 20 to 30 minutes before serving so the buttercream softens. Reheating isn’t needed for this cake.
Questions That Come Up Before the First Slice
White Winter Vanilla Layer Cake with Buttercream Frosting
Ingredients
Equipment
Method
- Heat the oven to 350°F.
- Grease two 8-inch round cake pans, line the bottoms with parchment paper, and grease the parchment.
- Whisk the cake flour, baking powder, and 1/2 teaspoon salt in a medium bowl.
- Beat 3/4 cup butter and the granulated sugar in a large bowl with an electric mixer on medium-high speed for 3 to 4 minutes, until light and fluffy.
- Beat in the egg whites one at a time, then beat in 2 teaspoons vanilla.
- Add the flour mixture in three additions, alternating with the milk in two additions and beginning and ending with the flour; mix on low just until combined.
- Divide the batter evenly between the pans.
- Bake at 350°F for 25 to 30 minutes, until the tops spring back when lightly pressed and a toothpick inserted in the centers comes out clean.
- Cool the cakes in the pans for 10 minutes.
- Turn the cakes out onto wire racks, remove the parchment, and cool completely.
- Beat the remaining 1 1/2 cups butter in a large bowl until smooth.
- Gradually beat in the powdered sugar on low speed.
- Add the remaining 1 teaspoon vanilla, 1/2 teaspoon salt, and heavy cream; beat on medium-high speed for 2 to 3 minutes, until fluffy.
- Set one cooled cake layer on a serving plate and spread frosting over the top.
- Place the second layer on top and frost the top and sides with the remaining frosting.
