
Turkey Rice Krispie Treats
The marshmallow mixture starts out glossy and stretchy, then turns stubborn as it cools. I learned to have the pan and spatula ready before the butter goes into the pot;…
Tip: save now, cook later.The marshmallow mixture starts out glossy and stretchy, then turns stubborn as it cools. I learned to have the pan and spatula ready before the butter goes into the pot; once the cereal is folded in, you want to get it into the pan without a long pause. These Turkey Rice Krispie Treats are a cheerful little project, but the timing matters if you want neat rectangles and decorations that stay put.
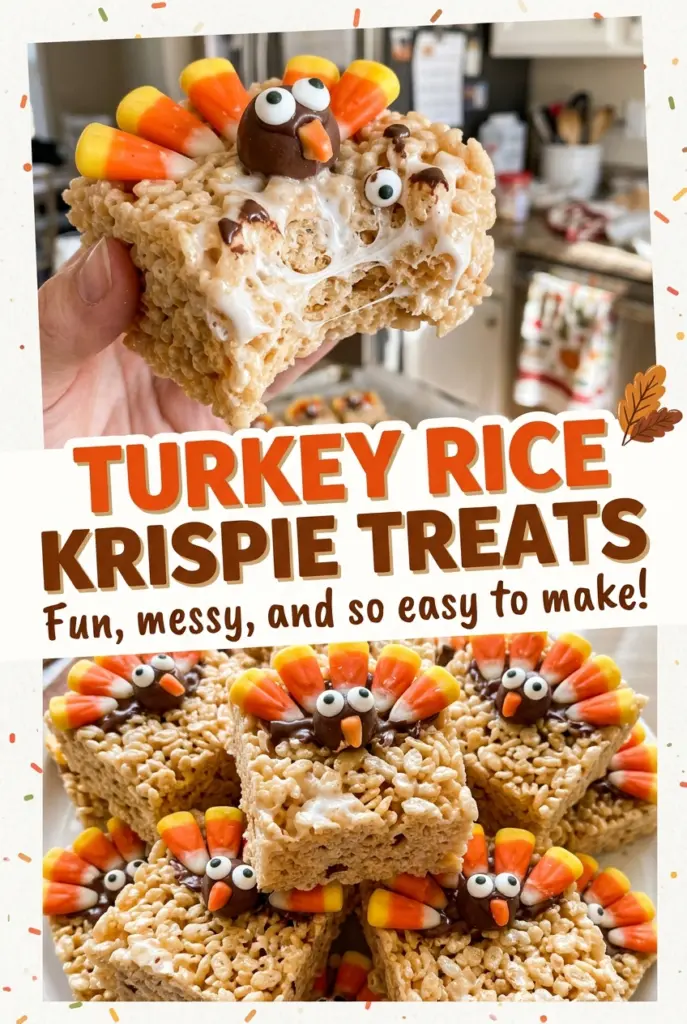
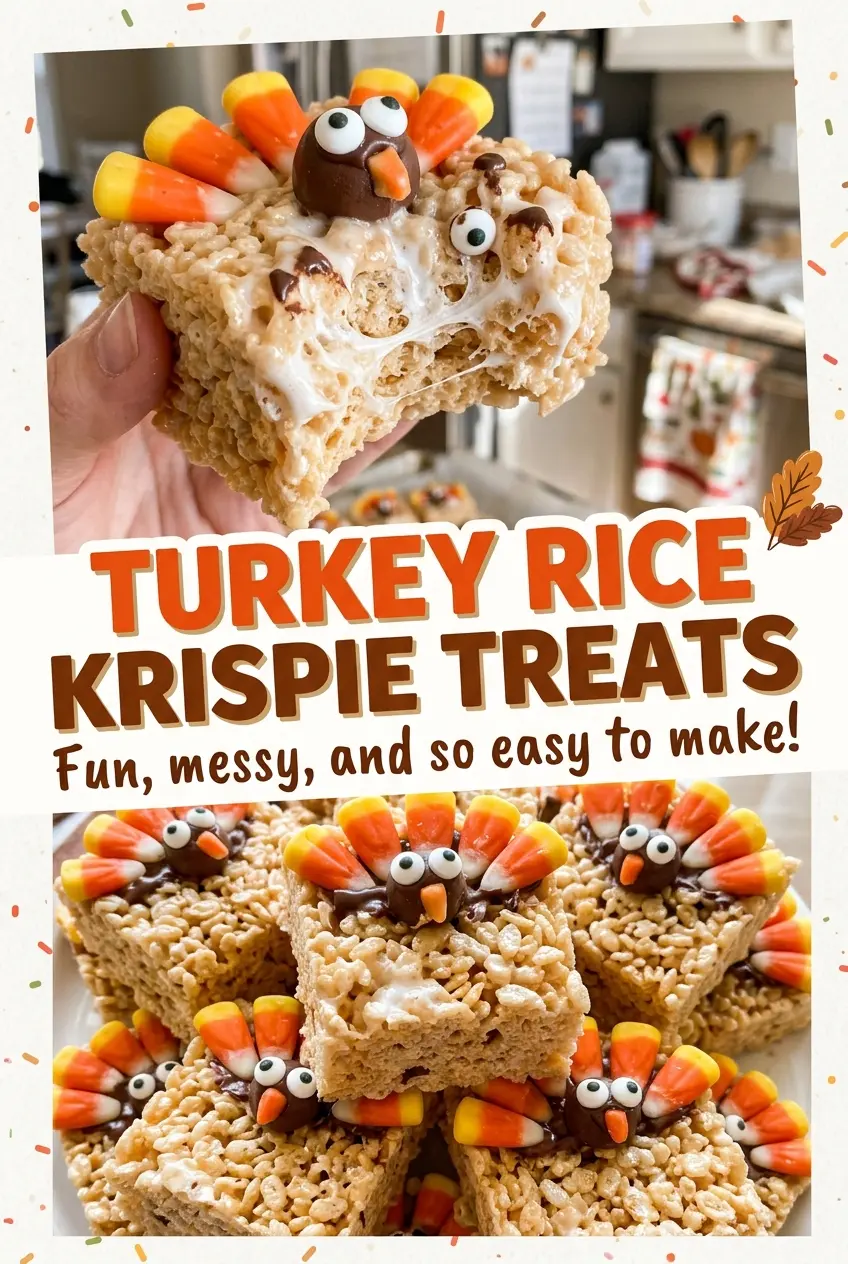
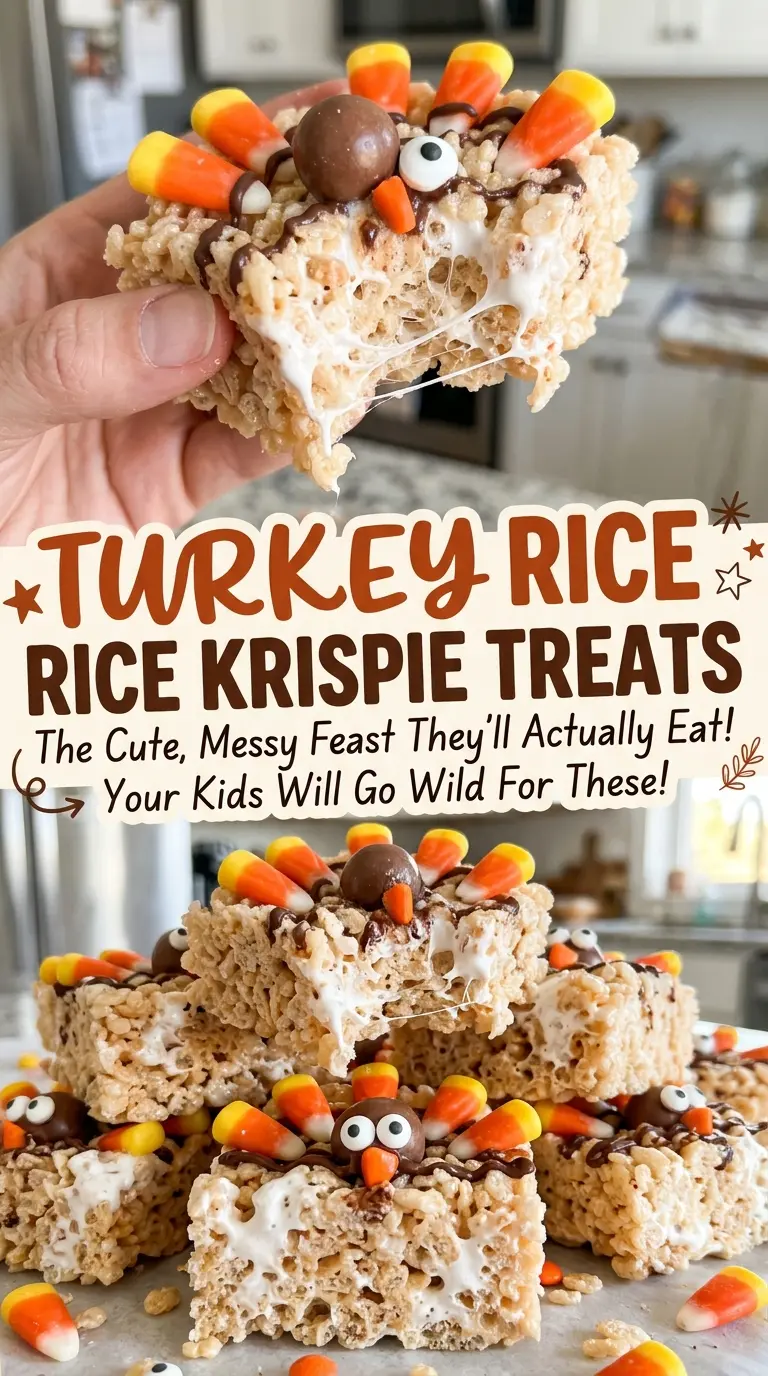
Mini marshmallows melt into a smooth base that coats the crisp rice cereal evenly, while a light press keeps the treats from turning compact. After they cool, melted chocolate works as the edible glue for the candy corn and eyes. Pipe on the beak and wattle, give the decorations time to set, and each rectangle becomes a little turkey with a fan of candy-corn feathers.
Kitchen Note
Chocolate can go from smooth to scorched in a hurry, so I microwave it in short 20-second bursts and stir every time. Stop as soon as it looks melted and glossy; it doesn’t need extra heat.
Save these Turkey Rice Krispie Treats for a party table or a hands-on decorating afternoon, with candy-corn feathers and chocolate-set faces.
Why These Turkey Treats Need a Light Touch, Not a Firm Pack
Rice Krispie treats can look a little loose when they first go into the pan, which makes it tempting to press down hard. Resist that urge. Compressing the cereal squeezes out the small airy spaces that make each bite crisp and tender, leaving you with a dense bar instead. A gentle, even press is enough to bring the mixture together and give you a level surface for decorating.
That matters especially here because each treat has to hold a candy-corn fan and a pair of eyes. If the base is packed tight, it feels heavy to bite and the decorations are more likely to crack the surface as you press them on. If it is too uneven, the turkey faces won’t sit at a consistent height. Use the coated spatula to nudge the mixture into the corners, then smooth it without leaning your weight into it. The finished layer should look even, not squeezed flat.
What Gives the Marshmallow Base Its Stretch and the Turkey Faces Their Shape
- Mini marshmallows — They melt quickly into the butter and coat the cereal without large pockets of unmelted marshmallow. Keep the heat at medium-low and stir until the mixture is smooth. Larger marshmallows can work if cut into smaller pieces first, but they may take longer to melt evenly.
- Unsalted butter and salt — Butter gives the marshmallow base a softer, richer bite, and unsalted butter lets the small amount of salt balance the sweetness. A dairy-free version needs plant-based butter; the finished treats may be a little softer depending on the brand.
- Crisp rice cereal — The crisp, light pieces give the bars their familiar crunch and keep the marshmallow base from feeling too heavy. Choose cereal that is crisp rather than stale; no other cereal will give quite the same texture.
- Semisweet chocolate chips — The chocolate sets into small, sturdy dots that hold the candy decorations in place. Milk chocolate chips are a workable swap if you prefer a sweeter finish, though the faces will taste sweeter too. Dairy-free chocolate chips work for a dairy-free batch.
- Candy corn and candy eyes — The candy corn makes the recognizable feather fan, while the eyes give each rectangle a clear face. Arrange the corn with its pointed ends facing outward so the fan reads as feathers instead of a row of candy.
- Orange and red decorating icing — The orange icing makes a small beak and the red icing adds the wattle beneath the eyes. Keep the details small; oversized icing marks can cover the face and make the candy features harder to see.
- Cooking spray — A light coating on the pan and sturdy spatula makes the sticky mixture easier to handle. Coat both before you start melting the marshmallows, since the cereal mixture gets harder to spread as it cools.
From Smooth Marshmallows to Set Turkey Faces: The Four Stages That Matter
Coat the Pan Before the Marshmallows Melt
Coat a 9×13-inch baking pan and a sturdy spatula with cooking spray before you begin. The pan needs to be ready when the cereal mixture comes off the heat, and the coated spatula helps you spread it without dragging up sticky clumps. Keep the pan nearby while you work at the stove. That small bit of setup makes the transfer much less fussy.
Melt the Butter and Marshmallows Until Smooth
Melt the butter in a large pot over medium-low heat, then stir in the mini marshmallows and salt. Give the mixture 4 to 6 minutes, stirring as it softens, until there are no visible marshmallow lumps and the mixture looks smooth. If you turn the heat up to rush it, the marshmallows can scorch against the bottom of the pot. Take the pot off the heat once the texture is even.
Fold, Spread, and Let the Slab Cool
Add the cereal to the pot and fold until the pieces are evenly coated. Transfer the sticky mixture to the prepared pan and gently press it into an even layer with the coated spatula. Let it cool at room temperature for 30 minutes; cutting before the slab has set makes the rectangles more likely to bend or pull apart. Once cool, cut the slab into 12 rectangles.
Build the Faces and Let the Decorations Set
Microwave the chocolate chips in a small microwave-safe bowl in 20-second intervals, stirring after each one, until smooth; the total time is about 40 to 60 seconds. Dab chocolate along the top edge of each rectangle and attach 3 candy corn in a fan, with the points facing outward, then use more small dabs to attach 2 candy eyes to the front. Pipe a small orange beak and red wattle beneath the eyes. Let the chocolate and icing set for 10 minutes before serving.
Three Ways to Change the Turkey Treats Without Losing Their Charm
Make a dairy-free batch
Replace the butter with the same amount of plant-based butter and use dairy-free mini marshmallows and chocolate chips. Choose dairy-free versions of the candy corn, candy eyes, and decorating icing as well. The treats keep the same chewy-crisp idea, though plant-based butter can make the base a touch softer.
Skip the turkey decorations for plain squares
Leave off the chocolate, candy corn, candy eyes, and icing, then cut the cooled cereal slab into 12 rectangles. You’ll have straightforward crisp rice treats with the same marshmallow base, but without the extra sweetness and crunch from the decorations.
Use milk chocolate for a sweeter face
Swap the semisweet chips for the same amount of milk chocolate chips when you melt the chocolate for the decorations. The candy will attach in the same way, but the overall sweetness will be more pronounced against the marshmallow base.
Storage and Serving
- Refrigerator: Skip the fridge; cold temperatures firm the marshmallow base and can make the cereal less crisp. Store the treats in an airtight container at room temperature and enjoy them within 2 days for the best texture.
- Freezer: Freeze the undecorated rectangles in a tightly wrapped, freezer-safe container for up to 6 weeks. Thaw at room temperature, then add the chocolate and candy decorations.
- Reheating: These are best served at room temperature and don’t need reheating. Microwaving decorated treats can soften the chocolate and icing and make the candy pieces slide.
Questions That Come Up While Making Turkey Rice Krispie Treats
Turkey Rice Krispie Treats
Ingredients
Equipment
Method
- Coat a 9x13-inch baking pan and a sturdy spatula with cooking spray.
- Melt the butter in a large pot over medium-low heat, then stir in the marshmallows and salt for 4 to 6 minutes, until smooth.
- Remove the pot from the heat, add the crisp rice cereal, and fold until evenly coated.
- Transfer the mixture to the prepared pan and gently press it into an even layer. Let it cool at room temperature for 30 minutes.
- Cut the treats into 12 rectangles.
- Microwave the chocolate chips in a small microwave-safe bowl in 20-second intervals, stirring each time, until melted and smooth, about 40 to 60 seconds total.
- Use small dabs of melted chocolate to attach 3 candy corn to the top edge of each treat in a fan shape, with the pointed ends facing outward.
- Use small dabs of melted chocolate to attach 2 candy eyes to the front of each treat.
- Pipe a small orange beak and a red wattle beneath the eyes on each treat.
- Let the chocolate and icing set for 10 minutes before serving.