
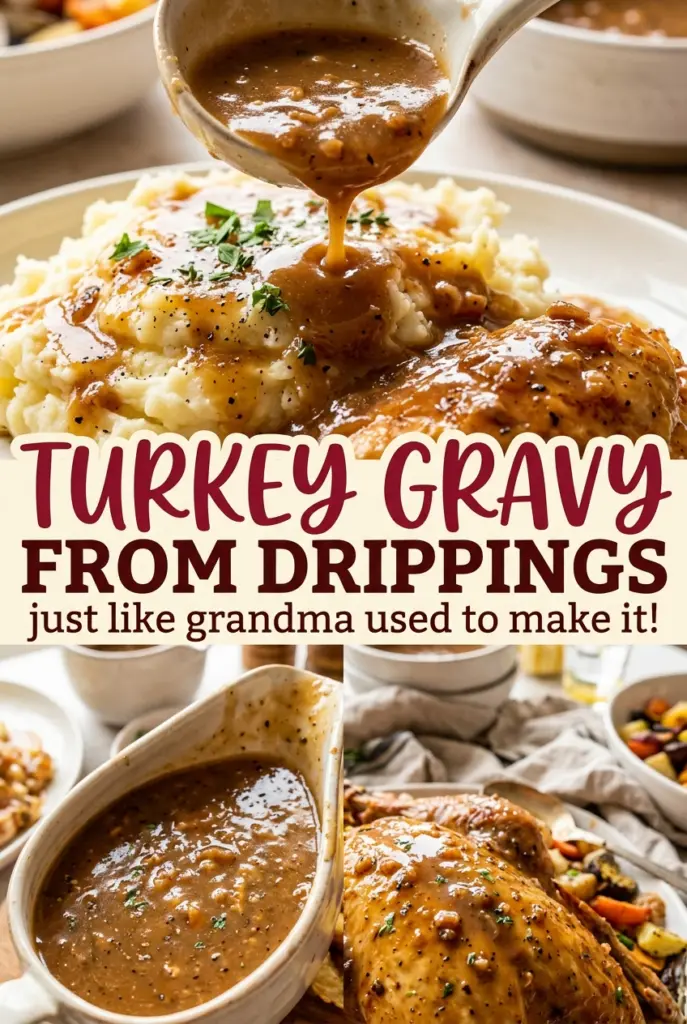
Turkey Gravy from Drippings
The turkey is resting, the roasting pan still holds its dark browned bits, and gravy can feel like one more task at the busiest point of dinner. This turkey gravy…
Tip: save now, cook later.The turkey is resting, the roasting pan still holds its dark browned bits, and gravy can feel like one more task at the busiest point of dinner. This turkey gravy from drippings turns those pan juices into a smooth, savory gravy for eight, with low-sodium turkey broth filling in when the juices come up short. It tastes of the roast rather than a packet, and the steps are steady enough to handle while the rest of the meal comes together.
I like the way a simple flour roux gives the gravy its body, without needing a last-minute thickener stirred in at the end. The liquid goes in gradually, so you can keep whisking as the sauce takes shape. When it’s ready, it coats the back of a spoon and still pours easily over sliced turkey.
Kitchen Note
Give the drippings the full five minutes in the fat separator before measuring. That pause lets the fat rise cleanly, so you can portion the juices and fat separately instead of guessing at the split.
Save this turkey gravy from drippings for a smooth, savory finish to your roast turkey dinner.
Why the Four-Cup Liquid Mark Matters More Than the Pan Juices You Start With
Turkey pans don’t all leave the same amount of liquid behind. Some give you close to four cups of defatted juices; others leave much less. Instead of changing the flour and fat to match whatever happens to be in the pan, bring the combined juices and broth to four cups. That gives the roux a consistent amount of liquid to thicken.
The balance matters because the flour and fat are doing a specific job: together, they build enough body for four cups of liquid without turning the gravy pasty. The turkey juices supply the roasted flavor, while low-sodium broth fills out the volume without pushing the seasoning too far. If you use less total liquid, the gravy will come out thicker; if you pour in more, it will be thinner. Keeping the total at the intended mark makes the final spoon test much more predictable.
What the Drippings, Butter, and Flour Each Bring to This Turkey Gravy
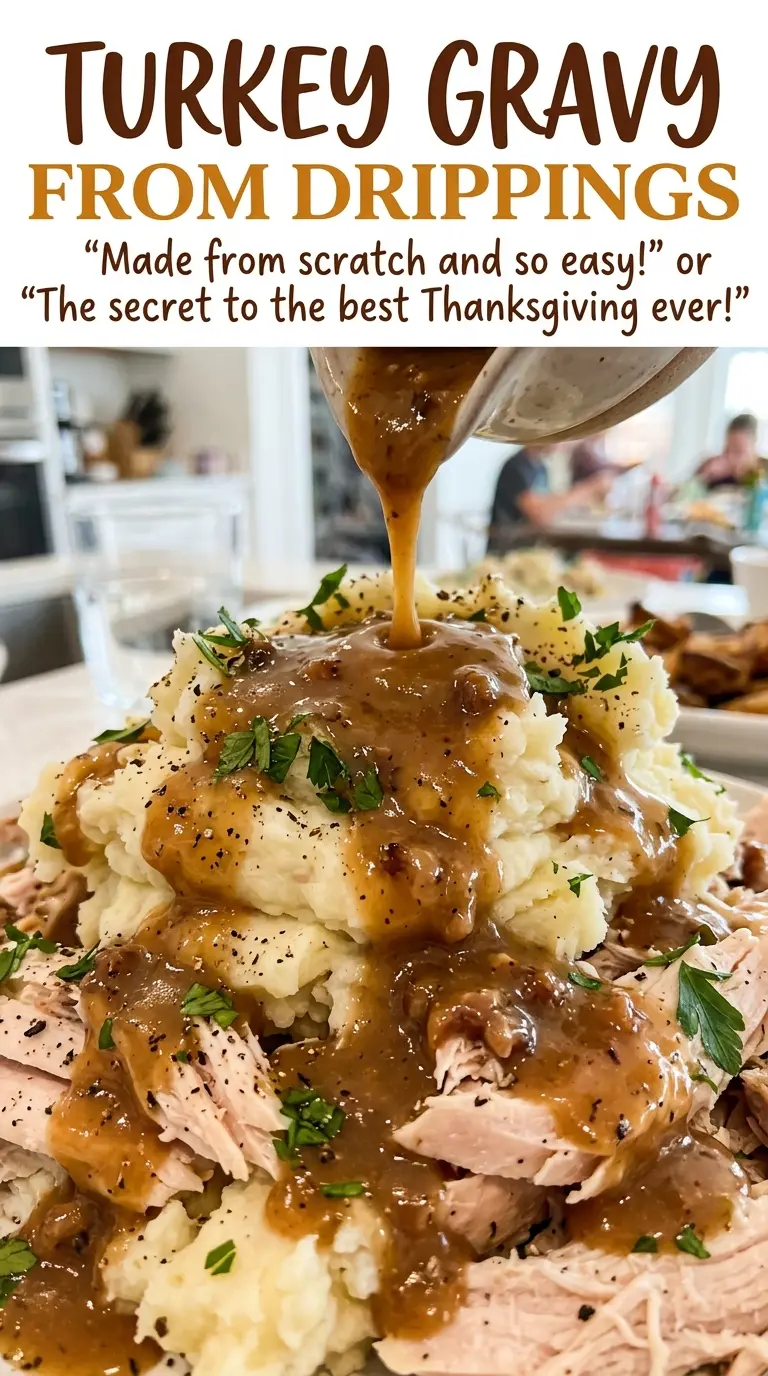
- Turkey pan juices and low-sodium turkey broth — The juices carry the browned, roasted flavor that makes this gravy taste connected to the turkey. Low-sodium broth is the useful backup for bringing the liquid to the needed total, and a basic grocery-store brand works well. Strain the drippings so stray solids don’t end up in the finished gravy.
- Turkey drippings fat and unsalted butter — Turkey fat gives the roux its savory base. When there isn’t enough separated fat, unsalted butter fills the gap without adding as much unpredictable salt as salted butter would. The quality of the butter matters less than measuring the total fat accurately.
- All-purpose flour — Flour thickens the gravy as the roux simmers. Regular all-purpose flour is the right fit for this method; a different thickener won’t cook into the same roux, so it isn’t a direct swap here. A standard, inexpensive bag works just fine.
- Kosher salt and black pepper — Salt brings the turkey flavor into focus, but the pan juices may already be seasoned, so taste before adding more. Freshly ground or pre-ground black pepper both work; choose the texture you like in gravy.
From Strained Pan Juices to Gravy That Coats a Spoon
Separate the Juices from the Fat
Pour the drippings and browned bits from the roasting pan through a fine-mesh strainer into a fat separator. Let it stand for five minutes, then measure the defatted juices. Add low-sodium turkey broth as needed to bring the combined liquid to four cups. Keeping the fat separate now makes it much easier to measure what goes into the roux.
Cook the Roux Until Lightly Golden
Measure the turkey fat into a 2-quart saucepan, adding enough unsalted butter to make the total fat measure complete. Set the pan over medium heat, whisk in the flour, and cook for two to three minutes. Keep the whisk moving across the bottom and corners so the flour cooks evenly. The roux should look smooth and lightly golden, not dark brown.
Whisk in the Liquid Gradually
Pour in the pan-juice mixture a little at a time while whisking. Adding it gradually helps the flour and fat blend smoothly into the liquid. Once it’s all incorporated, bring the gravy to a simmer over medium-high heat. Stay nearby and whisk often as it thickens.
Simmer, Then Season
Simmer for five to eight minutes, whisking often, until the gravy thickens and coats the back of a spoon. A thin, watery look at the start of the simmer isn’t a reason to add more flour; give the gravy time to thicken. Stir in the kosher salt and black pepper, taste, and add more salt if needed. It should still pour easily from the spoon.
Three Practical Ways to Adjust the Gravy to Your Table
Use More Pan Juices for a Roast-Forward Gravy
When the roasting pan gives you plenty of defatted juices, use them for more of the four-cup liquid total and add less broth. The gravy will carry a fuller roasted-turkey flavor. Keep the total liquid at four cups so the texture stays in balance.
Make It Dairy-Free When You Have Enough Turkey Fat
If the separated turkey fat is enough to make the full fat measure, leave out the butter. The gravy keeps its turkey-forward character, though the result depends on having sufficient drippings fat. If you need butter to complete the measure, this version won’t be dairy-free.
Use Butter When the Pan Doesn’t Leave Much Fat
If you have only a little turkey fat, use unsalted butter to make up the rest of the fat measure. The flavor will be a little less deeply roasted than a gravy made with all turkey fat, but the roux will still thicken the pan juices and broth smoothly.
Storage and Reheating
- Refrigerator: Cool in a shallow, airtight container and refrigerate within two hours. Use within three to four days; the gravy will firm up as it chills.
- Freezer: Freeze in an airtight container for up to two to three months for best quality. Leave a little room at the top for expansion, then thaw in the refrigerator.
- Reheating: Warm in a saucepan over low heat, whisking often, until it reaches 165°F. If it has thickened too much, whisk in a little low-sodium turkey broth; avoid a hard boil, which can make the texture less smooth.
Questions That Come Up When Making Turkey Gravy from Drippings
Turkey Gravy from Drippings
Ingredients
Equipment
Method
- Pour the turkey drippings and browned bits from the roasting pan through a fine-mesh strainer into a fat separator.
- Let the drippings stand for 5 minutes.
- Measure up to 4 cups of the defatted juices, then add low-sodium turkey broth as needed to make 4 cups total.
- Measure 1/4 cup of the separated fat into a 2-quart saucepan and add enough unsalted butter to make 1/4 cup total fat if needed.
- Heat over medium, whisk in the flour, and cook for 2 to 3 minutes, whisking, until smooth and lightly golden.
- Gradually whisk in the pan-juice mixture.
- Bring to a simmer over medium-high heat.
- Simmer for 5 to 8 minutes, whisking often, until the gravy thickens and coats the back of a spoon.
- Stir in the salt and pepper, taste, and add more salt if needed.
