
Scalloped Potatoes
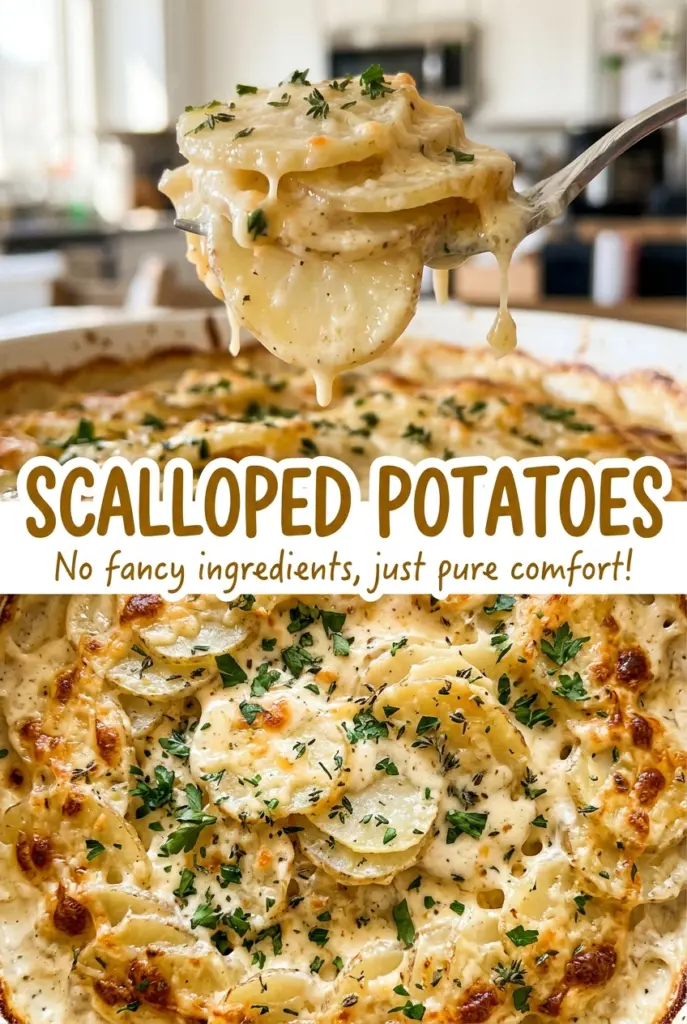
The top comes out of the oven bronzed at the edges, while the sauce underneath is still soft and creamy. That contrast is what I want from scalloped potatoes: tender…
Tip: save now, cook later.The top comes out of the oven bronzed at the edges, while the sauce underneath is still soft and creamy. That contrast is what I want from scalloped potatoes: tender slices that hold their shape, onion tucked between the layers, and a simple milk sauce that coats rather than pools. Yukon Golds make a good base for this because their texture stays pleasantly creamy without disappearing into the dish.
I keep the seasoning straightforward and let the potatoes and onion carry the flavor. The sauce starts with butter and flour, then milk goes in gradually so it thickens smoothly before it meets the potatoes. Once the dish is assembled, the oven does the slow work: covered first to soften the layers, then uncovered so the top can turn golden. Each portion has distinct layers and enough sauce to bring them together.
Kitchen Note
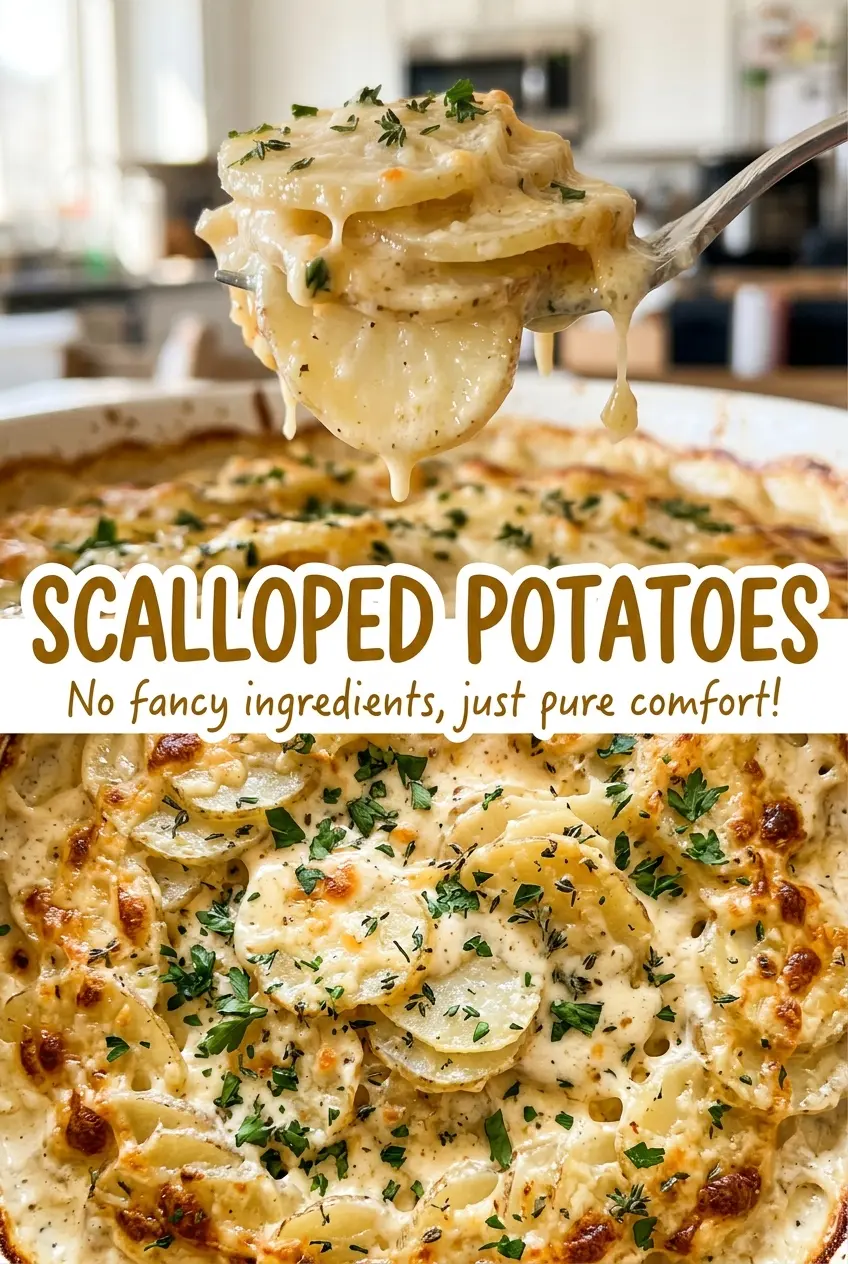
Give the potatoes the full 15-minute rest before serving. The sauce settles into the layers during that pause, so scoops hold together better instead of sliding apart on the plate.
Save these scalloped potatoes for a dinner where creamy layers and a golden top belong at the center of the table.
Why Even 1/8-Inch Potato Slices Matter More Than a Longer Bake
Scalloped potatoes can look nearly ready on top while the centers of the layers are still firm. The issue is often uneven slicing: thicker pieces take longer to soften, and thinner pieces around them may turn mushy by the time the middle catches up. Cutting the potatoes to a consistent 1/8 inch gives the whole dish a much better chance of becoming tender at the same time.
Layering also affects how the sauce reaches the potatoes. Arrange the slices so they overlap, then scatter onion between the two layers rather than leaving it all on top. That gives each serving some onion and keeps the surface from becoming a crowded pile of loose slices. Yukon Gold potatoes are especially useful here because they become creamy as they cook but still give the layers definition. A paring knife sliding easily into the center is a more reliable doneness cue than judging the golden top alone.
What the Yukon Golds, Onion, and Roux Each Bring to the Dish
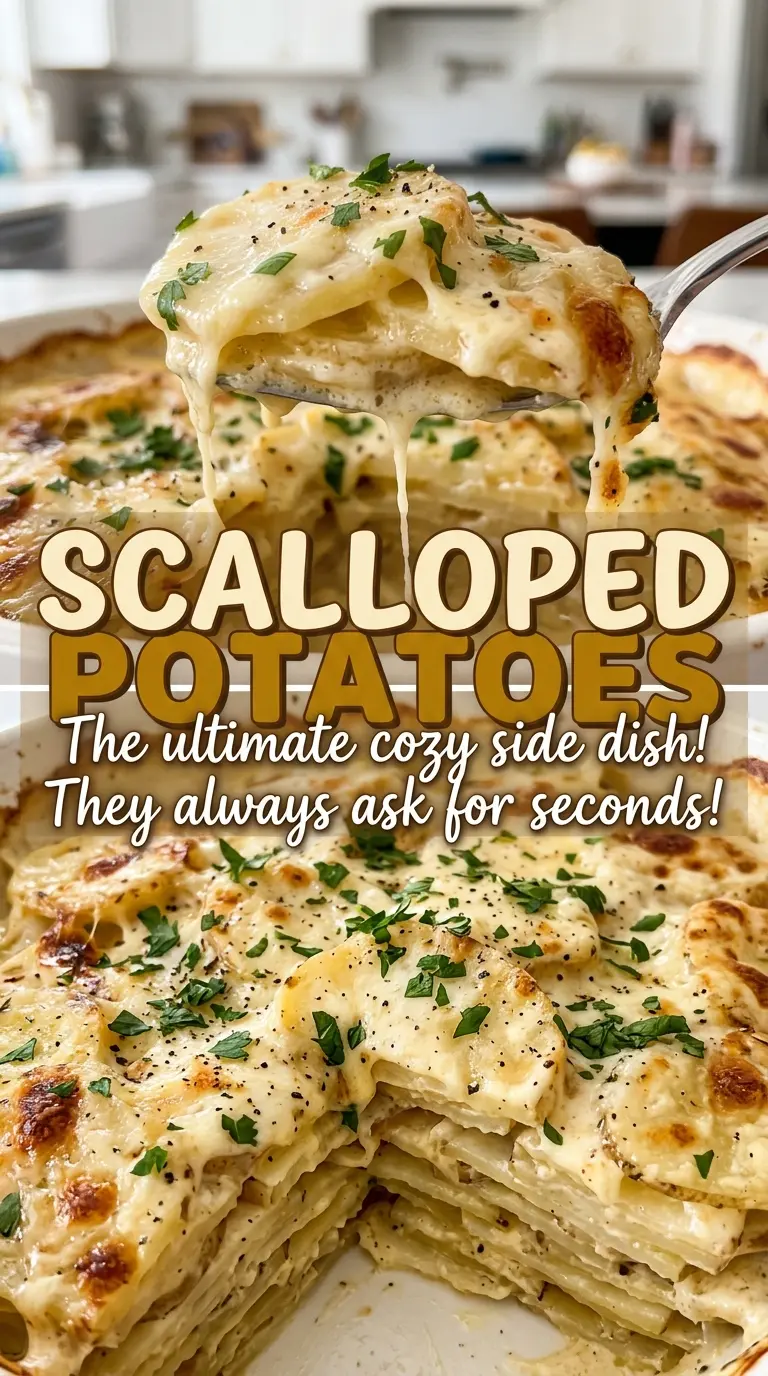
- Yukon Gold potatoes — Their creamy texture is a good match for a layered bake, and they keep enough structure to serve in portions. Choose firm potatoes without soft spots; peeling and slicing them evenly matters more here than seeking out a particular brand. Another potato variety can change the texture, so Yukon Golds give the most dependable result for this version.
- Yellow onion — Thin slices soften between the potatoes and add a gentle savory sweetness without taking over the dish. A fresh, firm onion is fine; there’s no need for a specialty variety. Keep the slices thin so they soften along with the potatoes instead of staying crisp.
- Unsalted butter — Butter greases the baking dish and gives the flour-and-milk sauce its rich base. The unsalted kind lets the kosher salt remain the main seasoning control. Use the divided portions for their separate jobs: a little in the dish, the rest in the saucepan.
- All-purpose flour and whole milk — Flour thickens the milk into a sauce that clings to the potato layers instead of running straight to the bottom. Whole milk gives the sauce a fuller texture than a lower-fat milk would. Whisking the milk in gradually helps the flour blend smoothly; a gluten-free 1:1 flour blend can replace the all-purpose flour for a gluten-free adaptation, though the sauce may thicken a little differently.
- Kosher salt and black pepper — These season the sauce rather than being scattered unevenly over the assembled potatoes. Grind or measure the pepper before you start whisking so both seasonings can be incorporated into the sauce.
Build the Sauce Before the Potatoes Go Into the Oven
Slice and Layer the Potatoes
Heat the oven to 350°F, then peel the Yukon Gold potatoes and slice them 1/8 inch thick. Thinly slice the yellow onion as well. Butter a 9×13-inch baking dish with 1 tablespoon of butter, then arrange half the potatoes in overlapping layers and scatter half the onion over them. Repeat with the remaining potatoes and onion, keeping the slices spread across the dish rather than stacked in one spot.
Cook the Flour in Butter
Melt the remaining 4 tablespoons of butter in a medium saucepan over medium heat. Whisk in the flour and cook it for 1 minute, stirring so the mixture stays smooth and doesn’t catch on the bottom. The butter and flour will form a thick paste; that’s the base that will thicken the milk. If you see dry flour pockets, keep whisking before adding the liquid.
Whisk the Milk Until the Sauce Coats a Spoon
Gradually whisk in the whole milk, kosher salt, and black pepper. Adding the milk in stages while whisking helps prevent lumps from forming around the flour. Bring the sauce to a gentle simmer and cook, whisking, for 3 to 5 minutes. It’s ready when it thickens enough to coat a spoon; don’t wait for it to become stiff in the saucepan.
Bake Covered, Then Let the Top Brown
Pour the sauce evenly over the layered potatoes. Cover the dish tightly with foil and bake for 45 minutes, which gives the potatoes time to soften under the cover. Uncover and bake for 25 to 35 minutes, until a paring knife slides easily into the center and the top is golden. If the center still resists the knife, continue baking until it turns tender rather than relying on color alone.
Let the Layers Set Before Serving
Take the dish from the oven and let the potatoes rest for 15 minutes before serving. The bubbling sauce will be hot and loose right away, so cutting into the dish immediately makes portions harder to lift neatly. After the rest, the layers are easier to scoop while the sauce still feels creamy. Serve from the baking dish so the softer edges and browned top both make it onto the plate.
Two Practical Ways to Adapt the Potato Layers
A Gluten-Free Sauce
Use a gluten-free 1:1 flour blend in place of the all-purpose flour, keeping the same amount. Cook it in the butter and whisk in the milk as usual; the sauce may thicken at a slightly different pace, so use the spoon-coating texture rather than expecting the exact same minute. The potato and onion layers stay unchanged, while the sauce may be a little less silky depending on the blend.
A Dairy-Free Version
Replace the butter with an equal amount of dairy-free butter and the whole milk with the same amount of plain, unsweetened oat milk. Keep the flour and the sauce-making method the same. The result will be less buttery and the sauce’s richness will depend on the oat milk you choose, so use one without vanilla or added sweetness.
Storage and Reheating
- Refrigerator: Store leftovers covered for 3 to 4 days. The potatoes will firm up as they chill, and the sauce may look thicker until warmed.
- Freezer: You can freeze cooled portions in airtight containers for up to 2 months. Thaw them in the refrigerator; the potatoes may soften and the sauce may separate slightly after freezing.
- Reheating: Warm portions covered in a 325°F oven until heated through, or use a microwave for an individual serving. Avoid reheating uncovered for a long stretch, which can dry the potato edges before the center is hot.
The Questions That Come Up Before Serving Scalloped Potatoes
Scalloped Potatoes
Ingredients
Equipment
Method
- Preheat the oven to 350°F.
- Peel and slice the Yukon Gold potatoes 1/8 inch thick, and thinly slice the medium yellow onion.
- Butter a 9x13-inch baking dish with 1 tablespoon of the butter.
- Arrange half the potatoes in overlapping layers and scatter half the onion over them; repeat with the remaining potatoes and onion.
- Melt the remaining 4 tablespoons butter in a medium saucepan over medium heat.
- Whisk in the flour and cook for 1 minute.
- Gradually whisk in the milk, salt, and pepper.
- Bring to a gentle simmer and cook, whisking, for 3 to 5 minutes, until the sauce thickens enough to coat a spoon.
- Pour the sauce evenly over the potatoes, cover the dish tightly with foil, and bake for 45 minutes.
- Uncover and bake for 25 to 35 minutes, until a paring knife slides easily into the center and the top is golden.
- Let the potatoes rest for 15 minutes before serving.
