
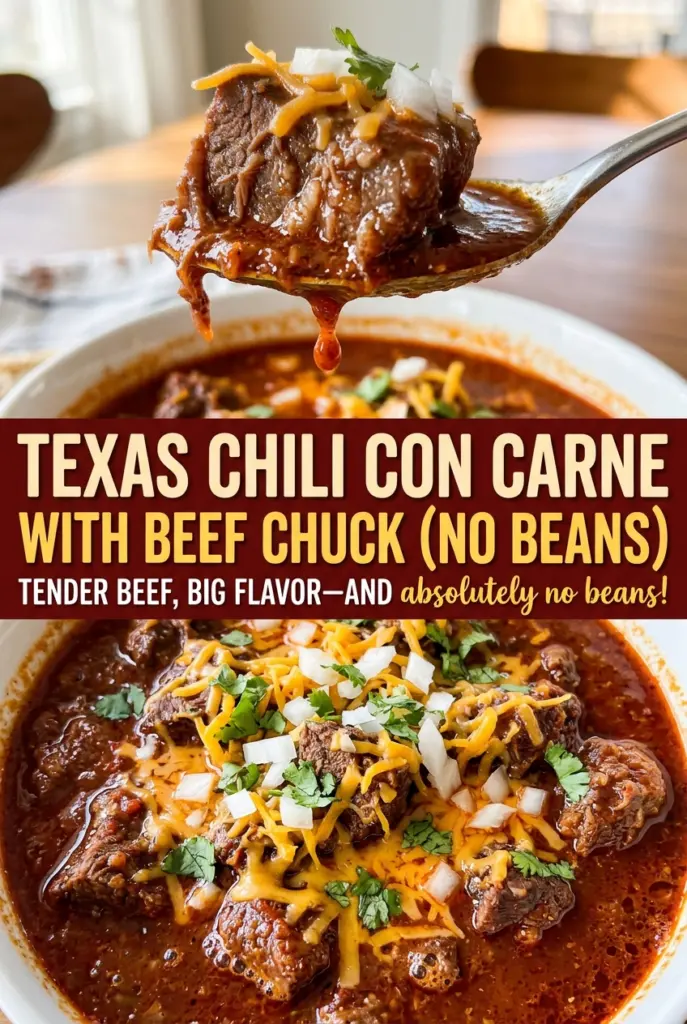
Texas Chili Con Carne with Beef Chuck (No Beans)
The first sizzle when the beef hits the Dutch oven is exactly what you want: a deep brown crust forming on the outside while the center stays raw. I brown…
Tip: save now, cook later.The first sizzle when the beef hits the Dutch oven is exactly what you want: a deep brown crust forming on the outside while the center stays raw. I brown the chuck in three batches rather than rushing it, because crowded meat steams instead of picking up color. That patience gives Texas Chili Con Carne with Beef Chuck its rich base before the chiles even go in.
This no-bean chili gets its character from whole dried ancho and guajillo chiles, softened in hot broth and blended into a smooth puree. Chuck needs a long, gentle simmer to turn tender, and the chile sauce has time to settle into every piece. A little masa harina thickens the pot at the end, so the finished chili clings to the beef instead of running like broth.
Kitchen Note
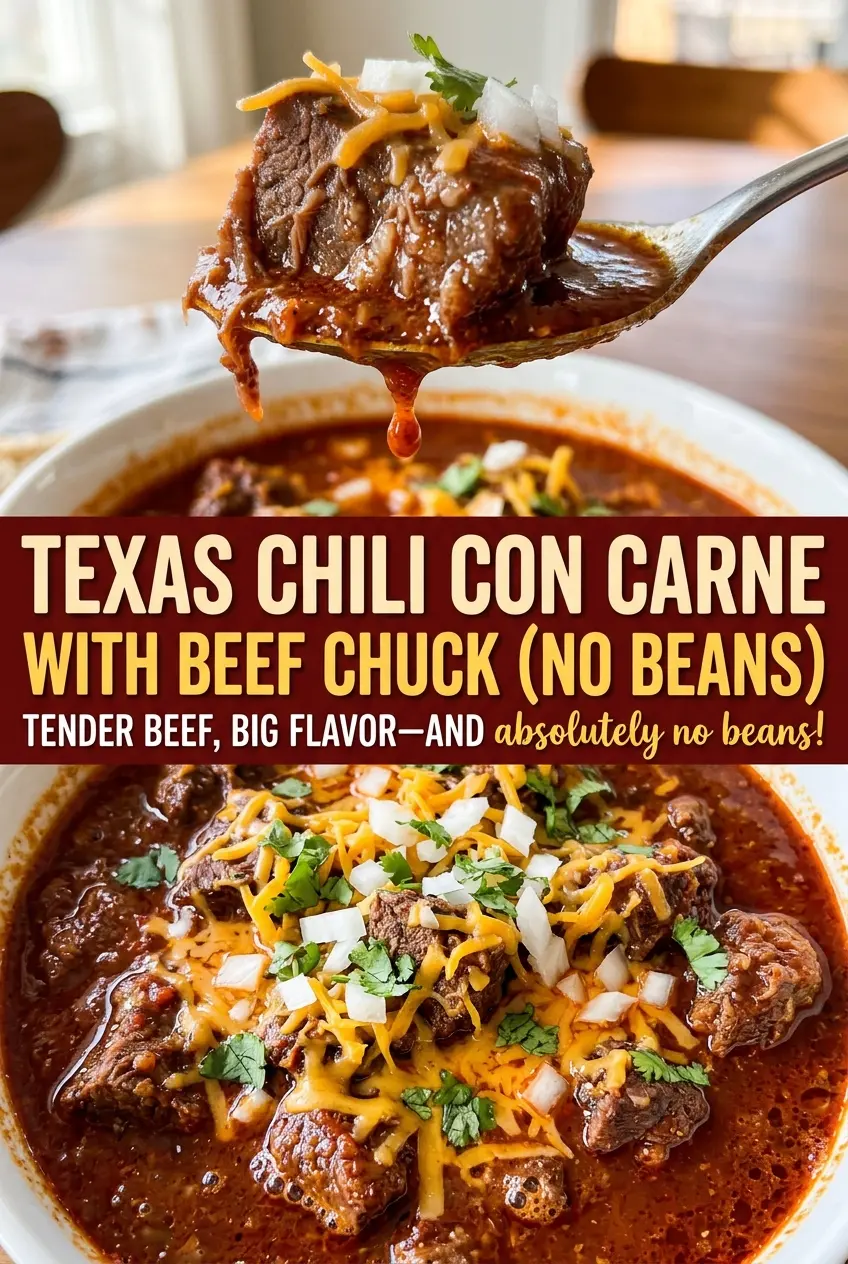
Give the dried chiles the full 20-minute soak in steaming broth. They should feel softened before they go into the blender, which helps the puree turn smooth instead of leaving tough flecks in the sauce.
Save this Texas Chili Con Carne for a pot of fork-tender beef in a smooth, chile-rich sauce—no beans needed.
Why 1½-Inch Chuck Cubes Hold Up in a No-Bean Chili
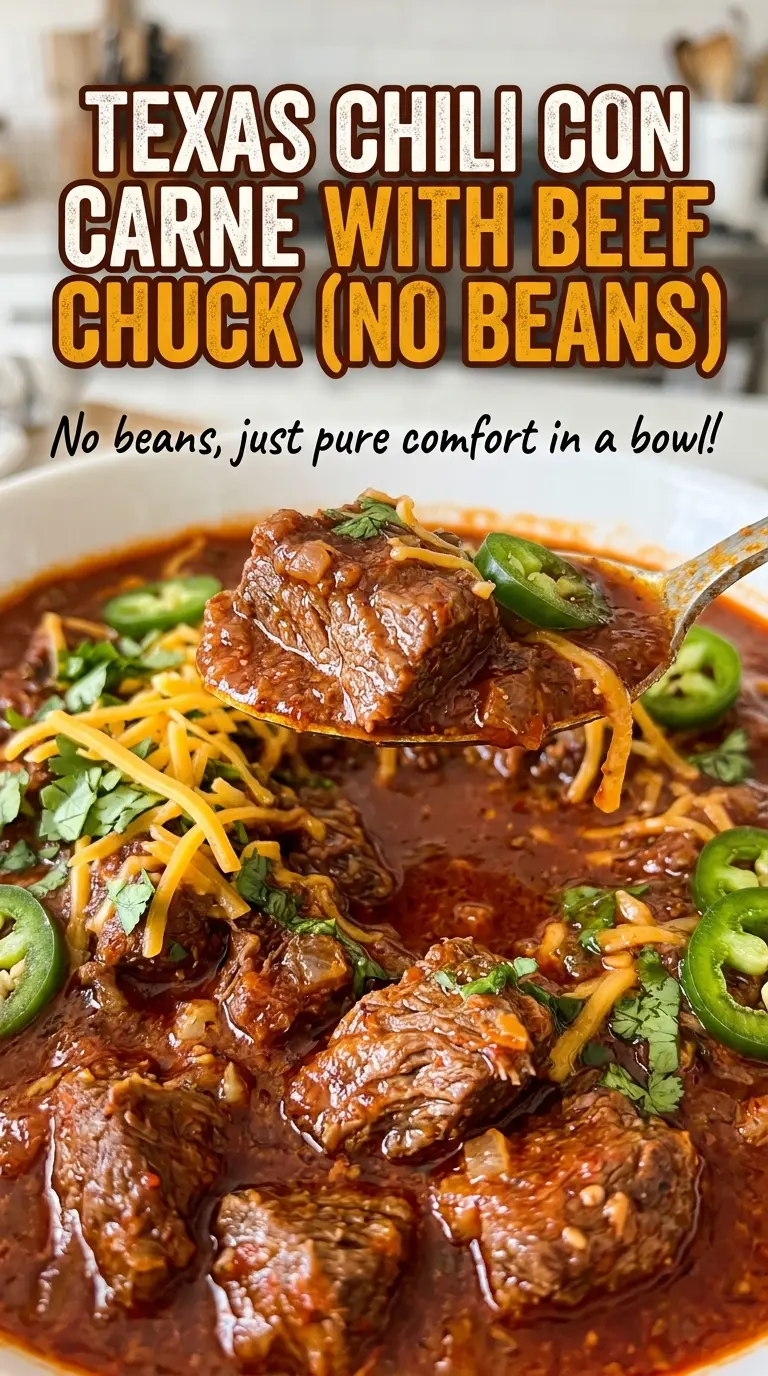
Without beans, there isn’t a second ingredient bringing bulk or a soft, starchy texture to the bowl. The beef needs to stay in substantial pieces while the sauce thickens around it. Cutting the chuck into 1½-inch cubes gives each piece enough size to stand up to the long simmer, but still lets the heat work through the meat until it turns fork-tender.
Smaller pieces have less room for error over a couple of hours on the stove; they can lose their shape before the sauce is ready. Much larger pieces take longer to soften evenly. That cube size also makes the chili easy to serve straight from the pot, with a generous chunk of beef in each spoonful. The goal isn’t meat that falls apart into shreds or stays chewy in the middle. It’s tender cubes coated in a thick, smooth chile sauce.
How the Chiles, Chuck, and Masa Shape This Chili
- Ancho and guajillo chiles — These dried chiles build the sauce itself, not just its heat. Choose chiles that are pliable rather than brittle when possible; their skins soften more readily during soaking and blend into a smoother puree. Anchos bring a round, earthy depth, while guajillos add a brighter chile note. The blend gives the sauce more dimension than using ground chile powder in its place.
- Beef chuck roast — Chuck has the structure and connective tissue for a slow braise, becoming tender as it simmers. Look for a roast with some visible marbling and trim away any especially large, hard pieces of fat before cutting it. Precut stew meat varies in size and cut, so a whole chuck roast gives you more consistent cubes.
- Low-sodium beef broth — It hydrates the chiles and carries the beef flavor into the sauce. Low-sodium broth leaves room for the kosher salt to season the beef without making the finished pot overly salty. A good-quality broth matters, but a familiar store-brand low-sodium option works well here.
- Masa harina — This finely ground corn flour thickens the chili and adds a gentle corn note. It isn’t the same as cornmeal, which has a coarser texture and won’t make the same smooth slurry. Whisking it with cold water before it goes into the pot helps it disperse without lumps.
- Yellow onion, garlic, cumin, and Mexican oregano — These aromatics and spices give the chile sauce a savory backbone. Dried Mexican oregano is worth using if you have it, though dried oregano from the pantry will still season the pot; the two have slightly different herbal notes.
Building the Chile Sauce and Simmering the Beef Until Tender
Toast, Soak, and Blend the Dried Chiles
Set a 6-quart Dutch oven over medium-low heat and toast the stemmed, seeded ancho and guajillo chiles in batches for about 30 seconds per side. Look for fragrant, pliable chiles rather than dark, scorched patches. Transfer them to a heatproof bowl, pour over 1 cup of steaming beef broth, and leave them to soak for 20 minutes. Blend the chiles with their soaking broth until the puree looks smooth and even.
Brown the Chuck in Uncrowded Batches
Pat the beef dry with paper towels, then season it with kosher salt and ground black pepper. Heat the vegetable oil in the Dutch oven over medium-high heat and brown the beef in three batches, turning the cubes so their sides take on color. Each batch takes about 3 to 4 minutes. If the meat is packed tightly into the pot, it releases moisture and steams, so give each batch room and move the browned beef to a plate.
Soften the Aromatics and Braise Gently
Add the diced onion to the pot and cook over medium heat for about 5 minutes, until softened. Stir in the minced garlic, cumin, and Mexican oregano; 30 seconds is enough to make the garlic fragrant without letting it scorch. Return the beef and any juices on the plate, then stir in the chile puree and the remaining 2 cups of beef broth. Bring everything to a gentle simmer, cover, and cook over low heat for 2½ to 3 hours, stirring every 30 minutes, until a fork passes through the beef easily.
Thicken the Pot and Let It Rest
Whisk the masa harina with the cold water until no dry pockets or lumps remain. Stir the slurry into the chili and simmer uncovered for 10 to 15 minutes, until the sauce thickens and coats the beef. Keep the simmer steady rather than letting the pot boil hard. Take the Dutch oven off the heat and let the chili rest for 10 minutes before serving.
Two Easy Ways to Adapt This Beef-and-Chile Pot
Make the sauce more ancho-forward
Replace the two guajillo chiles with two additional anchos, keeping the total at six dried chiles. The sauce will lean earthier and rounder, with less of the brighter note the guajillos bring.
Keep it gluten-free
Use certified gluten-free low-sodium beef broth and masa harina. Masa harina is made from corn, and these choices keep the same chile-rich sauce and thickened texture while accounting for possible cross-contact in packaged products.
Storage and Reheating
- Refrigerator: Refrigerate leftovers within 2 hours and keep them for 3 to 4 days. The sauce will thicken as it chills, and the beef may feel firmer straight from the fridge.
- Freezer: Freeze in airtight containers for up to 2 to 3 months. Thaw overnight in the refrigerator for the most even reheating.
- Reheating: Warm gently in a covered saucepan over low heat, stirring occasionally; add a small splash of broth if the chilled sauce is too thick. Heat leftovers to 165°F, and avoid a hard boil that can make the beef break apart.
Questions That Come Up While Making Texas Chili
Texas Chili Con Carne with Beef Chuck (No Beans)
Ingredients
Equipment
Method
- Heat a 6-quart Dutch oven over medium-low heat and toast the ancho and guajillo chiles in batches for about 30 seconds per side, until fragrant and pliable; transfer them to a heatproof bowl.
- Heat 1 cup of the beef broth until steaming and pour it over the chiles.
- Soak the chiles in the broth for 20 minutes.
- Transfer the chiles and soaking broth to a blender and blend until smooth.
- Pat the beef chuck roast dry with paper towels and season it with the kosher salt and ground black pepper.
- Heat the vegetable oil in the Dutch oven over medium-high heat and brown the beef in 3 batches, turning to brown the sides, about 3 to 4 minutes per batch; transfer the beef to a plate.
- Add the yellow onion to the pot and cook over medium heat for about 5 minutes, until softened.
- Stir in the garlic, ground cumin, and dried Mexican oregano and cook for 30 seconds.
- Return the beef and any accumulated juices to the pot.
- Stir in the chile puree and remaining 2 cups beef broth.
- Bring the chili to a gentle simmer.
- Cover and simmer over low heat for 2 1/2 to 3 hours, stirring every 30 minutes, until the beef is fork-tender.
- Whisk the masa harina with the cold water until smooth.
- Stir the masa harina mixture into the chili and simmer uncovered for 10 to 15 minutes, until thickened.
- Remove the pot from the heat and let the chili rest for 10 minutes before serving.