
Spatchcock Roast Turkey
The first thing you notice after cutting out the backbone is how easily the turkey settles flat on the pan. That broad shape gives you a clear view of the…
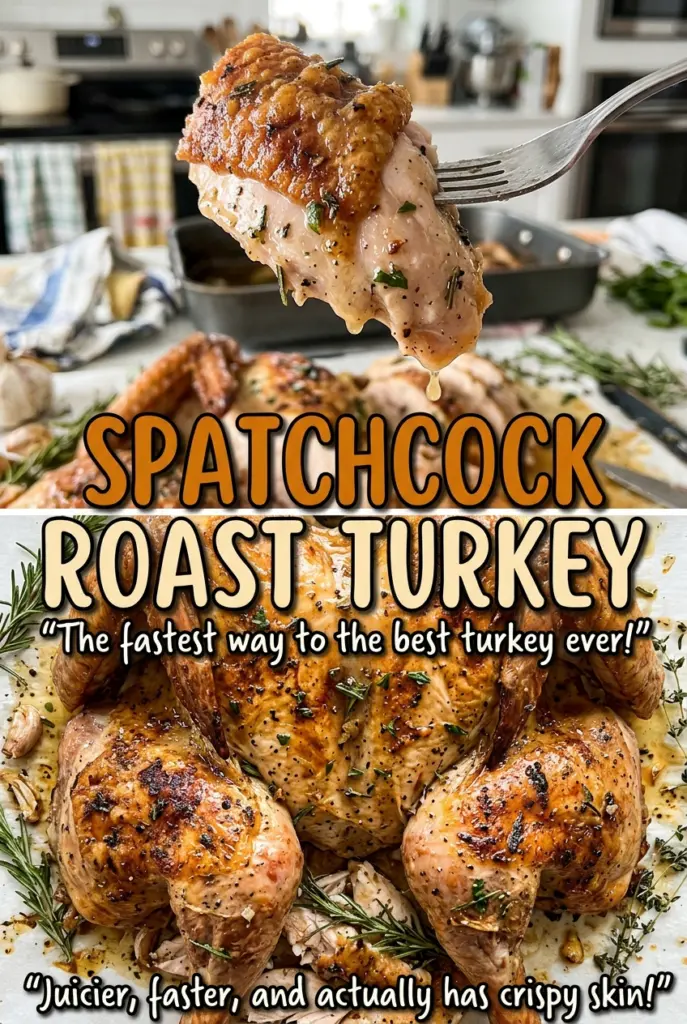
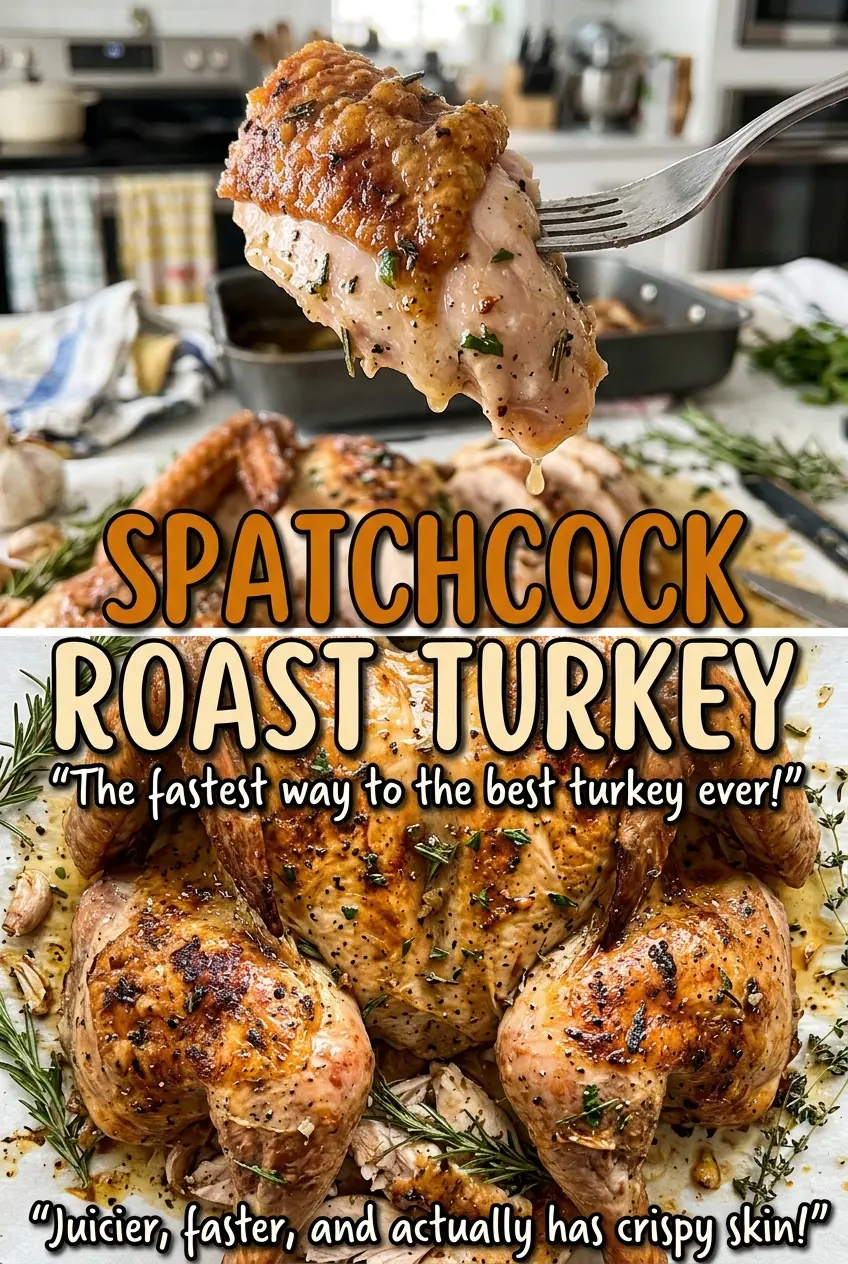
Tip: save now, cook later.The first thing you notice after cutting out the backbone is how easily the turkey settles flat on the pan. That broad shape gives you a clear view of the breast and legs, and it makes the bird much easier to season evenly. I roast this spatchcock turkey skin-side up after an uncovered rest in the refrigerator, so the skin has time to dry before it goes into the oven.
There’s no wrestling with a whole bird while trying to reach underneath it. Once it’s opened and flattened, I can spread the garlic-thyme butter under the breast and thigh skin, where it stays close to the meat as the turkey roasts. The butter on top gives the skin its own layer of seasoning, too.
Plan ahead for the refrigerator rest, then let the thermometer—not the clock alone—tell you when the turkey is ready. The breast stays tender, the thighs have time to cook through, and the skin comes out deeply browned and fragrant.
Kitchen Note
Use your fingers to loosen the skin gently before spreading the butter underneath. If you push too hard, the skin can tear; slow, small movements give you room to reach over the breast and thighs without forcing it.
Save this Spatchcock Roast Turkey for crisp skin, garlic-thyme butter, and an easier way to roast a whole bird.
Why the Breast and Thighs Need Different Doneness Targets
A whole turkey doesn’t cook as one uniform piece of meat. The breast is lean and can dry out if it stays in the oven longer than it needs to, while the thighs are darker and benefit from cooking to a higher temperature. Flattening the bird makes the different parts easier to reach with a thermometer, but it doesn’t erase that difference.
That’s why I check the thickest part of each breast and the innermost part of each thigh separately. One reading can’t tell you whether both areas have reached their proper finish, especially if the bird is slightly uneven. Keep the thermometer tip in the meat rather than against bone, which can give you a misleading reading.
This is also why the roasting-time range is a guide, not the final test. A 12- to 14-pound turkey may need a different amount of time within that range, so start checking as it approaches the shorter end. The separate readings protect the breast from unnecessary oven time while confirming the thighs are ready.
What the Butter, Salt, and Fresh Herbs Each Bring
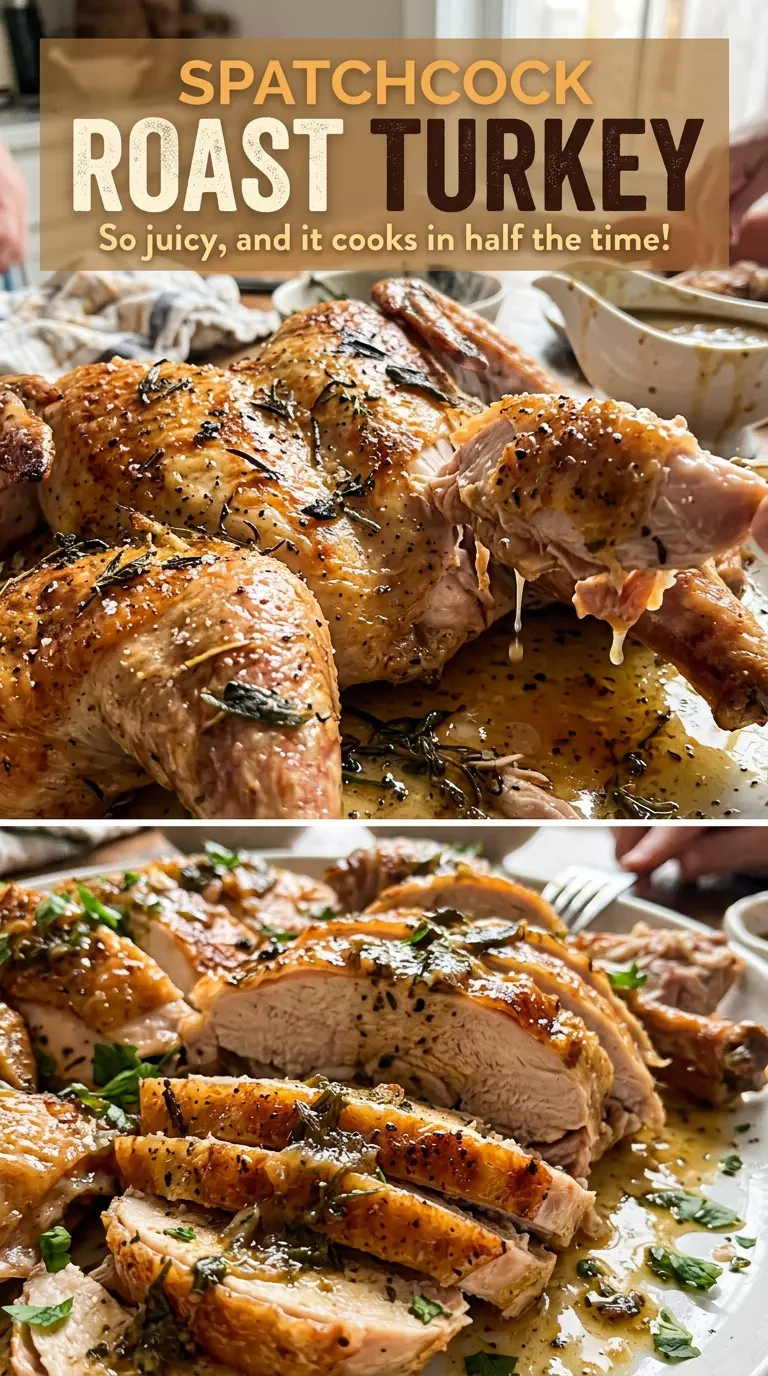
- The turkey — Choose a fully thawed bird in the stated 12- to 14-pound range, with the giblets and neck removed. That size fits the roasting plan and pan used here; a larger bird isn’t a direct timing swap.
- Kosher salt — Its job is more than seasoning the surface: the uncovered refrigerator rest gives the salted skin time to dry. Stick with kosher salt rather than swapping in table salt by volume, since the crystals pack differently.
- Unsalted butter — Softened butter spreads under the skin and across the outside without needing to melt it first. Unsalted butter also lets the salt level come from the measured kosher salt instead of an unknown amount already in the butter.
- Fresh garlic and thyme — Minced garlic and chopped fresh thyme disperse through the soft butter, so each smear carries some of both. Fresh thyme has a brighter, softer texture here than dried leaves, which can remain stiff in the butter.
- Freshly ground black pepper — Grinding it just before mixing gives the butter a fragrant pepper note. Pre-ground pepper will season the bird, but it won’t have quite the same aroma.
How to Flatten, Dry, and Roast the Turkey Without Guesswork
Open the Bird and Press It Flat
Pat the thawed turkey dry, then use poultry shears to cut down both sides of the backbone and remove it. Turn the bird breast-side up and press firmly on the breastbone until the turkey lies flat. A bird that still rocks or arches won’t sit evenly on the rack, so press again until the breast and legs rest in a broad, level shape. Set the backbone aside for another use or discard it.
Salt the Skin and Let the Refrigerator Do Its Work
Sprinkle kosher salt over both sides, including beneath the wings and legs, so the less-exposed areas aren’t missed. Set the turkey skin-side up on a wire rack fitted into an 18×13-inch rimmed baking sheet. Refrigerate it uncovered for 12 to 24 hours; covering it traps moisture against the skin instead of letting the surface dry. Keep the pan level so it stays stable in the refrigerator.
Mix and Spread the Garlic-Thyme Butter
Heat the oven to 425°F, then stir the softened butter, minced garlic, chopped thyme, and black pepper together in a small bowl. Loosen the skin over the breast and thighs with your fingers, working gently so it stays attached. Spread about half of the butter mixture underneath the skin, then rub the rest over the outside. If the butter is too firm to spread, give it a little time at room temperature rather than warming it until it melts.
Roast Until Both Areas Reach Their Targets
Roast the turkey skin-side up for 1 hour 15 minutes to 1 hour 35 minutes. Check the thickest part of each breast and the innermost part of each thigh, keeping the thermometer away from bone. The breast should reach 165°F and the thigh should reach 175°F; if one area needs longer, return the turkey to the oven and check again. Don’t stop at a browned surface, since color alone can’t confirm doneness.
Rest Before You Carve
Transfer the turkey to a cutting board and tent it loosely with foil. Let it rest for 30 minutes before carving so the juices have time to settle. Keep the foil loose rather than wrapping it tightly, which would trap more steam around the skin.
Three Small Changes That Shift the Flavor or Make It Dairy-Free
A dairy-free, butter-free roast
Leave out the entire butter mixture, including the garlic, thyme, and pepper mixed into it, and roast the salted turkey after its refrigerator rest. The bird will still cook, but you’ll lose the buttery coating and those herb-and-garlic notes, and the skin won’t have the same rich finish.
Keep the butter, skip the garlic
Omit the minced garlic from the butter mixture and use the butter, thyme, and black pepper as usual. You’ll keep the herb-and-pepper flavor without the sharper garlic aroma, and the under-skin butter technique stays the same.
Make it without thyme
Leave the chopped thyme out of the butter and keep the garlic and black pepper. The result is still savory, but the fresh herbal note steps back and lets the garlic and roasted turkey stand out.
Storage and Reheating
- Refrigerator: Refrigerate carved leftovers within 2 hours and use them within 3 to 4 days. The skin softens as it sits, even when the meat stays moist.
- Freezer: Freeze carved portions in airtight packaging for 2 to 6 months for best quality. Thaw them in the refrigerator before reheating.
- Reheating: Reheat only the portions you plan to serve, covered in the microwave or oven until they reach 165°F. Reheating the whole bird or warming leftovers over and over can dry out the meat.
Questions That Come Up When Spatchcocking a Turkey
Spatchcock Roast Turkey
Ingredients
Equipment
Method
- Pat the turkey dry.
- Using poultry shears, cut along both sides of the backbone and remove it.
- Turn the turkey breast-side up and press firmly on the breastbone until the bird lies flat.
- Sprinkle the salt evenly over both sides of the turkey, including under the wings and legs.
- Set the turkey on a wire rack in an 18x13-inch rimmed baking sheet, skin-side up, and refrigerate uncovered for 12 to 24 hours.
- Heat the oven to 425°F.
- Mix the butter, garlic, thyme, and black pepper in a small bowl.
- Loosen the skin over the breast and thighs with your fingers.
- Spread about half of the butter mixture underneath the skin.
- Rub the remaining butter mixture over the skin.
- Roast the turkey skin-side up for 1 hour 15 minutes to 1 hour 35 minutes, until the thickest part of each breast reaches 165°F and the innermost part of each thigh reaches 175°F, without the thermometer touching bone.
- Transfer the turkey to a cutting board and tent loosely with foil.
- Rest for 30 minutes before carving.
