
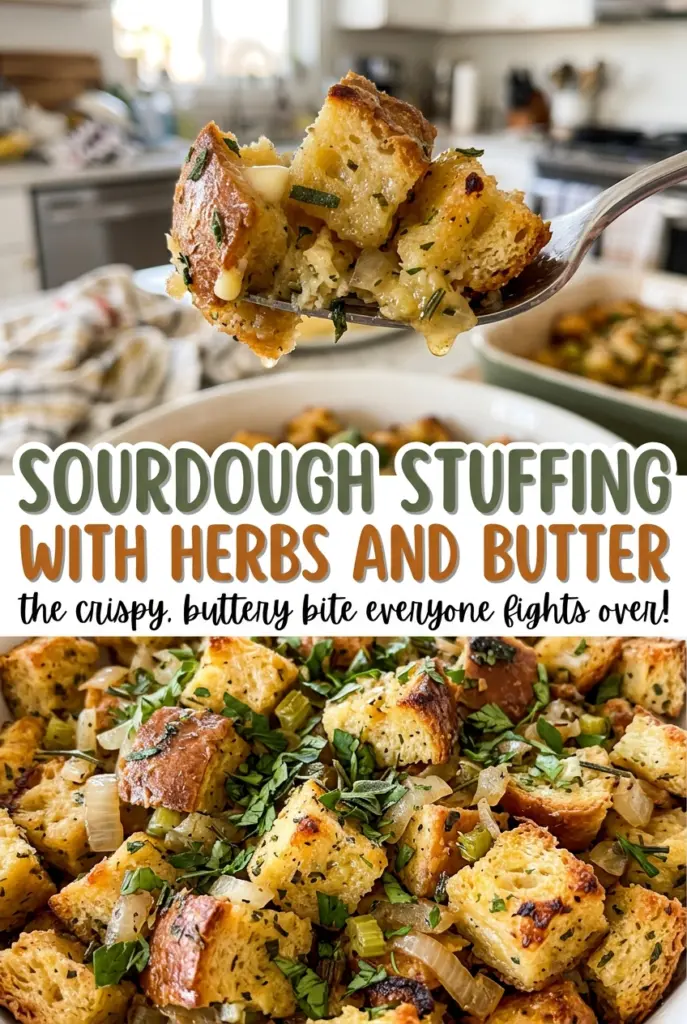
Sourdough Stuffing with Herbs and Butter
When the foil comes off, the top should be turning golden while the center is still soft and steamy. That contrast is what I want from sourdough stuffing with herbs…
Tip: save now, cook later.When the foil comes off, the top should be turning golden while the center is still soft and steamy. That contrast is what I want from sourdough stuffing with herbs and butter: crisp edges around a tender middle, not a tray of wet bread or dry cubes. The part that makes the biggest difference happens well before the stuffing goes into the baking dish.
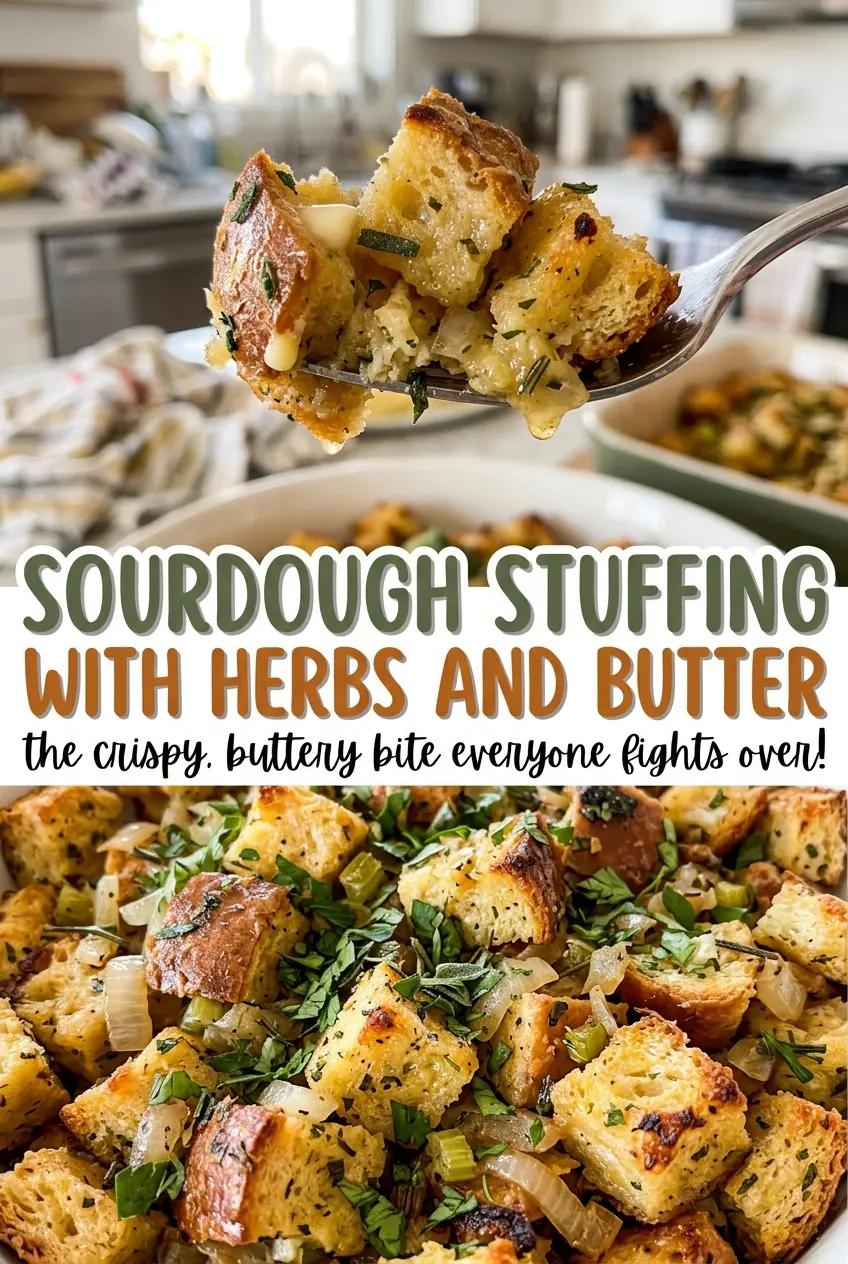
I dry the bread cubes in a low oven first, then toss them with softened onion and celery and add the broth-and-egg mixture. Sourdough brings a gentle tang that sits nicely alongside the butter and herbs, and dried sage and thyme season the vegetables before they meet the bread. Give the finished dish a short rest after baking, and each scoop holds together with a golden top and a moist, savory center.
Kitchen Note
Cut the bread into even 3/4-inch cubes. Pieces that are close in size dry at the same pace and take up the broth more evenly, so you don’t end up with a mix of soggy crumbs and stubbornly firm chunks.
Save this sourdough stuffing with herbs and butter for its crisp golden top and tender, savory center.
Why Sourdough Needs to Be Dry Before It Meets the Broth
Fresh, soft bread and dried bread behave differently in the baking dish. Soft cubes start absorbing liquid right away, and the outside can turn pasty before the middle has a chance to take on the broth. Drying the sourdough first gives it a firmer structure, so it can absorb the broth-and-egg mixture without collapsing into a uniform mass.
The cubes should feel dry and crisp when they come out of the oven, not toasted brown. That distinction matters: the oven is removing moisture, not adding a roasted flavor. Once the cubes are dry, they have room to take in the savory liquid from the vegetables and broth, which is how the finished stuffing stays moist inside while the exposed surface browns.
Use both baking sheets rather than piling all the bread onto one. Crowded cubes trap steam and dry more slowly. Stirring once and rotating the sheets halfway through gives the bread a more even chance to crisp, especially if your oven has a warmer side.
What Sourdough, Butter, and the Herbs Bring to the Pan
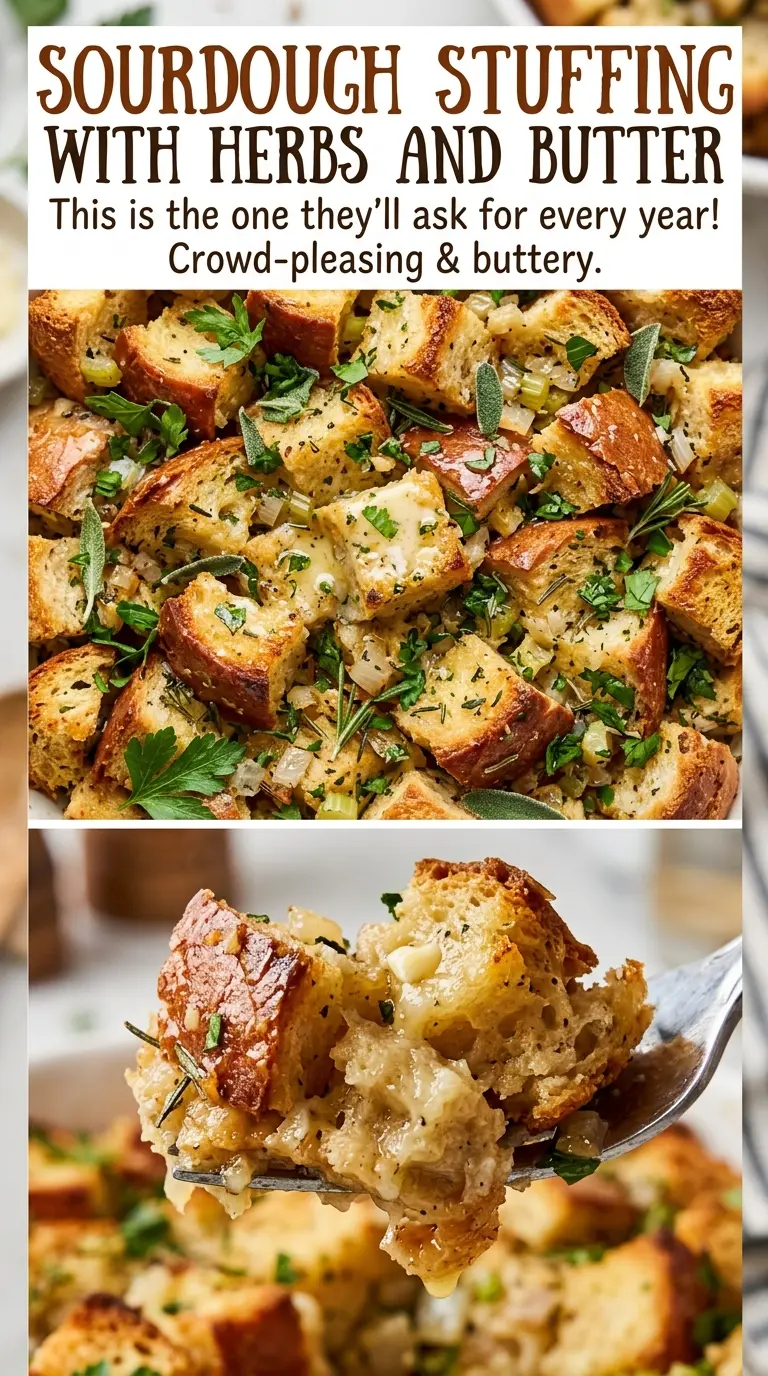
- Sourdough bread — Its mild tang gives the stuffing more character than plain sandwich bread, while a sturdy loaf holds its shape after it soaks up broth. If sourdough isn’t available, a firm country-style loaf is a useful stand-in, though the finished dish will taste less tangy. A loaf with a clean, straightforward flavor works better here than one loaded with seeds.
- Unsalted butter — Butter carries the onion, celery, sage, and thyme as they soften in the skillet, and it adds richness to the baking dish. Unsalted butter lets the salt level stay predictable alongside the broth. For a dairy-free adaptation, olive oil can replace the butter; the result will be less buttery and more savory.
- Dried sage and thyme — These dried herbs have enough concentrated flavor to season the vegetables as they cook. Fresh parsley goes in later, where its brighter, greener flavor won’t disappear into the skillet. If fresh parsley isn’t on hand, dried parsley works as a pantry backup, but its flavor is quieter.
- Low-sodium chicken broth and eggs — Low-sodium broth keeps the bread moist without bringing too much salt along with it. The eggs help the soaked bread set into slices and scoops instead of staying loose. Vegetable broth is the practical swap for a vegetarian dish; the flavor will be a little different, but the stuffing still bakes up tender.
Dry the Bread, Then Give the Top Time to Brown
Dry the cubes without toasting them dark
Heat the oven to 300°F and divide the bread cubes between two 18×13-inch rimmed baking sheets. Bake for 40–50 minutes, stirring once and rotating the sheets halfway through. The cubes should feel dry and crisp when you bite one, but they shouldn’t have deeply browned edges. Let them cool before tossing so the herbs and vegetables don’t sit against hot bread and soften it unevenly.
Soften the vegetables before adding the herbs
Melt 7 tablespoons of butter in a 12-inch skillet over medium heat, then add the onion and celery. Cook for 8–10 minutes, stirring, until they’re softened rather than browned. If the onion is still sharp and crunchy, give it more time; the vegetables should be tender enough to blend into the stuffing. Stir in the sage and thyme for 1 minute, just until their aroma blooms in the butter.
Coat the bread evenly with the broth mixture
Raise the oven to 350°F and grease a 9×13-inch baking dish with the remaining tablespoon of butter. In a large bowl, toss the dried bread with the cooked vegetables, parsley, salt, and pepper. Whisk the broth and eggs together before pouring them over the bread, then toss until the cubes are evenly moistened. A dry pocket at the bottom of the bowl usually means the liquid hasn’t been distributed well; keep turning the mixture rather than pouring in extra broth.
Bake covered first, then uncover for the crisp top
Transfer the mixture to the prepared dish and cover it tightly with foil. Bake for 30 minutes, then remove the foil and bake for 20–25 minutes more, until the top is golden and the center reaches 165°F. The covered bake gives the middle time to heat and set before the top dries out. Rest the dish for 10 minutes before serving so the center settles and portions lift out more neatly.
Three Practical Ways to Adapt This Stuffing
Make it vegetarian with vegetable broth
Use vegetable broth in place of the chicken broth. The stuffing keeps its moist texture and herb-forward character, with a slightly earthier broth flavor. Choose a low-sodium vegetable broth so the seasoning stays balanced.
Go dairy-free with olive oil
Replace both portions of butter with olive oil, using it for the vegetables and to grease the baking dish. The stuffing will lose the rounded buttery taste and take on a light olive-oil note instead. The bread, broth, and egg mixture still bind and bake in the same way.
Use gluten-free sourdough-style bread
Choose a sturdy gluten-free sourdough-style loaf and cut it into cubes for the same drying and baking method. Gluten-free breads differ in how much liquid they absorb, so toss thoroughly and look for evenly moistened cubes before transferring the mixture. The texture may be a little more delicate than stuffing made with wheat sourdough.
Storage and Reheating
- Refrigerator: Refrigerate leftovers promptly in a covered container and use them within 3–4 days. The top softens in storage, while the center stays moist.
- Freezer: Freeze cooled portions in an airtight, freezer-safe container for up to 3 months. Thaw in the refrigerator before reheating for the most even result.
- Reheating: Cover the stuffing and warm it in a 350°F oven until steaming hot throughout; uncover near the end if you’d like to crisp the top again. Reheating uncovered the whole time can dry the edges before the center is hot.
Questions I Get Asked About Sourdough Stuffing
Sourdough Stuffing with Herbs and Butter
Ingredients
Equipment
Method
- Heat the oven to 300°F. Divide the bread cubes between two 18x13-inch rimmed baking sheets and bake for 40–50 minutes, stirring once and rotating the sheets halfway through, until dry and crisp; cool.
- Melt 7 tablespoons of the butter in a 12-inch skillet over medium heat.
- Add the onion and celery and cook for 8–10 minutes, stirring, until softened; stir in the sage and thyme for 1 minute.
- Heat the oven to 350°F and grease a 9x13-inch baking dish with the remaining 1 tablespoon butter.
- In a large bowl, toss the dried bread with the cooked vegetables, parsley, salt, and pepper.
- Whisk the broth and eggs together, pour over the bread, and toss until evenly moistened.
- Transfer the mixture to the baking dish, cover tightly with foil, and bake for 30 minutes.
- Uncover and bake for 20–25 minutes more, until the center reaches 165°F and the top is golden.
- Rest for 10 minutes before serving.
