
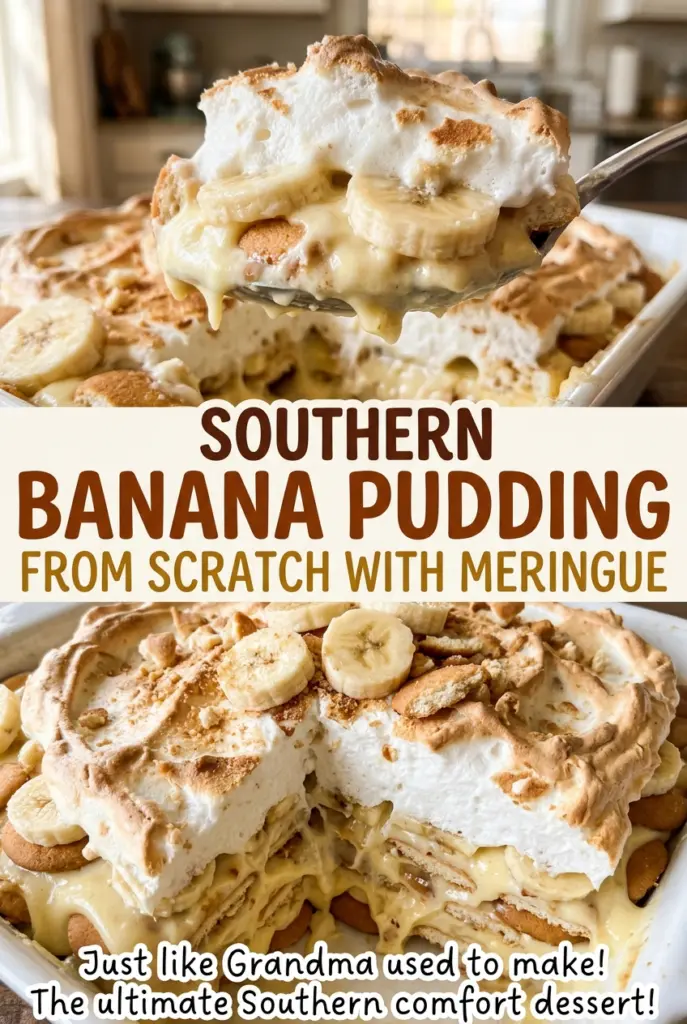
Southern Banana Pudding from Scratch with Meringue
When the custard thickens and bubbles across the pan, it finally looks like pudding instead of sweet milk. That’s the moment I watch for before the yolks go in; rushing…
Tip: save now, cook later.When the custard thickens and bubbles across the pan, it finally looks like pudding instead of sweet milk. That’s the moment I watch for before the yolks go in; rushing it can leave the layers loose after baking. In this Southern banana pudding from scratch with meringue, the custard is cooked on the stove, then layered warm with vanilla wafers and ripe bananas.
The warm custard softens the wafers into tender layers while the bananas keep their familiar sweetness and gentle bite. A glossy meringue goes over the top and bakes until golden, so each serving has creamy pudding underneath and a lightly toasted finish. I like that every part has a clear job: the stovetop builds the custard, and the oven gives the meringue its color without asking the pudding to thicken from scratch in the dish.
Kitchen Note
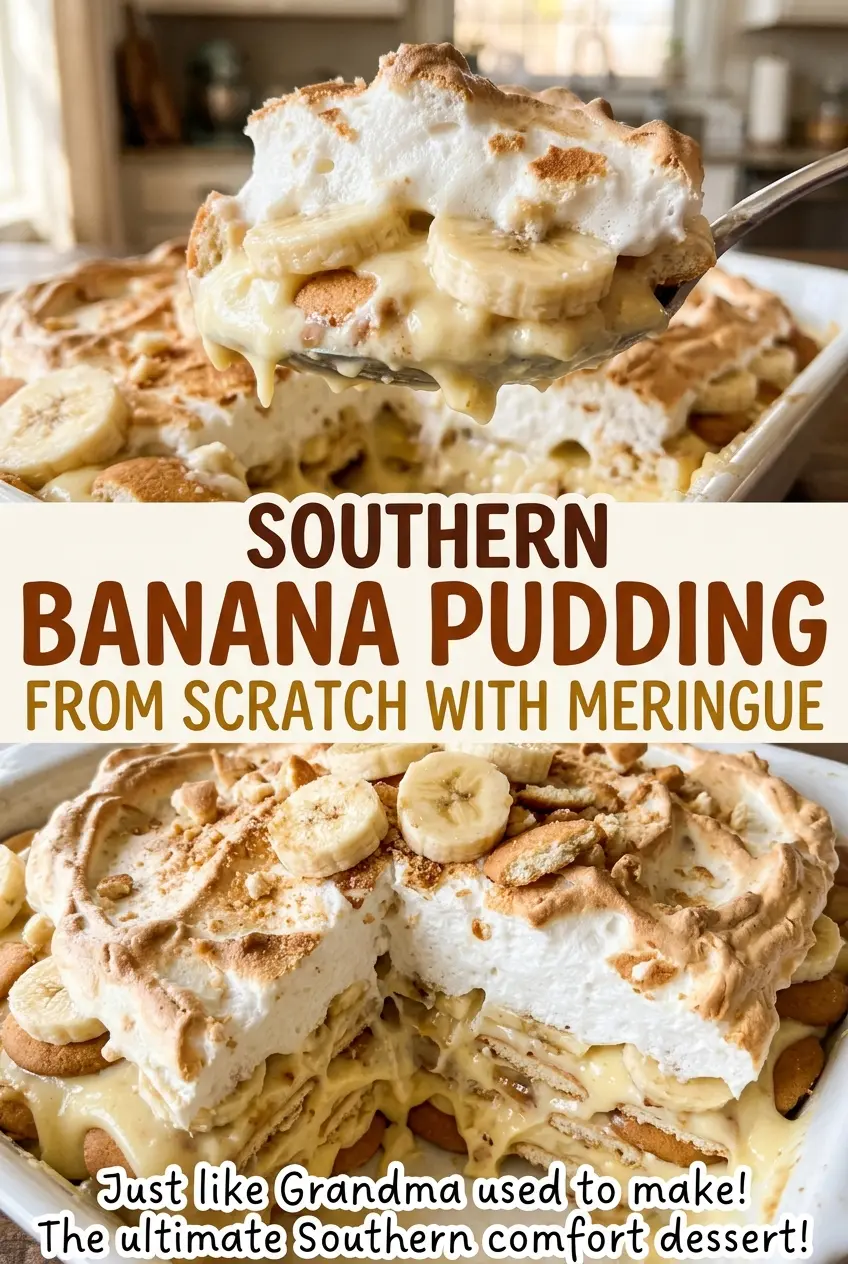
Spread the meringue all the way to the edges of the dish, not just across the middle. That seal helps keep the topping in place as it bakes, and the golden peaks stay attached when you serve it.
Save this Southern banana pudding for its stovetop custard, soft vanilla wafer layers, and golden meringue top.
Why the Custard Has to Thicken Before It Reaches the Wafers
The oven browns the meringue; it isn’t a rescue step for undercooked custard. Cornstarch needs to get hot enough to thicken the milk, which is why the first stage on the stove should reach a steady bubble across the surface. If the mixture is only steaming at the edges, it hasn’t reached the cue that gives the custard enough body to hold the banana and wafer layers.
Egg yolks bring richness, but adding them straight to the hot pan risks cooking them into little bits. Warming them gradually with some of the hot milk helps them blend smoothly before they go back into the saucepan. Once the custard returns to a full bubble, that extra minute of cooking finishes the thickening. You’ll have a smooth, spoonable base before it ever meets the baking dish.
What the Milk, Bananas, and Wafers Bring to Each Layer
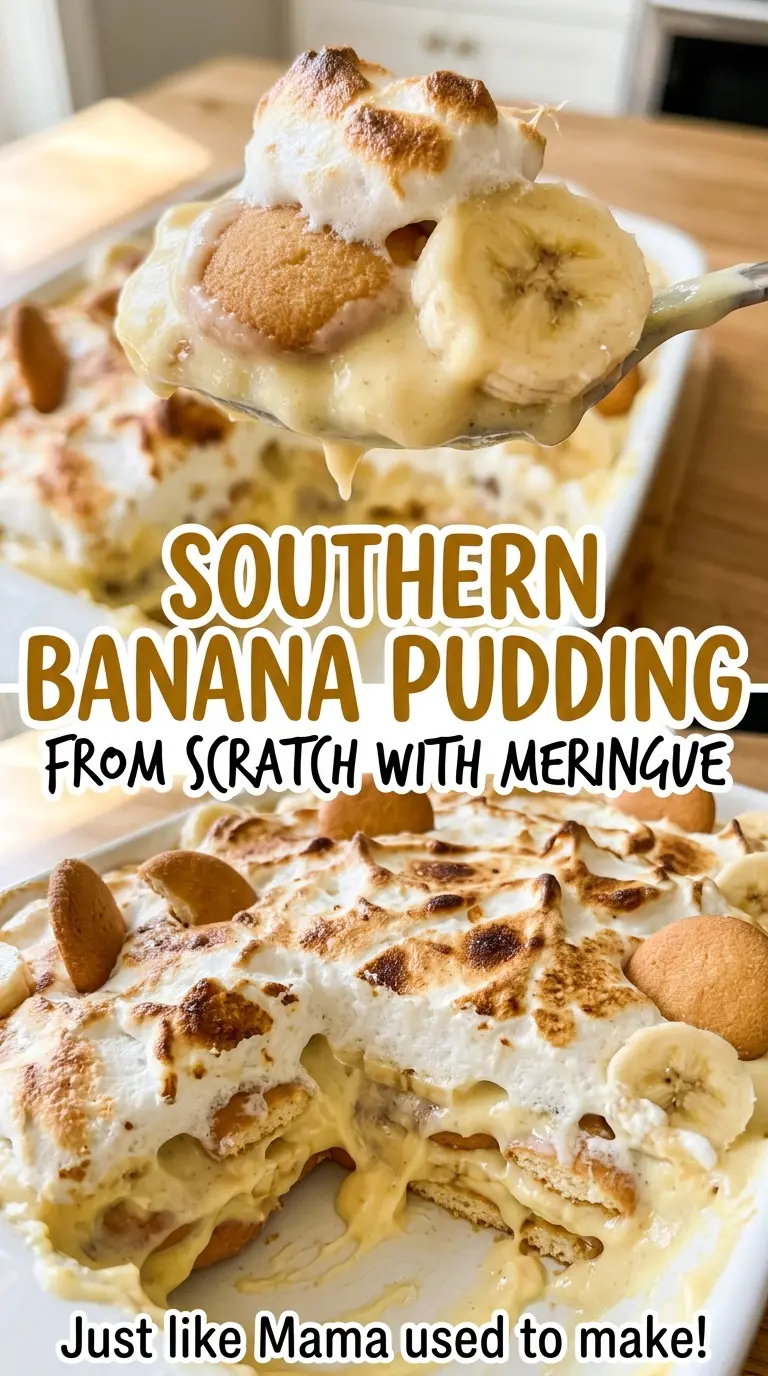
- Whole milk — Its fat gives the custard a round, creamy texture. Half-and-half works as a one-for-one swap if you want a richer pudding, though the finished custard will feel heavier; lower-fat milk makes a less rich base.
- Eggs — The yolks enrich and help bind the custard, while the whites form the meringue. Separate them carefully, since even a little yolk in the whites can make a stable foam harder to achieve. Room-temperature whites whip more readily than cold ones.
- Cornstarch — This gives the custard its body and keeps it from relying on egg yolks alone to thicken. There isn’t a dependable swap in this method that behaves exactly the same way, so use cornstarch for the intended smooth, spoonable result.
- Ripe bananas — Choose bananas that are yellow and sweet, but still firm enough to slice neatly. If they’re very soft, they can collapse into the custard instead of making distinct layers.
- Vanilla wafers — Their mild vanilla flavor and crisp shape make them especially suited to absorbing warm custard without disappearing immediately. For a gluten-free version, use gluten-free vanilla wafers in the same weight as the regular wafers.
- Vanilla extract and butter — Whisking these in after the pan comes off the heat keeps their flavor noticeable and gives the custard a smooth finish. Pure vanilla has a fuller aroma, but imitation vanilla works if that’s what you keep on hand.
- Cream of tartar — It helps stabilize the whipped whites as they turn into meringue. Omitting it leaves the foam less forgiving, and there isn’t another ingredient in this pudding that does quite the same job.
Building the Custard and Meringue in the Right Order
Cook the milk mixture until it bubbles throughout
Heat the oven to 350°F, then separate the eggs, keeping the whites in a clean, grease-free bowl. In a 3-quart saucepan, whisk together the sugar reserved for the custard, cornstarch, and salt, then gradually whisk in the milk until smooth. Cook over medium heat, whisking constantly for 6–8 minutes. Look for thick custard bubbling across the surface, not just a few bubbles around the edge.
Temper the yolks and finish the custard
Whisk about a cup of the hot mixture into the yolks a little at a time. Keep whisking as you add it so the yolks warm gradually instead of scrambling. Pour the yolk mixture back into the saucepan and cook for 1 minute after it returns to a full bubble. Take the pan off the heat, then whisk in the butter and vanilla until the custard looks smooth.
Layer the warm custard with wafers and bananas
Arrange half the vanilla wafers in a 2-quart baking dish, followed by half the sliced bananas and half the custard. Repeat those layers with the remaining ingredients. Spread the custard to cover the fruit and wafers so you don’t leave dry patches exposed. Keep the layers even rather than pressing them down; the wafers will soften as the pudding bakes and rests.
Whip, seal, and bake the meringue
Beat the egg whites with the cream of tartar until soft peaks form, then gradually beat in the remaining sugar. Stop when the meringue is glossy and holds stiff peaks; loose foam won’t make a sturdy topping. Spread it over the hot pudding and take it all the way to the edges. Bake for 15–20 minutes, until golden and the center of the meringue registers 160°F on an instant-read thermometer, then let the pudding stand for 30 minutes before serving.
Two Ways to Adapt This Banana Pudding
Make it gluten-free with vanilla wafers
Replace the regular vanilla wafers with the same weight of gluten-free vanilla wafers. The custard and meringue stay the same, while the wafer texture may be a little more crumbly depending on the brand.
Leave off the meringue for a custard-only pudding
Skip the egg whites, cream of tartar, and sugar reserved for the topping. Layer the cooked custard with the wafers and bananas, then chill instead of baking; you’ll get a soft, creamy pudding without the toasted top, and the wafers will continue to soften as it rests.
Storage and Reheating
- Refrigerator: Cover and refrigerate leftovers within 2 hours; use them within 3 to 4 days. The wafers soften, and the bananas may darken as the pudding sits.
- Freezer: Freezing the assembled pudding isn’t recommended. The custard can turn grainy as it thaws, the meringue may weep, and the banana texture suffers.
- Reheating: This pudding is best chilled or cool rather than reheated. If you’d like it less cold, let a portion sit out briefly; oven or microwave heat can make the meringue sweat and loosen the custard.
Questions That Come Up While Making Banana Pudding
Southern Banana Pudding from Scratch with Meringue
Ingredients
Equipment
Method
- Preheat the oven to 350°F.
- Separate the eggs, placing the yolks in a medium bowl and the whites in a clean, grease-free mixing bowl.
- In a 3-quart saucepan, whisk together 1/2 cup of the sugar, the cornstarch, and salt, then gradually whisk in the milk until smooth.
- Cook over medium heat, whisking constantly, for 6–8 minutes, until the mixture is thick and bubbling across the surface.
- Whisk about 1 cup of the hot mixture into the yolks a little at a time.
- Whisk the yolk mixture back into the saucepan and cook for 1 minute after it returns to a full bubble.
- Remove the pan from the heat and whisk in the butter and vanilla.
- In a 2-quart baking dish, arrange half the wafers, half the sliced bananas, and half the custard in layers.
- Repeat with the remaining wafers, bananas, and custard.
- Beat the egg whites with the cream of tartar until soft peaks form.
- Gradually beat in the remaining 1/2 cup sugar until the meringue is glossy and holds stiff peaks.
- Spread the meringue over the hot pudding, taking it all the way to the edges of the dish to seal.
- Bake for 15–20 minutes, until the meringue is golden and its center registers 160°F on an instant-read thermometer.
- Let the pudding stand for 30 minutes before serving.