
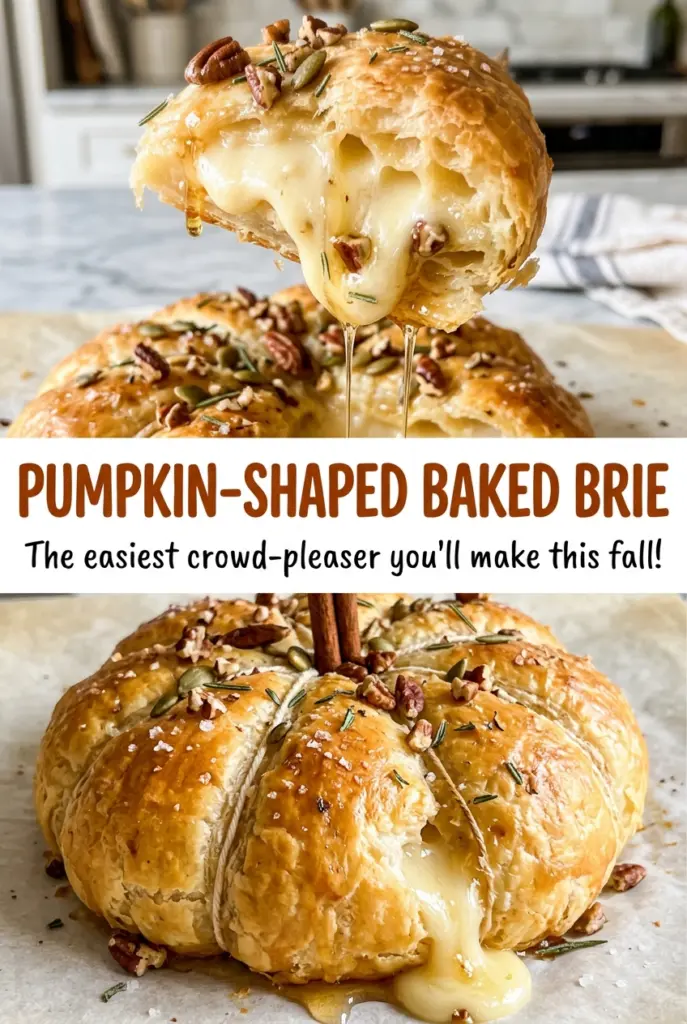
Pumpkin-Shaped Baked Brie
The first time I tied the twine too tightly, it pressed through the pastry before the Brie even went into the oven. A gentler tie gave me the rounded pumpkin…
Tip: save now, cook later.The first time I tied the twine too tightly, it pressed through the pastry before the Brie even went into the oven. A gentler tie gave me the rounded pumpkin shape I wanted, with golden pastry still covering every part of the cheese. That small adjustment is what makes this Pumpkin-Shaped Baked Brie feel festive without making the wrapping fussy.
Frozen puff pastry does the heavy lifting here: it wraps around the Brie, puffs in the oven, and turns a simple wheel of cheese into a warm centerpiece. I pleat the extra pastry at the top, then use three lengths of kitchen twine to create the pumpkin’s segments. The egg wash gives the outside its golden finish, while the cinnamon stick adds a natural-looking stem after baking. Give the Brie its rest before serving, and the pastry will be easier to handle around that soft, creamy center.
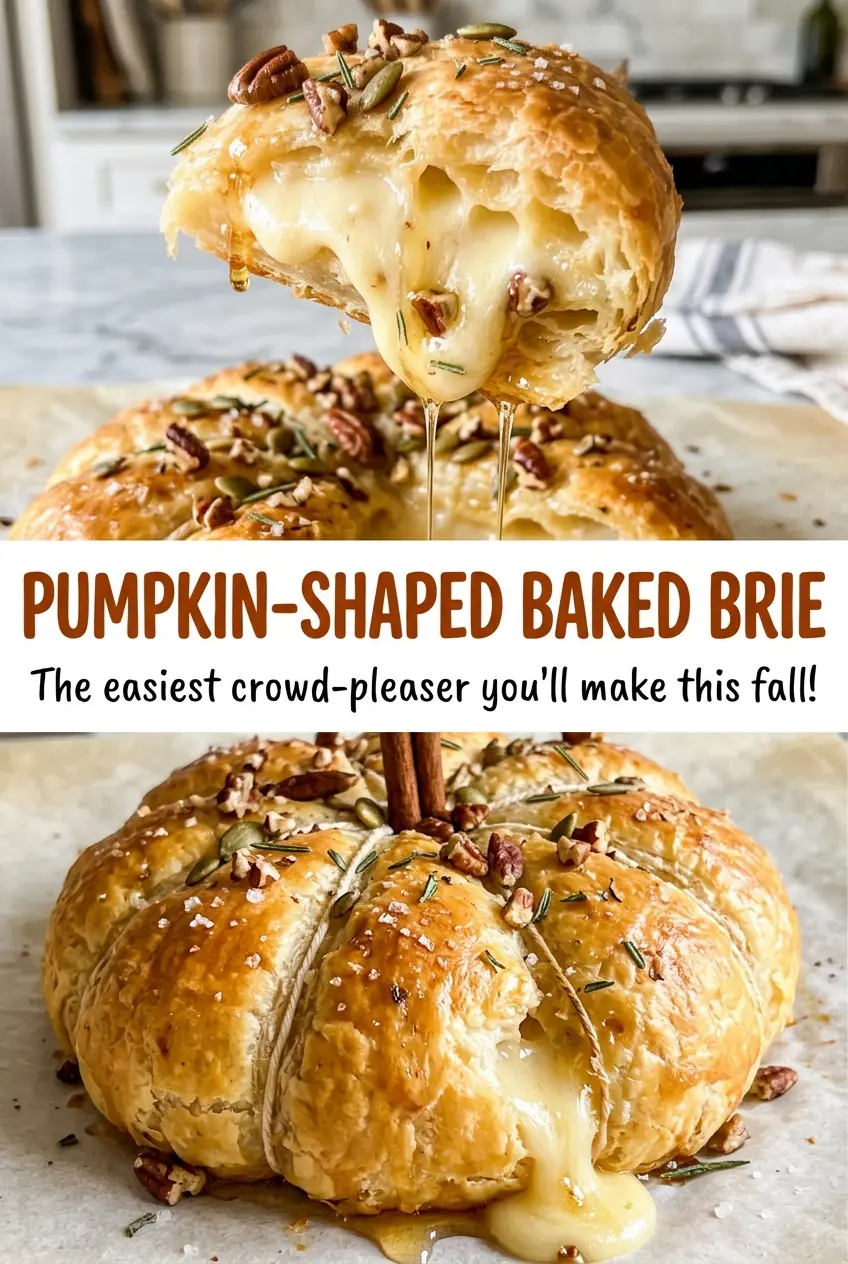
Kitchen Note
Let the baked Brie rest for the full 10 minutes before you handle the twine. The pastry is fragile straight from the oven, and that short pause helps the pumpkin shape hold together when you remove the ties.
Save this Pumpkin-Shaped Baked Brie for a warm, golden pastry centerpiece with a creamy Brie middle and a cinnamon-stick stem.
Why the Twine Makes a Better Pumpkin Than Scoring the Pastry
The pumpkin segments come from the twine, not from cuts in the pastry. That distinction matters: the pastry needs to stay intact around the Brie while it puffs, and the ties press shallow grooves into the wrapped wheel to suggest the ribs of a pumpkin. Cutting through the dough to make those lines would leave weak spots where the cheese could escape.
The pleated pastry gathers at the top, where the twine ends meet. From there, each strand makes a pair of curved impressions as it crosses the wheel. The result is a recognizable pumpkin shape without needing a special mold or decorative pastry scraps. A cinnamon stick tucked into the top after baking completes the look, and it’s easier to place once the ties are gone.
Think of the twine as a shaping tool, not something that needs to cinch the Brie tightly. It should create visible sections while the pastry remains a continuous shell. That balance keeps the outside looking like a pumpkin and leaves the Brie tucked inside for serving.
What the Pastry, Brie, and Egg Wash Each Bring
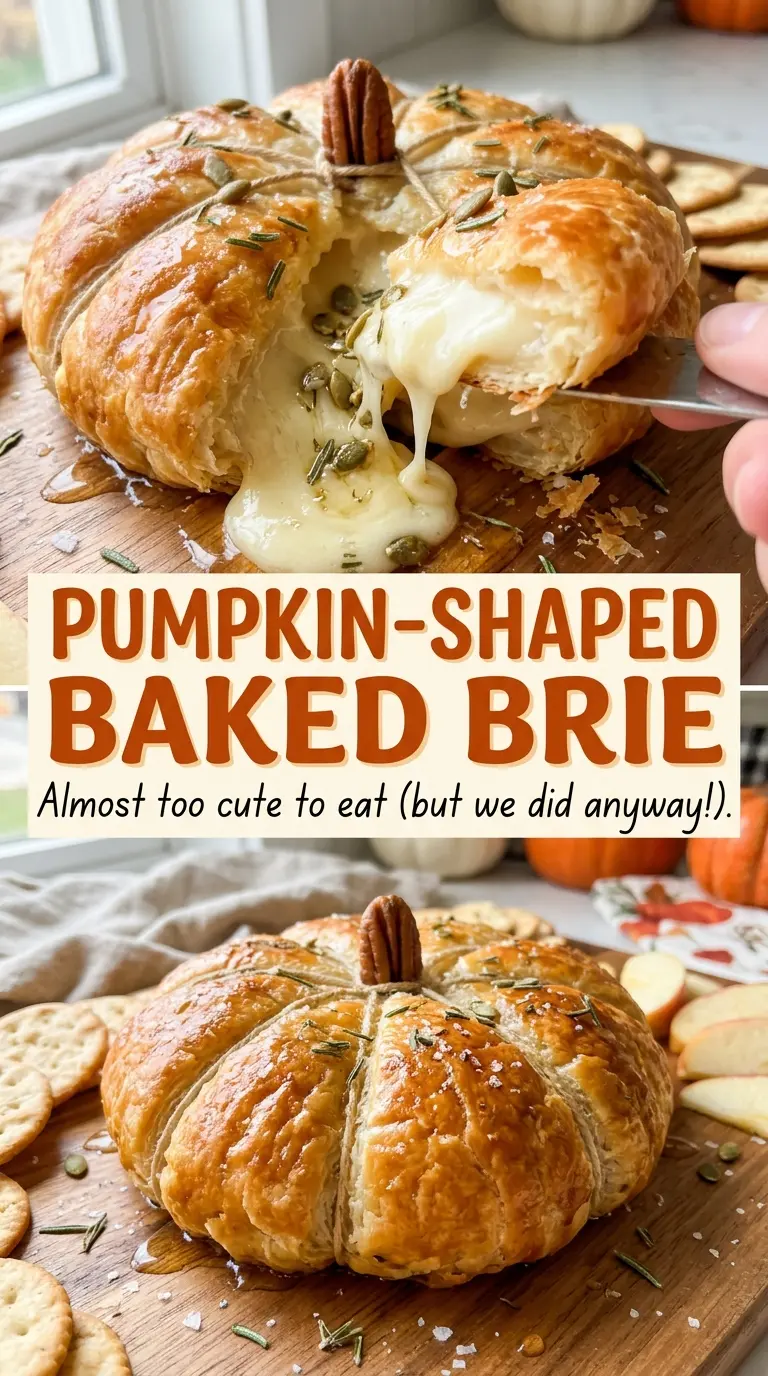
- Frozen puff pastry — Its layered structure is what gives the wrapped Brie a puffed, crisp shell. Thaw the sheet before unfolding; pastry that is still stiff tends to crack as you gather it around the wheel, while pastry that has become very soft is harder to pleat neatly. The package size matters because the sheet needs enough area to come up and over the Brie. There isn’t a direct swap that gives the same flaky layers and wrapping behavior.
- Brie — An 8-ounce wheel gives the pastry a compact center and softens as it bakes. Keep the wheel whole so the pastry can wrap around it as one piece. Brie’s mild, creamy interior is part of the appeal; a different cheese won’t necessarily soften in the same way or fit the same shape.
- Egg and water — Whisking them together makes a thin wash that coats the outside and helps it bake to a golden brown. Brush over the pastry rather than letting the wash pool in the pleats, where it can collect instead of giving an even sheen. The egg is useful for that finish; leaving it out means the pastry won’t have the same color.
- Cinnamon stick — This is the pumpkin’s stem, added after the pastry is baked and the twine is removed. A whole stick gives the top a woody, stem-like shape. It’s there for the presentation rather than as a seasoning mixed into the Brie.
How to Wrap and Shape the Brie Without Splitting the Pastry
Set Up the Oven and Pastry
Heat the oven to 400°F and line a rimmed baking sheet with parchment paper. Unfold the thawed puff pastry on a clean work surface, then place the Brie in the center. The pastry needs to come up and over the wheel, so keep the Brie centered rather than pushing it close to one edge. If the sheet cracks as you open it, it is still too cold to fold comfortably.
Pleat the Pastry Around the Wheel
Bring the pastry up and over the Brie, pleating the excess together at the top. Pinch the gathered pastry so the folds stay together, but avoid tugging hard enough to thin or tear the dough. You’ll have a small gathered point at the top and a covered wheel beneath it. Keep that seam gathered neatly, since it becomes the top of the pumpkin.
Arrange the Twine to Form the Segments
Cut three 24-inch lengths of kitchen twine and arrange them in an asterisk on the parchment-lined baking sheet. Set the wrapped Brie seam-side down over the center of the twine. Bring the ends up over the Brie and tie them snugly at the top to create the pumpkin-like sections. The strands should leave impressions in the pastry without cutting through it.
Brush, Bake, and Add the Stem
Whisk the egg with the water and brush the mixture over the pastry. Bake for 25 to 30 minutes, until the pastry is puffed and golden brown; use its color and lift as your doneness cues. Let the Brie rest for 10 minutes, then snip and remove the twine. Insert the cinnamon stick into the top as a stem and serve the Brie warm.
Two Ways to Change the Pumpkin-Shaped Brie’s Look
Make a classic round Brie parcel
For a simpler presentation, wrap and pleat the pastry around the Brie but skip the twine and cinnamon-stick stem. You’ll still have warm Brie inside a puffed pastry shell, just without the pumpkin ribs. Bake at 400°F until the pastry is puffed and golden brown, using the same 25-to-30-minute range as a guide.
Choose softer or deeper pumpkin grooves
For a subtler pumpkin shape, tie the strands just firmly enough to mark the pastry; for more defined ribs, snug the ties a little more while keeping the dough uncut. The softer version looks rounder, while deeper impressions make the segments stand out more clearly. Either way, keep the pastry intact around the Brie.
Storage and Reheating
- Refrigerator: Store leftovers covered in the refrigerator for 3 to 4 days. The pastry softens as it sits, so it won’t stay as flaky as it was on the day it was baked.
- Freezer: Freezing isn’t recommended for the finished Brie. The pastry tends to lose its crisp texture and the cheese can become grainy after thawing.
- Reheating: Warm leftovers in a 400°F oven until the pastry is crisp and the center is soft. Avoid the microwave, which heats the Brie quickly but leaves the pastry limp.
Questions That Come Up Before Baking This Brie
Pumpkin-Shaped Baked Brie
Ingredients
Equipment
Method
- Heat the oven to 400°F.
- Line a rimmed baking sheet with parchment paper.
- Unfold the puff pastry on a clean work surface.
- Place the Brie in the center of the puff pastry.
- Fold the pastry up and over the Brie, pleating and pinching the excess together at the top.
- Cut three 24-inch lengths of kitchen twine.
- Arrange the twine in an asterisk on the prepared baking sheet.
- Set the wrapped Brie seam-side down over the center of the twine.
- Bring the twine ends up over the Brie and tie them snugly at the top, creating pumpkin-like segments without cutting through the pastry.
- Whisk the egg with the water.
- Brush the egg mixture over the pastry.
- Bake for 25 to 30 minutes, until the pastry is puffed and golden brown.
- Let the Brie rest for 10 minutes.
- Snip and remove the twine.
- Insert the cinnamon stick into the top as a stem and serve warm.