
Pumpkin Dump Cake
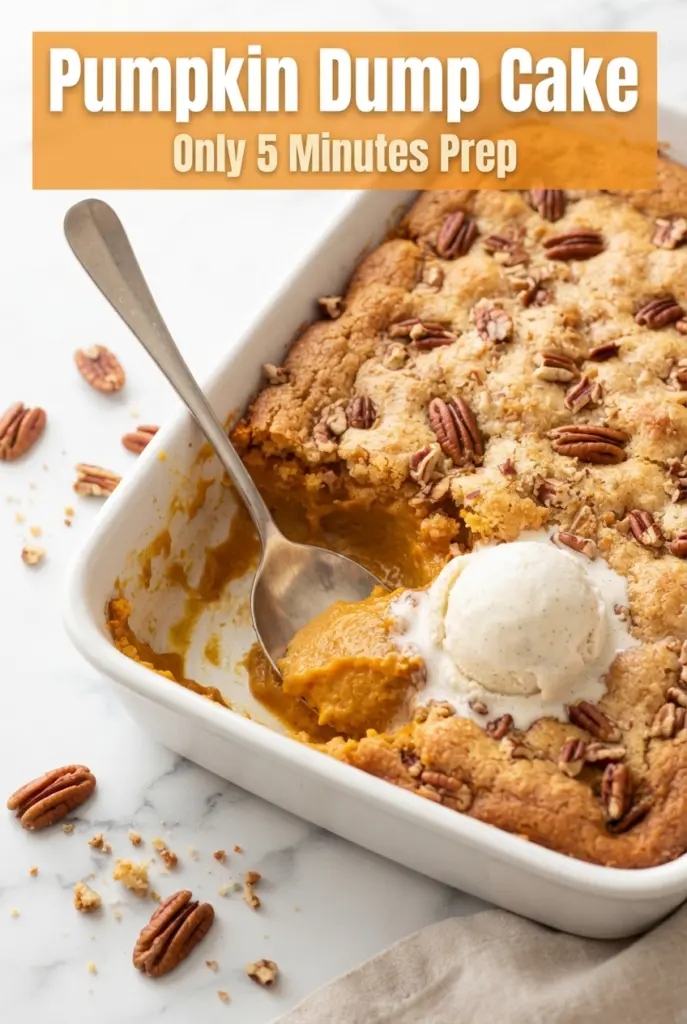
Pumpkin dump cake lands somewhere between pie, cobbler, and the kind of spoon dessert people hover over during holiday dinner. The base bakes into a smooth, custardy pumpkin layer, while…
Tip: save now, cook later.Pumpkin dump cake lands somewhere between pie, cobbler, and the kind of spoon dessert people hover over during holiday dinner. The base bakes into a smooth, custardy pumpkin layer, while the top turns into a golden, buttery crust with toasted pecans tucked into the cracks. It’s the kind of dessert that looks humble going into the oven and comes out tasting like you spent far more time on it than you did.
What makes this version work is the order of the layers. The pumpkin filling gets whisked until completely smooth so it bakes evenly, and the dry cake mix stays on top where the butter can soak through it and create those crisp, nubbly patches. If the butter is drizzled too sparsely, you’ll get dry pockets of powdery mix, so coverage matters here. The pecans add more than crunch; they toast right on top and keep the finish from tasting one-note.
Below, I’ve laid out the small details that keep the center creamy instead of loose and the top browned instead of dusty. I’ve also included the easiest swaps if you need to skip the nuts or want to change the cake mix without losing that classic pumpkin dump cake texture.
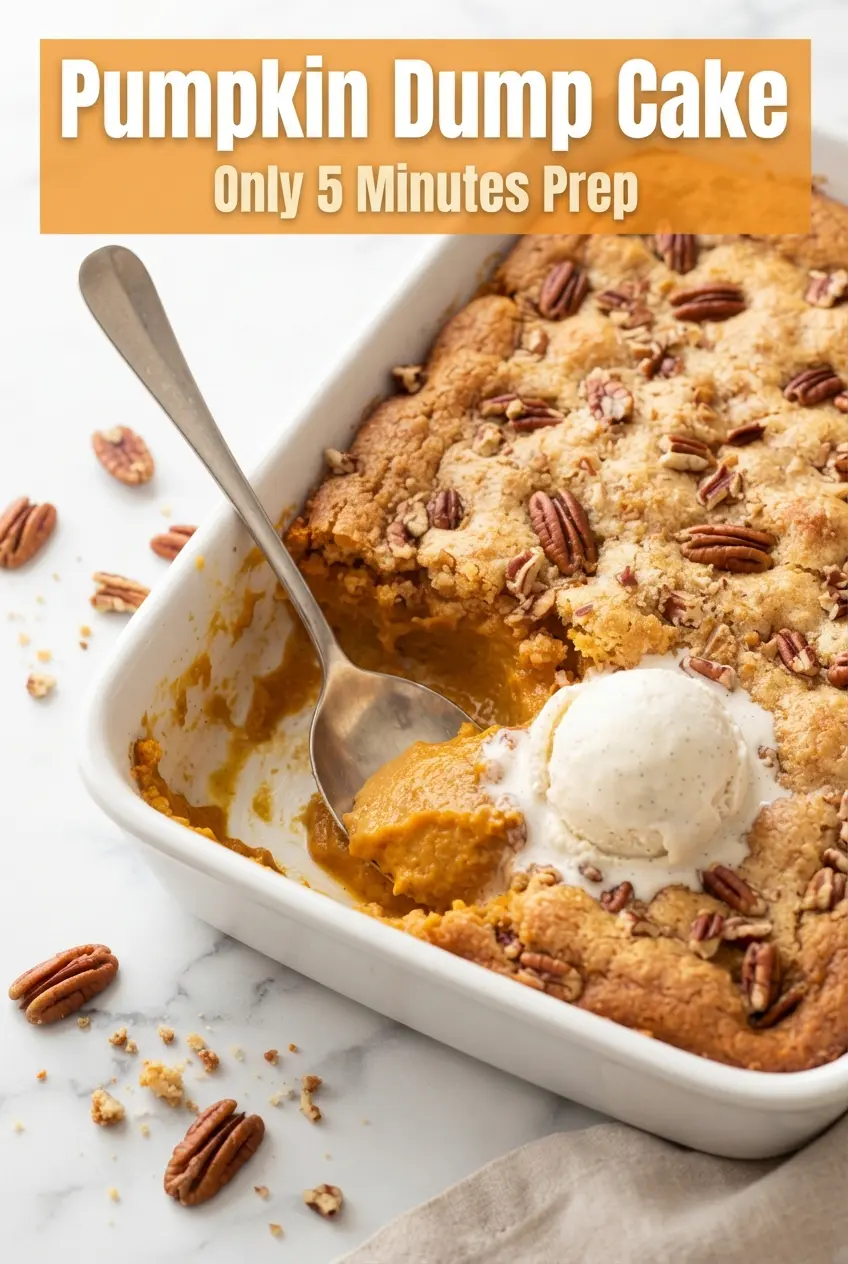
The pumpkin layer baked up creamy like a custard and the top stayed crisp even after sitting on the counter for a bit. I used a spoon to spread the butter more evenly over the cake mix, and it came out golden instead of dry in spots.
Pin this pumpkin dump cake for a buttery pecan topping and creamy spiced center when you need a low-effort dessert that still feels special.
The Reason Pumpkin Dump Cake Stays Creamy Under a Crisp Top
The biggest mistake with dump cake is treating the topping like it will magically fix itself in the oven. It won’t. Dry patches happen when the butter doesn’t reach enough of the cake mix, and the result is a floury top instead of a crisp one. The other problem is a loose pumpkin base that never sets because the filling wasn’t mixed thoroughly or the cake came out too early.
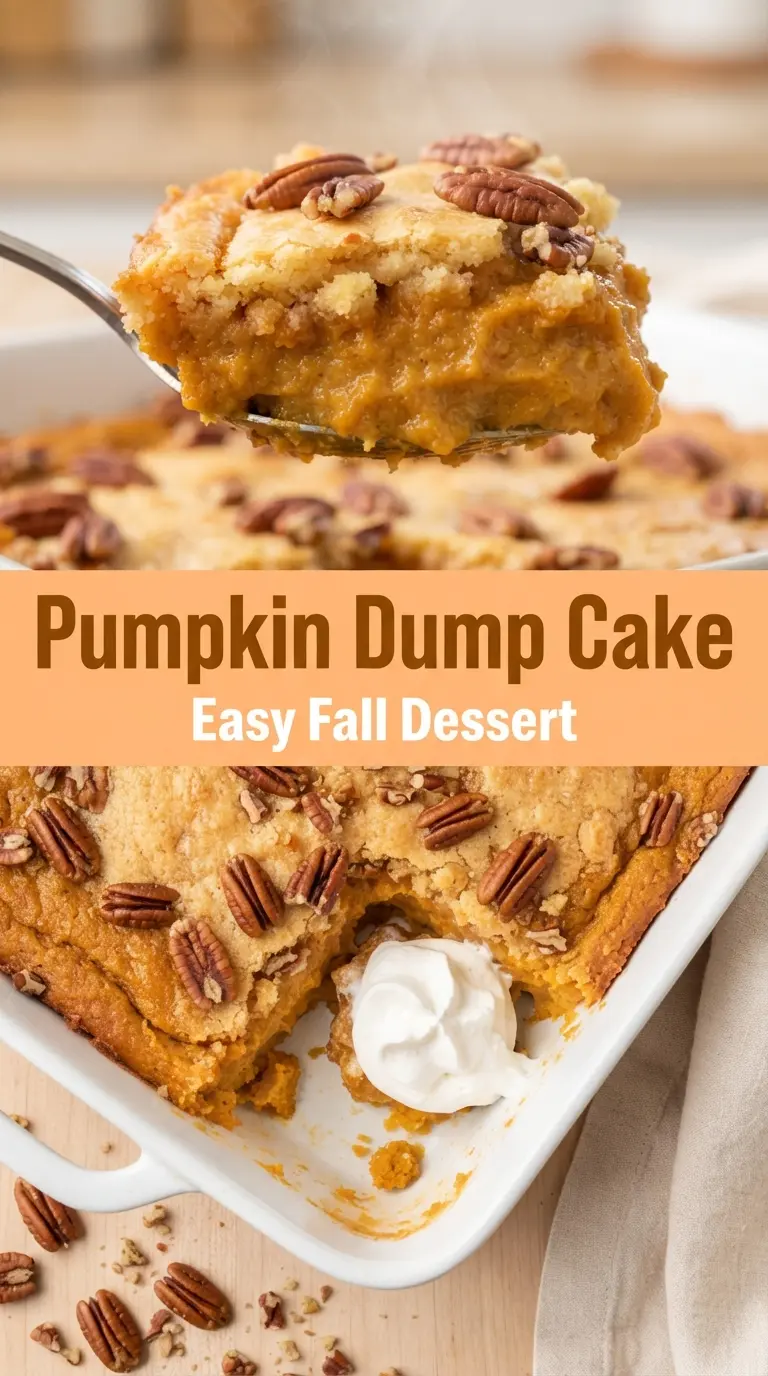
This recipe avoids both issues by keeping the pumpkin layer smooth and pouring it straight into the pan before anything else goes on top. The cake mix stays dry, which is exactly what you want, but it needs enough butter to wet as much of the surface as possible. As the butter melts, it turns the mix into a craggy crust while the pumpkin underneath bakes into a soft custard. If the center still sloshes in the middle, give it another 5 to 10 minutes; the top should be deeply golden and the middle should barely wobble, not ripple.
What Each Ingredient Is Actually Doing in This Dessert
- Pumpkin puree — Use plain pumpkin puree, not pumpkin pie filling. The puree gives you a clean, earthy base you can season yourself, and it’s what keeps the texture thick and custardy instead of overly sweet and loose.
- Evaporated milk — This adds richness without making the filling heavy. Whole milk can work in a pinch, but the final texture won’t be as silky.
- Eggs — They set the pumpkin layer into that soft, sliceable custard. Don’t reduce them; this is what keeps the center from baking up runny.
- Yellow cake mix — This is the shortcut that gives you the buttery, tender topping with almost no effort. Spice cake mix works too, but it leans sweeter and pushes the dessert further toward gingerbread than classic pumpkin.
- Butter — Melted butter is what transforms the dry mix into a crisp crust. Cold butter won’t spread evenly, and that’s how you end up with pale, dusty pockets on top.
- Pecans — They add crunch and a toasted, almost caramel-like edge. If you skip them, the dessert is still good, but it loses some of the contrast that makes each bite interesting.
The 3 Minutes of Assembly That Decide the Final Texture
Building the Pumpkin Base
Whisk the pumpkin puree, evaporated milk, eggs, sugar, spice, cinnamon, and salt until the mixture looks smooth and loose, with no streaks of egg white hiding near the bottom of the bowl. That smoothness matters because any unmixed egg can set into rubbery bits in the finished dessert. Pour it into a greased 9×13-inch dish and level it gently so the topping bakes evenly.
Creating the Dry Topping
Sprinkle the cake mix over the pumpkin layer in an even blanket and don’t stir. Stirring pulls the cake mix into the custard and changes the whole dessert from a layered bake to a thick batter. The top should look dry and powdery before the butter goes on; that’s the right starting point.
Drizzling the Butter for a Crisp Finish
Drizzle the melted butter slowly over as much of the surface as you can, moving around the pan so no corner gets neglected. If you dump it all in one spot, you’ll get one greasy patch and several dry ones. Scatter the pecans over the top, then bake until the crust is deep golden and the center no longer jiggles like liquid. A little wobble is fine; a slosh means it needs more time.
Three Ways to Adjust Pumpkin Dump Cake Without Ruining It
Make It Dairy-Free
Swap the evaporated milk for canned coconut milk or an unsweetened dairy-free evaporated milk alternative, and use a plant-based butter that melts well. The texture will still set, but the flavor becomes a little richer and less classic. Keep the butter layer even, since dairy-free substitutes can brown a bit differently.
Skip the Pecans
Leave the nuts off and bake the rest exactly the same. You’ll lose the crunch on top, so the dessert leans softer and more cobbler-like. If you still want texture without nuts, add a handful of toasted pumpkin seeds after baking.
Use Spice Cake Mix Instead
Spice cake mix gives the top more cinnamon and clove flavor, which works well if you want a bolder dessert. It does make the final bake a little sweeter, so I’d keep the sugar in the pumpkin layer as written unless you prefer a sweeter finish. The structure stays the same.
Storage and Reheating
- Refrigerator: Store covered for up to 4 days. The topping softens a little as it sits, but the pumpkin layer stays creamy.
- Freezer: It freezes well in tightly wrapped portions for up to 2 months. Thaw overnight in the fridge; the topping won’t stay as crisp, but the flavor holds up.
- Reheating: Reheat individual slices in a 300°F oven until warm through. The microwave works, but it softens the top completely, so use the oven if you want to bring back some of the crust.
Answers to the Questions Worth Asking
Pumpkin Dump Cake
Ingredients
Equipment
Method
- Preheat the oven to 350 F (175 C) and grease a 9x13-inch baking dish.
- Whisk the pumpkin puree, evaporated milk, eggs, granulated sugar, pumpkin pie spice, ground cinnamon, and salt until smooth, with no visible lumps.
- Pour the pumpkin mixture into the prepared dish and spread it into an even layer.
- Sprinkle the yellow cake mix evenly over the top without stirring, so the dry mix stays as a layer.
- Drizzle the melted unsalted butter over the cake mix, covering as much of the surface as possible so it looks dotted and glossy.
- Scatter the chopped pecans on top in an even layer.
- Bake for 50 to 60 minutes at 350 F (175 C) until the top is golden and the center is set.
- Cool for at least 15 minutes before serving so the custard firms up.
- Serve warm.
