
Pumpkin Cheesecake Bars
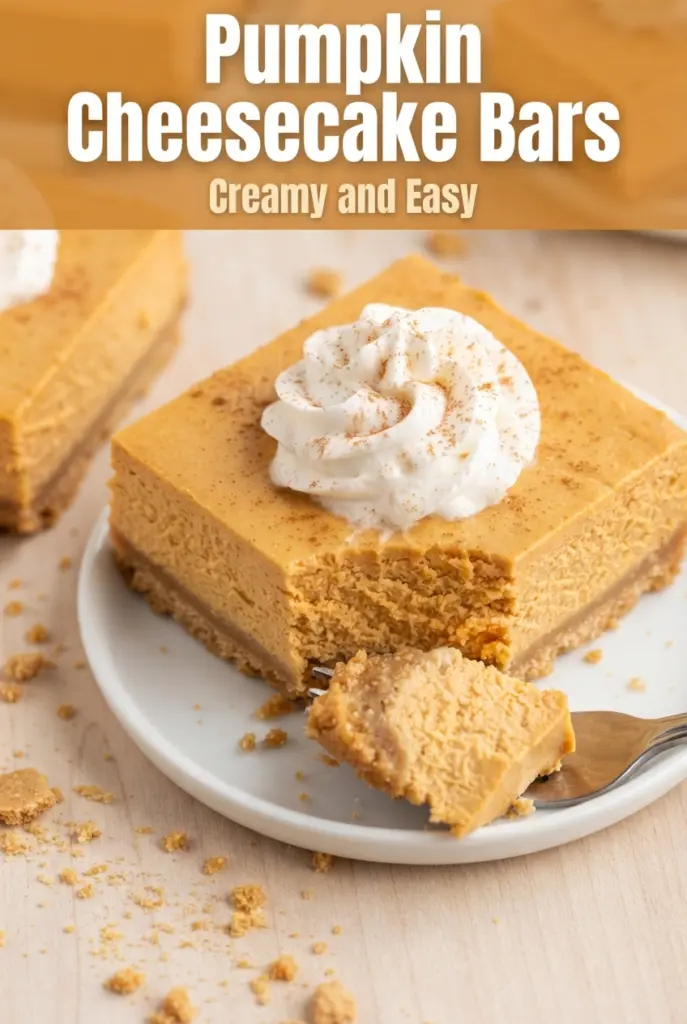
Pumpkin cheesecake bars give you everything people love about a holiday cheesecake without the nerve-wracking water bath or the long, slow battle with a springform pan. The crust stays buttery…
Tip: save now, cook later.Pumpkin cheesecake bars give you everything people love about a holiday cheesecake without the nerve-wracking water bath or the long, slow battle with a springform pan. The crust stays buttery and crisp, the filling bakes up rich and creamy, and the bars slice into clean squares that look polished on a dessert tray. They’re the kind of dessert I reach for when I want something a little special that still behaves in the oven.
What makes this version work is the balance: enough pumpkin for real flavor, but not so much that the filling turns loose or heavy. Cream cheese carries the texture, brown sugar adds warmth, and the flour helps the bars set without baking into something dry. The crust gets a short head start in the oven, which keeps it from going soggy under the filling.
Below, I’ve included the few details that matter most, like how to tell when the center is done, why low-speed mixing keeps the filling smooth, and what to do if you want the cleanest possible slices.
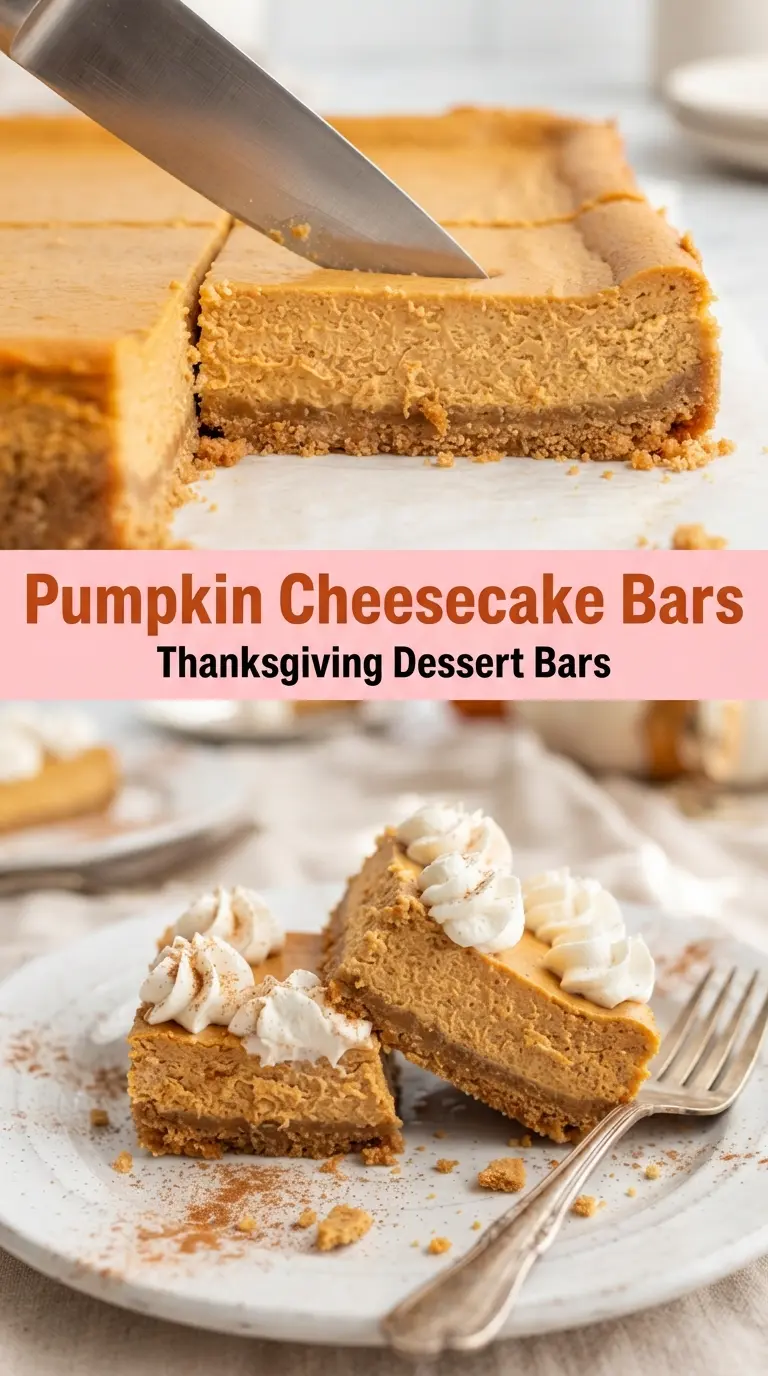
The filling baked up smooth and creamy, and the bars cut into perfect squares after chilling overnight. The graham crust stayed crisp even the next day, which never happens with most cheesecake bars I’ve tried.
Save these pumpkin cheesecake bars for when you want a creamy fall dessert that slices cleanly and travels well.
The Reason Cheesecake Bars Set Cleanly When You Don’t Overmix
Cheesecake batter picks up air fast, and that air is what causes tall, puffed bars that crack as they cool. The goal here is a dense, smooth filling that bakes evenly and settles into neat slices. Low speed is not a detail to ignore; it’s what keeps the texture velvety instead of fluffy.
The eggs go in one at a time so the batter stays stable. Once they’re added, stop mixing as soon as the streaks disappear. If the batter looks glossy and loose but smooth, that’s exactly where it should be. Overbeating after the eggs are in is the fastest way to get bars that rise too much in the oven and then sink in the center.
What Each Ingredient Is Actually Doing in These Pumpkin Cheesecake Bars
- Cream cheese — This is the backbone of the filling. Use full-fat block cream cheese for the best texture; tub-style cream cheese is softer and can make the bars looser.
- Pumpkin puree — Canned pumpkin gives steady moisture and flavor. Don’t use pumpkin pie filling, which already contains sugar and spices and throws off both the sweetness and the set.
- Brown sugar — The molasses note deepens the pumpkin and makes the bars taste warmer than using white sugar alone. If you only have white sugar, the bars will still work, but the flavor loses some depth.
- Graham cracker crumbs — These make a crust that holds together under a creamy filling without getting gritty. If you crush your own crackers, aim for fine crumbs so the base presses tightly and bakes evenly.
- Flour — Just a small amount helps the filling set into clean squares. Don’t add extra unless you want a firmer, more cake-like bar.
Building the Crust and Filling Without Losing the Set
Press the crust like you mean it
Mix the graham crumbs, sugar, and melted butter until the texture looks like damp sand, then press it firmly into the pan. Use the bottom of a measuring cup to pack it down evenly into the corners. If the crust is loose, it will crumble when you lift the bars later. The brief pre-bake gives it structure before the filling goes on, which keeps the bottom from turning soft.
Beat the filling gently
Start with softened cream cheese and beat it with the sugars until it looks completely smooth, with no lumps hiding on the sides of the bowl. Add the pumpkin, vanilla, spices, and flour next, and mix just until combined. Scrape the bowl well so you don’t end up with streaks of plain cream cheese in the finished bars. Keep the mixer on low once the eggs go in; that’s the difference between a creamy filling and one that bakes up airy and fragile.
Bake until the center still moves a little
The bars are done when the edges look set and the center has a small, soft jiggle when you nudge the pan. If the middle is fully firm in the oven, the bars are already overbaked and will crack as they cool. Pull them out, let them cool at room temperature, then chill them long enough to fully firm up before slicing. Patience here pays off in cleaner cuts and a silkier bite.
Make Them Gluten-Free
Use gluten-free graham-style crackers for the crust and keep the filling as written. The texture stays close to the original, though the crust may be a little more delicate when slicing, so chill the bars fully before lifting them from the pan.
Make Them a Little Lighter
You can cut the sugar slightly, but don’t swap in low-fat cream cheese if you want the same creamy set. Reduced-fat cream cheese contains more moisture and tends to bake up less stable, which makes the bars softer and harder to slice cleanly.
Swap the Crust for Gingersnaps
Replace the graham crackers with finely crushed gingersnaps for a spicier base that plays up the pumpkin. Because gingersnaps are drier and stronger in flavor, keep the butter measured carefully so the crust still packs tightly without turning greasy.
Storage and Reheating
- Refrigerator: Store covered for up to 5 days. The crust stays crispest in the first two days, but the bars still hold up well after chilling.
- Freezer: Freeze cut bars tightly wrapped for up to 2 months. Thaw overnight in the refrigerator for the best texture; freezing works well here because the filling is dense and creamy.
- Reheating: These are best served cold or just slightly cool, not warmed. If you want a softer bite, let a bar sit at room temperature for 15 to 20 minutes before serving rather than microwaving it, which can make the filling weep.
Answers to the Questions Worth Asking
Pumpkin Cheesecake Bars
Ingredients
Equipment
Method
- Preheat the oven to 350 F (175 C) and line an 8x8-inch pan with parchment paper, leaving an overhang. This helps you lift the bars out for neat slicing.
- Mix the graham cracker crumbs, 2 tbsp sugar, and melted butter, then press firmly into the bottom of the pan. Press the layer flat and even so it bakes as a sturdy crust.
- Bake the crust for 8 minutes, then lower the oven to 325 F (165 C). Look for a lightly set crust with a fragrant, toasted smell.
- Beat the cream cheese with the granulated and brown sugar on low speed until smooth. Scrape the sides as needed so no lumps remain.
- Beat in the pumpkin, vanilla, pumpkin pie spice, cinnamon, and flour. Mix just until the batter looks uniform and thick.
- Add the eggs one at a time, mixing on low just until combined. Stop as soon as each egg disappears to avoid overmixing.
- Pour the filling over the crust and smooth the top. Tap the pan lightly to pop any large air bubbles.
- Bake for 40 to 45 minutes, until the edges are set and the center has a slight jiggle. The middle should wobble gently like soft set custard.
- Cool at room temperature for 1 hour. Letting it cool prevents cracking before chilling.
- Chill for at least 4 hours. The filling will firm up so the bars cut cleanly into squares.
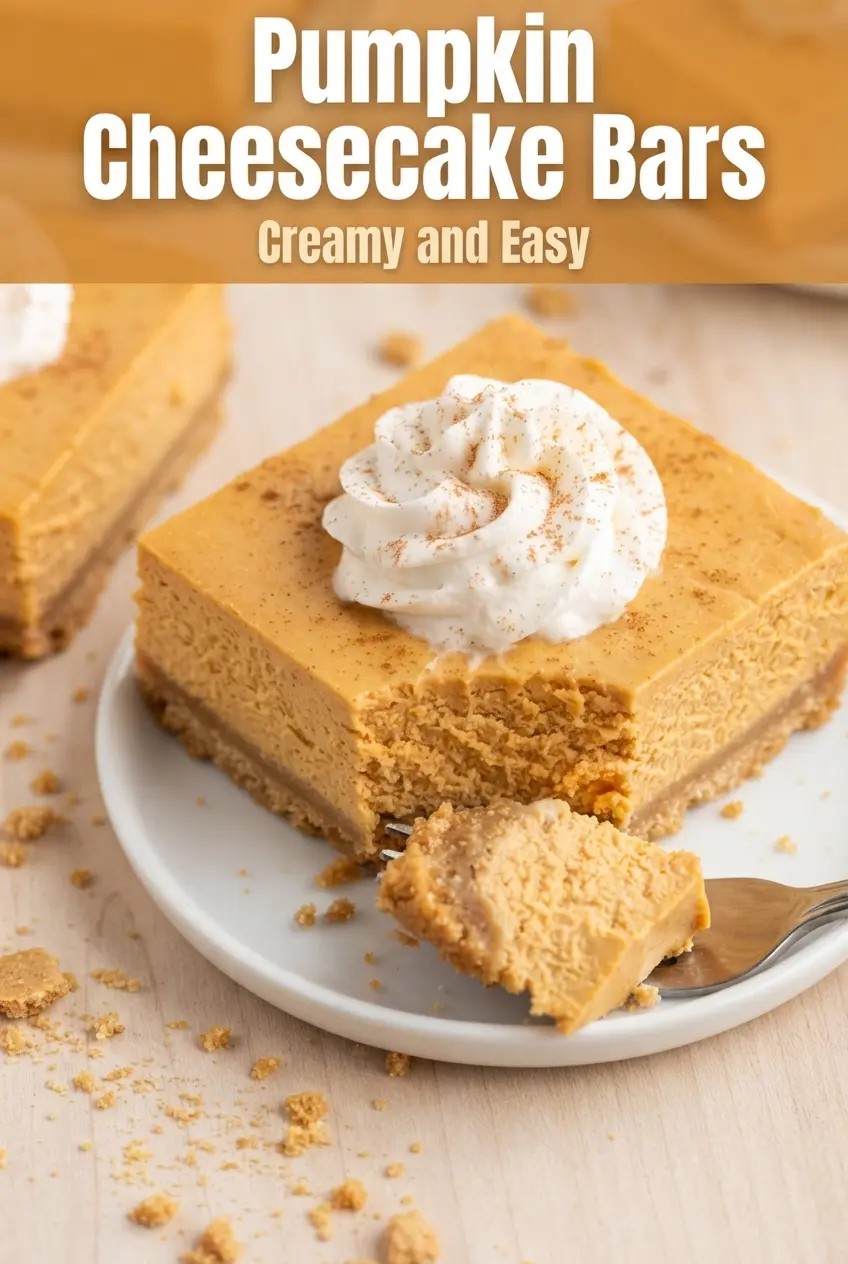
- Lift out with the parchment, cut into squares, and top with whipped cream and a pinch of cinnamon. Serve cold for the creamiest texture.
