
Patriotic Chocolate Covered Oreos
Patriotic Chocolate Covered Oreos bring the kind of fast, festive finish that disappears before the dessert table cools down. The crisp cookie inside stays intact, while the candy shell sets…
Tip: save now, cook later.Patriotic Chocolate Covered Oreos bring the kind of fast, festive finish that disappears before the dessert table cools down. The crisp cookie inside stays intact, while the candy shell sets into a smooth, colorful coating that snaps lightly when you bite into it. The whole thing looks polished without asking for any baking, chilling, or special equipment beyond a bowl and a fork.
What makes these work is the way the coating is handled. Candy melts set cleanly on cookies, but only if they stay fluid enough to dip without clumping. A tiny bit of coconut oil helps if the melts start to tighten up, and using parchment keeps the bottoms smooth instead of sticky. The decorations go on while the coating is still wet, which is the difference between sprinkles that sit neatly on top and sprinkles that fall off later.
Below, I’ll walk through the melt-and-dip method that keeps the finish neat, plus the small timing detail that makes the drizzle look sharp instead of messy. You’ll also find a few easy ways to change the colors or adapt the cookies for different holidays without changing the method.
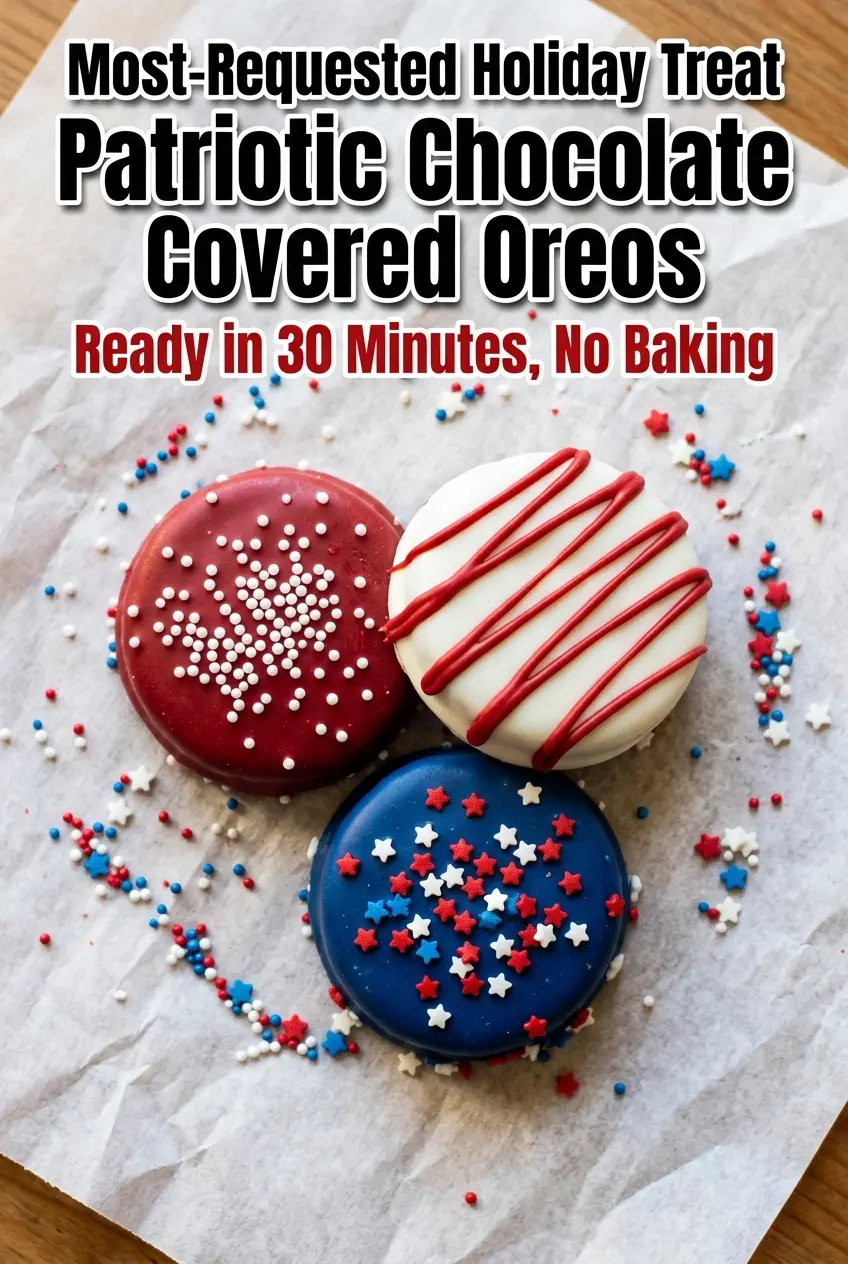
The coating set up smooth and shiny, and the sprinkles stayed put even after I packed them for a party. I used white chocolate drizzle over the blue ones and they looked like something from a bakery.
These red, white, and blue Oreos are the easiest no-bake treat for a patriotic dessert tray.

The Part That Makes Candy-Coated Oreos Look Smooth Instead of Blotchy
The biggest mistake with dipped Oreos is rushing the coating. If the candy melts are too thick, you get a lumpy shell that drags across the cookie instead of flowing around it. If they’re overheated, they can seize and turn grainy. The goal is a coating that falls off the spoon in a ribbon and settles into a glossy shell without much coaxing.
That’s why this recipe works best with short microwave bursts and steady stirring. Candy melts hold their shape until they suddenly loosen, so waiting for the bowl to look perfect after every burst is how people end up overheating them. Dipping one cookie at a time also matters. The longer the cookies sit in the warm coating, the more likely the cookies are to soften before the shell sets.
- Oreo cookies — Regular Oreos hold their shape beautifully and give you that classic cookie-and-coating bite. Double Stuf works too, but the thicker filling can make the cookie a little more fragile when you dip and lift it with a fork.
- Candy melts — These set better than ordinary chocolate for this kind of project. They’re made to harden smoothly at room temperature, which is why the decorations stay crisp and the finished cookies look clean.
- Coconut oil — A small amount loosens candy melts that are too thick for dipping. Use it sparingly; too much makes the coating soft and can keep it from setting firmly.
- Sprinkles and pearl toppings — Add them while the shell is still wet so they lock into place. If you wait until the coating sets, the decorations sit on top and fall off the second the cookies are handled.
- White candy melts for drizzle — The drizzle gives the cookies a layered, finished look, but it needs to be thin enough to pipe in a fine line. If it’s too thick, warm it a few seconds longer rather than forcing it through the bag.
The Quick Dip-and-Decorate Window That Keeps These Looking Sharp
Melt the Coating in Short Bursts
Place each color of candy melts in its own microwave-safe bowl and heat in 30-second bursts, stirring between each round. The melts should go from chunky to glossy without ever getting hot enough to look oily or stiff. If they seem thick, stir in a little coconut oil and mix until the texture loosens. The failure point here is overheating, which makes candy melts seize into a dull, paste-like mess.
Dip, Lift, and Let the Extra Fall Away
Hold each Oreo by the edge and dip it fully into the melted coating. Lift it out with a fork and tap the fork lightly against the bowl so the extra coating drains back down. That step keeps the bottom from turning into a thick puddle and helps the cookie sit flat on the parchment. If the coating clings in heavy ridges, it’s too thick and needs a little more thinning before you keep going.
Add the Decorations Before the Shell Sets
Set each dipped cookie on parchment immediately, then add sprinkles while the surface is still tacky. That wet surface is what locks everything in place. For the drizzle, wait until the coating has started to firm up slightly so the lines sit on top instead of melting into the shell. If you drizzle too early, the colors blur together.
Let Them Set Without Moving Them Around
Leave the cookies at room temperature until the coating hardens, or slide them into the refrigerator for a short burst if you need them faster. Don’t stack or shift them before they’re set, because even a little movement can smear the finish and crack the decoration. Once they’re firm, they lift cleanly from the parchment and look polished enough for a party tray.
Three Ways to Change the Colors Without Changing the Method
Swap the Color Palette for Any Holiday
Keep the same dipping method and just change the candy melt colors and sprinkles. Red, green, and white work for Christmas, pastels fit Easter, and orange and black make an easy Halloween version. The texture stays identical, but the look changes completely.
Use Dark or White Chocolate for a Different Finish
If you prefer real chocolate, use tempered chocolate or chocolate melting wafers instead of candy melts. The flavor is deeper, but the finish can be a little more delicate and less forgiving than candy coating. Chocolate also softens faster at warm room temperature, so these are best served the same day.
Make Them Gluten-Free with a Cookie Swap
Use a gluten-free chocolate sandwich cookie that holds its shape well. The coating method stays the same, but some gluten-free cookies are a little more delicate, so dip them gently and let the excess drip off before setting them down. If the cookie crumbles easily, chill it for 10 minutes first so it handles better.
Storage and Reheating
- Refrigerator: Store in an airtight container for up to 1 week. The coating stays firm, but the cookie can pick up a little moisture if the container isn’t sealed well.
- Freezer: These freeze well for up to 2 months if layered between sheets of parchment in a freezer-safe container. Thaw them in the container so condensation doesn’t dull the coating.
- Reheating: No reheating needed. If they soften in a warm room, move them to the refrigerator for 10 to 15 minutes rather than trying to heat them, which will melt the decoration and ruin the shell.
Answers to the Questions Worth Asking
Patriotic-Themed Chocolate Covered Oreos
Ingredients
Equipment
Method
- Line two large baking sheets with parchment paper and set aside.
- Arrange the sprinkles in small piles so they’re ready to use right after dipping.
- Melt the red candy melts in a microwave-safe bowl in 30-second bursts, stirring between each, until fully smooth (about 1½ to 2 minutes total). If needed to thin, stir in ½ tsp coconut oil.
- Repeat with the white candy melts the same way (30-second bursts with stirring until smooth) and stir in additional coconut oil only if needed to thin.
- Repeat with the blue candy melts the same way (30-second bursts with stirring until smooth) and stir in additional coconut oil only if needed to thin.
- Hold an Oreo by its edge and dip it fully into the melted candy coating of your choice, letting excess drip back into the bowl.
- Lift the Oreo out cleanly using a fork and place it on the parchment.
- While the coating is still wet, immediately add star sprinkles, nonpareils, or pearl sprinkles as desired.
- For drizzle, transfer melted red or white candy melts into a piping bag or zip-lock bag with a tiny corner snipped and drizzle thin zigzag lines over the set or semi-set coating for a layered effect.
- Repeat for all 24 Oreos, alternating colors (red, white, and blue) for a patriotic spread.
- Let the cookies set fully at room temperature for 20–25 minutes until hardened.
- If you’re in a hurry, refrigerate for 10 minutes to speed up setting.
- Serve immediately or store in an airtight container at room temperature for up to 5 days.
