
No-Bake White Chocolate Pumpkin Cups
White chocolate and pumpkin are a better match than they get credit for. The shell snaps cleanly when you bite in, then the center turns soft and creamy with that…
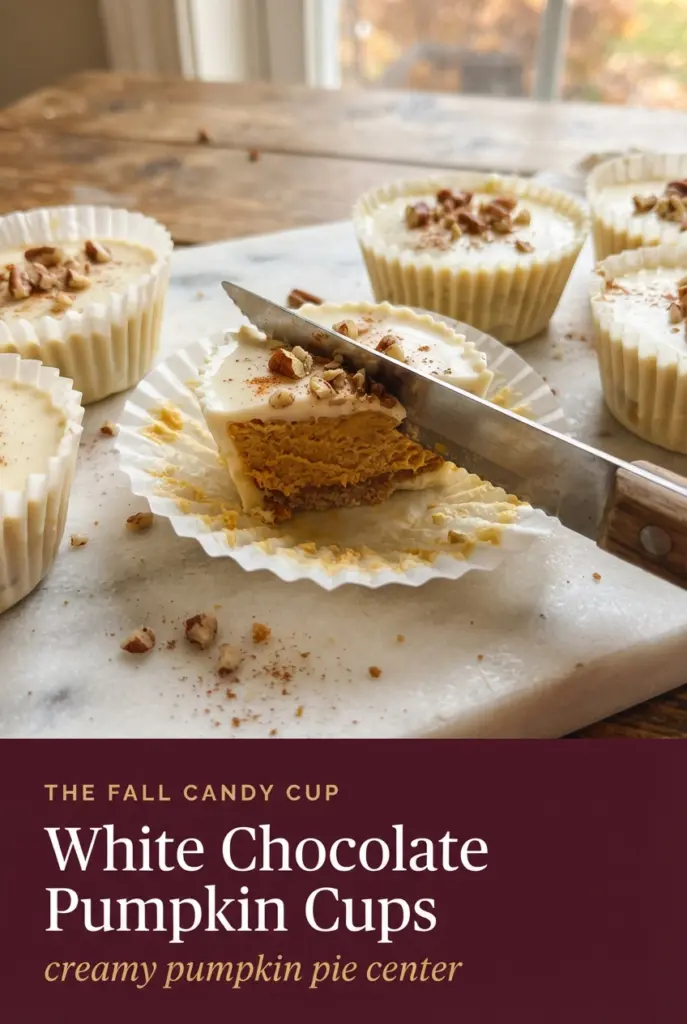
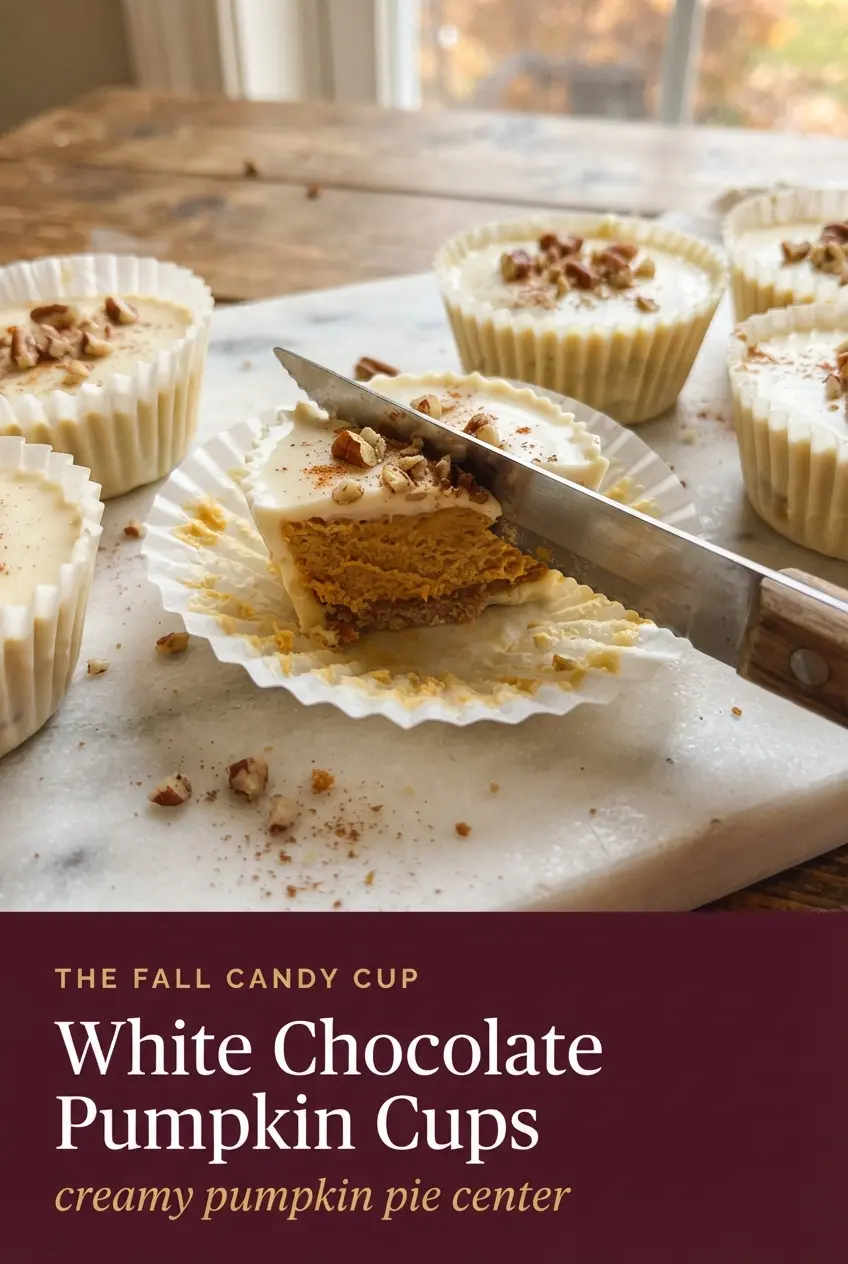
Tip: save now, cook later.White chocolate and pumpkin are a better match than they get credit for. The shell snaps cleanly when you bite in, then the center turns soft and creamy with that warm pumpkin pie spice note that keeps it from tasting flat. It eats like a little pumpkin cheesecake candy, and the contrast between the crisp coating and velvety filling is what makes people reach for a second one without thinking twice.
The trick here is balance. White chocolate sets up fast, but it can seize if you blast it with heat, so the low-power microwave method keeps it smooth enough to brush up the sides of the liners. The filling also needs structure, which is why the graham cracker crumbs matter; they thicken the pumpkin mixture just enough so it sits neatly inside the shell instead of smearing or leaking when you seal the tops.
Below, I’ll walk through the step that keeps the shells from cracking, the exact texture you want in the filling, and the best way to make these ahead for a party tray or dessert box.
The white chocolate shells set up perfectly and the pumpkin filling stayed thick instead of getting watery. I loved that the graham crumbs gave it a cheesecake feel, and the pecans on top added just enough crunch.
Save these no-bake white chocolate pumpkin cups for the moment you want a make-ahead fall dessert with a crisp shell and creamy pumpkin center.
The Part That Keeps White Chocolate From Turning Grainy
White chocolate is less forgiving than dark chocolate. If it gets too hot, it can seize or turn thick and pasty, which makes it impossible to brush into a neat shell. The low-power microwave method keeps the cocoa butter stable long enough to melt smoothly, and the coconut oil gives you a little extra fluidity without watering anything down.
The other place people run into trouble is with the filling. Pumpkin purée holds a lot of moisture, and if you mix it with just cream cheese and sugar, the center can turn loose once it sits. The graham cracker crumbs pull that moisture back into the mixture and give it enough body to mound neatly inside the shells. That small detail is what keeps the tops clean when you seal them.
- White chocolate chips — Use a good-quality chip that actually melts smoothly. Some baking chips hold their shape stubbornly, and those are the ones that need extra heat and start to break.
- Coconut oil — This helps the chocolate brush up the sides of the liners instead of clumping in the bottom. Refined coconut oil is fine if you don’t want a coconut note.
- Cream cheese — Let it soften fully so the filling turns silky instead of lumpy. Cold cream cheese leaves tiny bits behind no matter how long you beat it.
- Pumpkin purée — Use plain pumpkin purée, not pumpkin pie filling. Pie filling is already sweetened and spiced, and it throws off the texture and balance here.
- Graham cracker crumbs — These do more than add flavor. They give the center that cheesecake-like body and keep the cups from feeling loose after chilling.
- Pecans — Toasting matters. Raw pecans taste dull against the sweet white chocolate, while toasted pecans bring the crunch and nutty finish that wakes the whole bite up.
Building the Shell Without Breaking It
Melting the Chocolate Gently
Warm the white chocolate at 50% power in short bursts and stir between each one. It should look almost finished before you stop microwaving it; the residual heat will melt the last bits. If it starts looking thick or stiff, it has gone too far, and a teaspoon of coconut oil stirred in can loosen it back up.
Forming the Cups
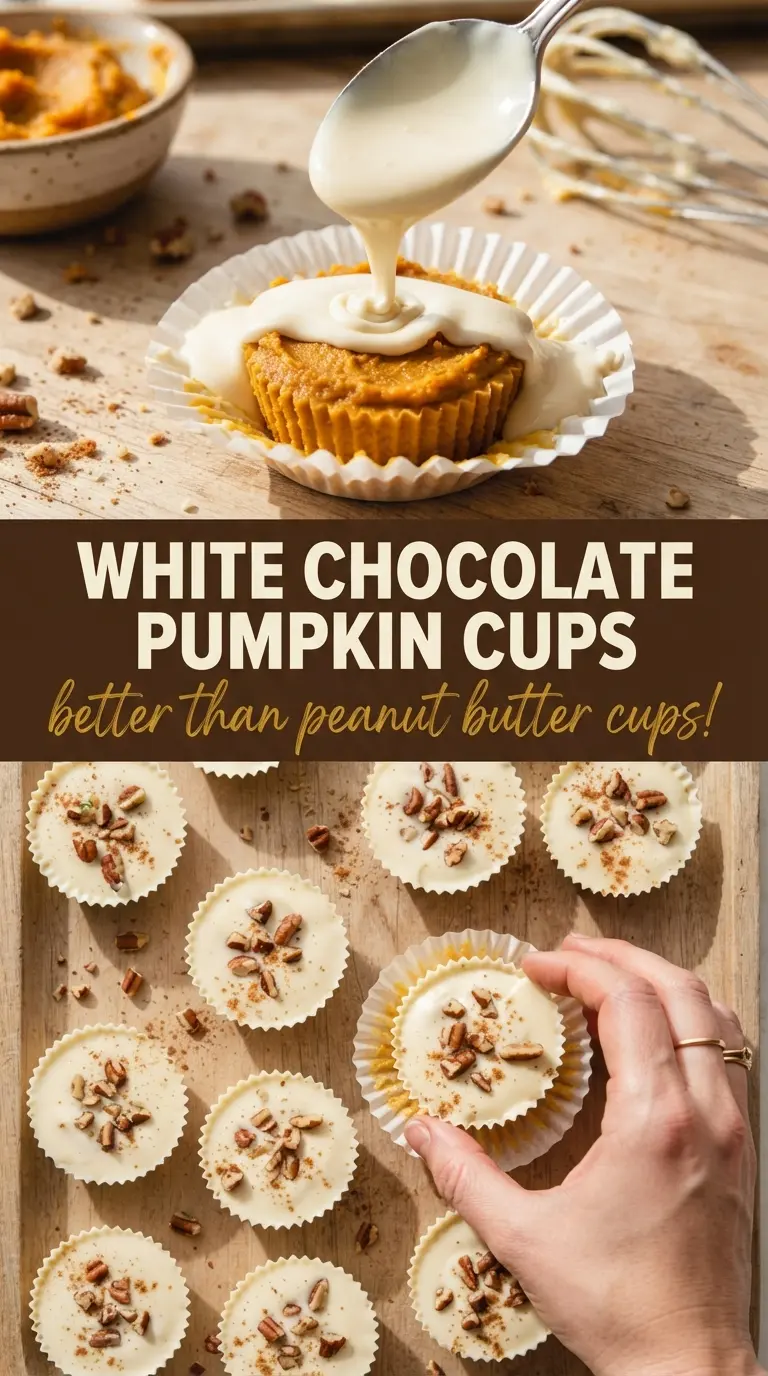
Spoon about a tablespoon of melted chocolate into each liner, then use the back of the spoon to push it up the sides. You want a thin, even shell, not a heavy chocolate mound at the base. Freeze the tray just long enough for the chocolate to set hard; if you rush this part, the filling can melt the shell and make the edges patchy.
Mixing the Pumpkin Center
Beat the cream cheese until it loses all visible lumps before anything else goes in. Then add the pumpkin, powdered sugar, spice, vanilla, and salt and beat until the mixture looks smooth and pale. Fold in the graham crumbs at the end so you don’t overwork the filling; it should hold its shape on a spoon and spread without running.
Sealing and Setting
Spoon the filling into the shells, keeping a narrow border of chocolate visible around the edge. Rewarm the reserved chocolate only if it has thickened enough to stop flowing; you want it soft, not hot. Once the tops are sealed, the cups need a full chill so the shell releases cleanly from the liner and the filling slices through without squishing.
How to Adapt These for Different Crowds and Diets
Dairy-Free Version With a Different Kind of Creaminess
Use a dairy-free white chocolate that melts well and swap in a plant-based cream cheese. The texture will still be creamy, but the flavor reads a little sweeter and less tangy than the original. Chill time matters more with this version because some non-dairy alternatives stay softer at room temperature.
Gluten-Free Cups That Still Hold Together
Swap the graham cracker crumbs for gluten-free graham crumbs or very fine gluten-free cookie crumbs. You still need that dry ingredient to thicken the filling, so don’t skip it entirely. Without it, the pumpkin layer turns too soft and the cups don’t cut or bite as neatly.
Make Them Smaller for a Cookie Tray
Use mini muffin liners and cut the shell and filling portions down by about half. The smaller size sets faster and gives you cleaner edges, which is handy for dessert platters or gift boxes. Keep an eye on the sealing layer, because the tops can close over in a single spoonful instead of two.
Chocolate Swap for a Less Sweet Bite
Milk chocolate or semi-sweet chocolate will make the cups taste more like a peanut butter cup and less like a candy-coated cheesecake. The pumpkin filling stays the same, but the overall dessert loses some of that white chocolate sweetness and becomes a little firmer on the finish.
Storage and Reheating
- Refrigerator: Store in an airtight container for up to 5 days. The shells stay crispest for the first 2 to 3 days, then soften a little from the filling.
- Freezer: These freeze well. Freeze in a single layer until firm, then move them to a container with parchment between layers for up to 1 month.
- Reheating: No reheating needed. Let frozen cups thaw in the refrigerator so the chocolate doesn’t sweat or bloom; room-temperature thawing can make the shells tacky.
Answers to the Questions Worth Asking
No-Bake White Chocolate Pumpkin Cups
Ingredients
Equipment
Method
- Line a 12-cup muffin tin with paper or foil liners to prevent sticking and make peeling easy.
- Microwave the white chocolate chips and coconut oil at 50% power in 30-second bursts, stirring between each, until completely smooth and glossy. If it looks streaky, keep microwaving in 10- to 15-second bursts until fully melted.
- Spoon about 1 tbsp of melted white chocolate into each liner and brush it up the sides with the back of a spoon to form a shell. Leave a clean, even rim so the filling can be sealed later.
- Set the rest of the chocolate aside at room temperature, then freeze the tin for 10 minutes until the shells are firm. You should be able to press gently and feel resistance with no wobble.
- Beat the cream cheese until smooth, then add pumpkin purée, powdered sugar, pumpkin pie spice, vanilla extract, and salt and beat until creamy. Stop when the mixture is uniform and lump-free.
- Fold in the graham cracker crumbs until the filling is thick and spoonable. The mixture should hold its shape when you lift the spoon.
- Spoon a heaping tablespoon of filling into each shell, spreading it flat and leaving a thin border of white chocolate visible around the edge. Keep the border exposed so the top layer seals cleanly.
- Rewarm the reserved chocolate for 15–20 seconds if it has thickened, then spoon it over each cup to cover the filling completely and seal the edges. Look for a smooth top with no gaps at the perimeter.
- Sprinkle the tops with toasted pecans and a light dusting of pumpkin pie spice. Aim for even coverage so each cup gets a balanced topping layer.
- Refrigerate for 30 minutes until fully set. The filling should feel firm when gently pressed through the liner.
- Peel off the liners and serve chilled for the best snap-to-smooth texture. Keep leftovers refrigerated until ready to serve.
