
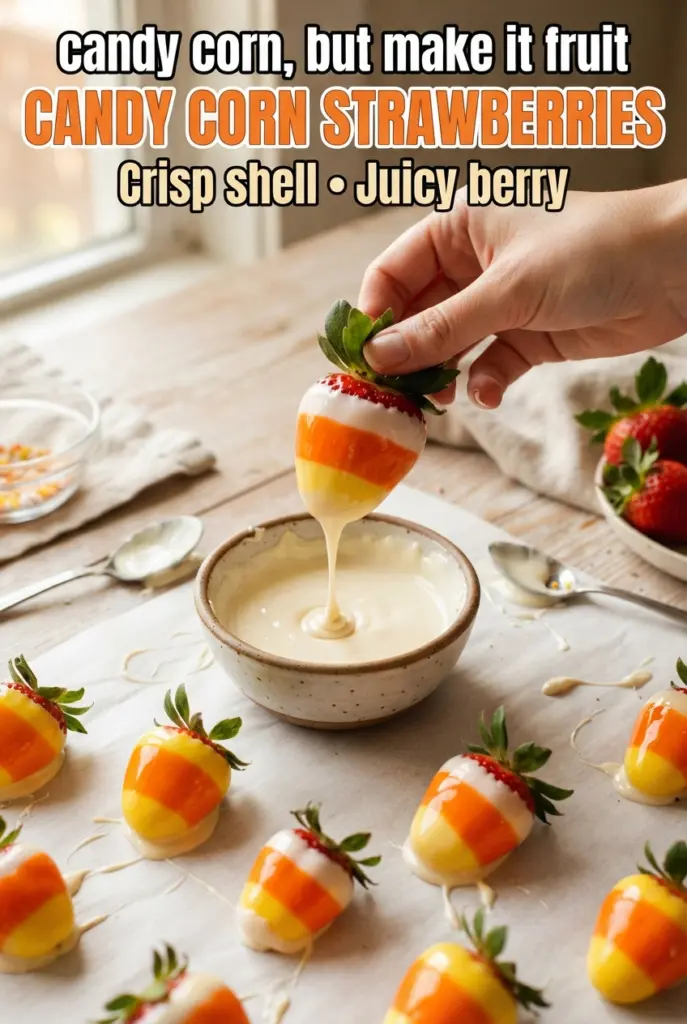
Candy Corn Halloween Strawberries
Bright stripes of candy coating turn fresh strawberries into little candy corn lookalikes, and the best part is the snap you get when you bite through the shell into a…
Tip: save now, cook later.Bright stripes of candy coating turn fresh strawberries into little candy corn lookalikes, and the best part is the snap you get when you bite through the shell into a cold berry underneath. The contrast is what makes them work: sweet, colorful candy melts on the outside, juicy fruit on the inside, and just enough shine to look party-ready without much effort.
The trick is keeping the strawberries completely dry and letting them warm up a bit before dipping. Cold berries sweat, and even a few drops of moisture will keep the candy from sticking cleanly. Working in layers also gives you those sharp candy corn bands instead of a muddy swirl, so each dip needs a short chill before the next color goes on.
Below you’ll find the timing that keeps the coating smooth, the easiest way to avoid streaks and clumps, and a few swaps if you want to change the colors or make the recipe fit a different crowd.
The stripes came out clean and the candy shell set up fast, even with the kitchen a little warm. My kids thought they were the cutest Halloween treat on the table, and the strawberries stayed crisp instead of getting soggy.
These candy corn strawberries set up with crisp stripes and a fresh berry center, so they look festive without being fussy.
The Trick to Clean Candy Corn Stripes on Strawberries
Most dipped strawberries get messy because the coating is too hot, the berries are damp, or both. Candy melts are forgiving, but they still need a dry surface and a thick-enough coating to cling instead of sliding off. If the first layer is glossy but loose, the next color will drag it around and the stripes blur.
The other place people run into trouble is the chill time. If you rush the next dip before the first color has set, the layers blend at the edges and you lose that candy corn look. A short rest in the fridge is enough to firm each band without making the berries sweat again.
- Room-temperature berries — Cold strawberries attract condensation, and that thin film of moisture is enough to make candy melts bead up. Let them sit out until they’re no longer cool to the touch.
- Parchment paper — Wax paper can stick to the coating. Parchment gives the candy a clean surface to release from once it sets.
- Low-power melting — Candy melts scorch fast in the microwave. Short bursts at half power keep them smooth instead of grainy or seized.
What Each Ingredient Is Actually Doing in This Candy Corn Strawberry Recipe
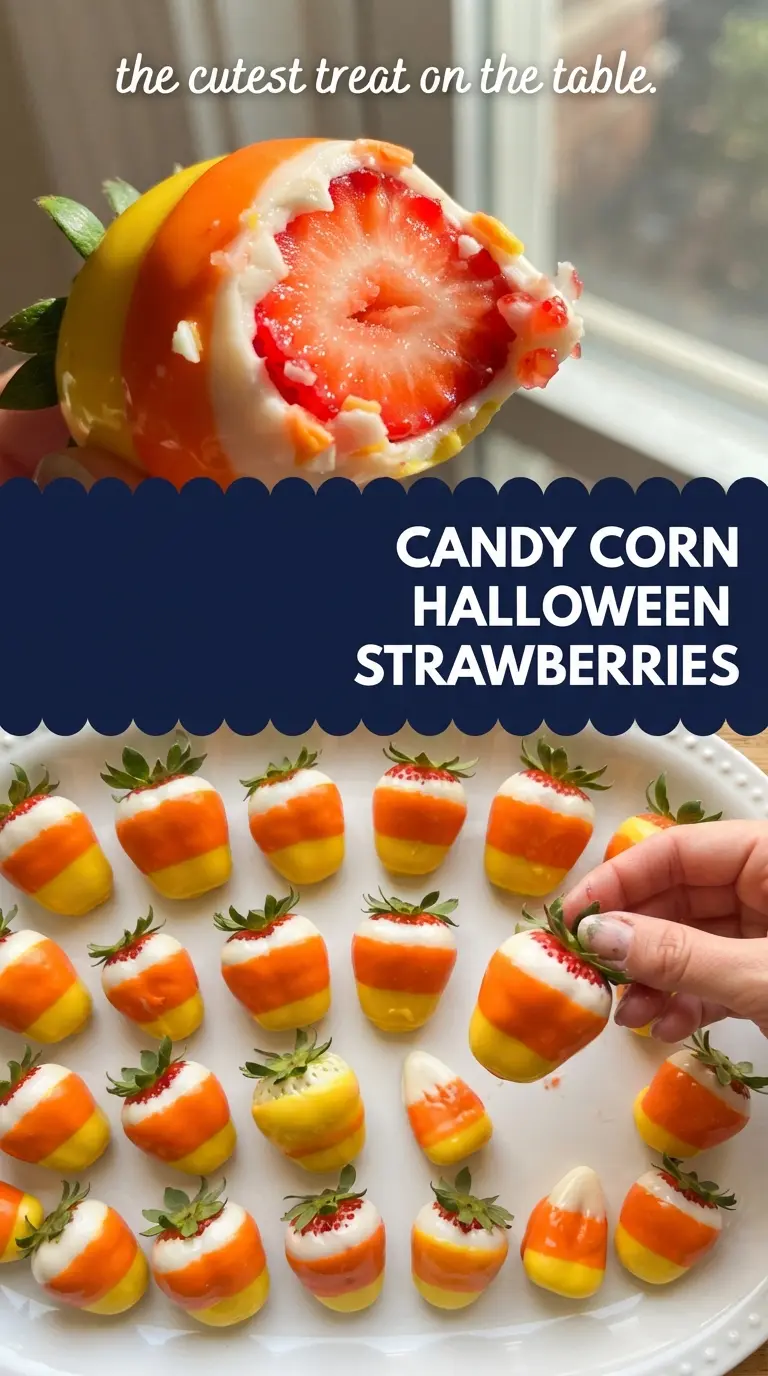
- Strawberries — Large berries are easier to dip and give you enough surface area for the yellow, orange, and white bands. Keep the stems on so you have a natural handle for dipping. If your berries are small, the stripes will still work, but the candy corn effect won’t look as dramatic.
- Candy melts — Candy melts are made for dipping, which is why they set with a smooth shell instead of a sticky coating. White chocolate can work in a pinch, but it needs more attention and is easier to overheat. Use real candy melts if you want the cleanest stripes.
- Coconut oil — A tiny bit thins the melted candy just enough to dip cleanly. Too much makes the coating runny and thin, so stay with the measured amount. If you don’t want coconut flavor, use refined coconut oil or a neutral vegetable shortening made for candy making.
Layering the Candy Coating Without Blending the Colors
Prep the berries first
Wash the strawberries, then dry them like the finish depends on it, because it does. Set them on a towel and let them air out until every bit of surface moisture is gone. If they’re still cold from the fridge, give them time to warm up before you melt anything. A dry berry takes the coating neatly; a damp one turns the first dip into a mess.
Melt each color slowly
Stir the candy melts with a little coconut oil in short microwave bursts at half power. Stop as soon as the last pieces melt, then stir until the mixture looks smooth and glossy. Overheating candy melts makes them thick and pasty, which is the opposite of what you want for clean layers.
Build the stripes from yellow to white
Dip each strawberry in the yellow coating first, then chill it just long enough for the surface to set. Repeat with orange, leaving a band of yellow visible near the top, then finish with white on the pointed end. Work one color at a time and keep the next layer off until the current one feels firm to a light touch, or the bands will smear instead of stack cleanly.
Three Ways to Make These Strawberries Work for Different Occasions
Use white and pastel melts for a different party theme
Keep the same dipping method and switch the colors to match a birthday, baby shower, or spring dessert table. The technique stays identical, but using softer colors gives you a more playful look while keeping the crisp layered finish.
Skip the white layer for a faster two-tone version
If you want less dipping and chilling, stop after the orange layer. You’ll still get a bold, festive look, just with fewer stripes and a little more red strawberry peeking through near the tip.
Use dairy-free or vegan candy melts
This recipe already leans dairy-light if you choose vegan-friendly candy melts, so it’s an easy dessert to adapt. Just check the label on the candy coating and use a plant-based melt that sets firm; the finished berries will look the same and still give you that crisp shell.
Storage and Reheating
- Refrigerator: Best eaten the same day, but they can hold for about 24 hours in a single layer. After that, the berries start to soften and release moisture under the coating.
- Freezer: Don’t freeze them. The strawberries turn mushy when thawed, and the candy shell will crack.
- Reheating: No reheating needed. If the coating softens, let the berries sit briefly at room temperature before serving, but don’t warm them or the stripes will lose their shape.
Questions I Get Asked About This Recipe
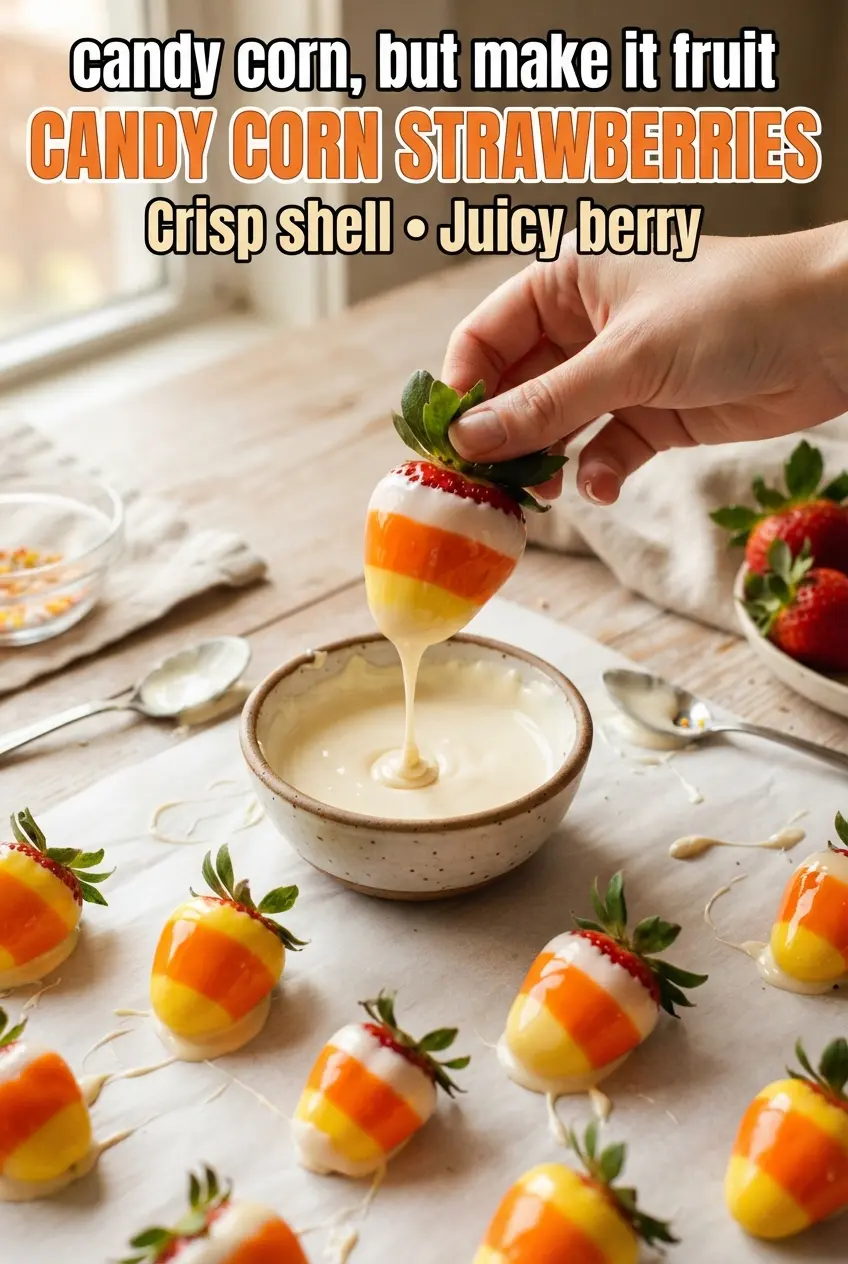
Candy Corn Halloween Strawberries
Ingredients
Equipment
Method
- Wash the strawberries and pat them completely dry with paper towels, removing all moisture so the candy shell adheres. Let them sit at room temperature for 30 minutes to prevent sweating.
- Line a baking sheet with parchment paper, leaving space so dipped berries can chill without touching. Keep it ready near your melting setup.
- Microwave the yellow candy melts with 1/2 tsp coconut oil at 50% power in 30-second bursts, stirring between each, until completely smooth. The coating should look glossy with no visible lumps.
- Holding each strawberry by its leaves, dip it into the yellow coating about three-quarters of the way up, leaving a thin band of red just below the leaves. Lay berries on the parchment and let the excess drip off before placing them down.
- Chill the tray for 5 minutes until the yellow layer is set and no longer glossy.
- Melt the orange candy melts with 1/2 tsp coconut oil using the same 50% power, 30-second burst method and stir until smooth. Keep the consistency fluid for dipping.
- Dip each berry into the orange coating about two-thirds of the way up, leaving a stripe of yellow showing near the top. Return berries to the tray without smearing layers.
- Chill for 5 minutes until the orange layer firms up.
- Melt the white candy melts with the remaining 1/2 tsp coconut oil using the same 50% power, 30-second burst method until fully smooth. Stir until the coating is uniform and pourable.
- Dip only the pointed tip of each berry into the white coating, covering the bottom third to create the candy corn stripes. Place berries back on the parchment without twisting.
- Chill for 10 minutes until fully set and the candy shell feels crisp. Serve the same day for the freshest, crispest coating.
