
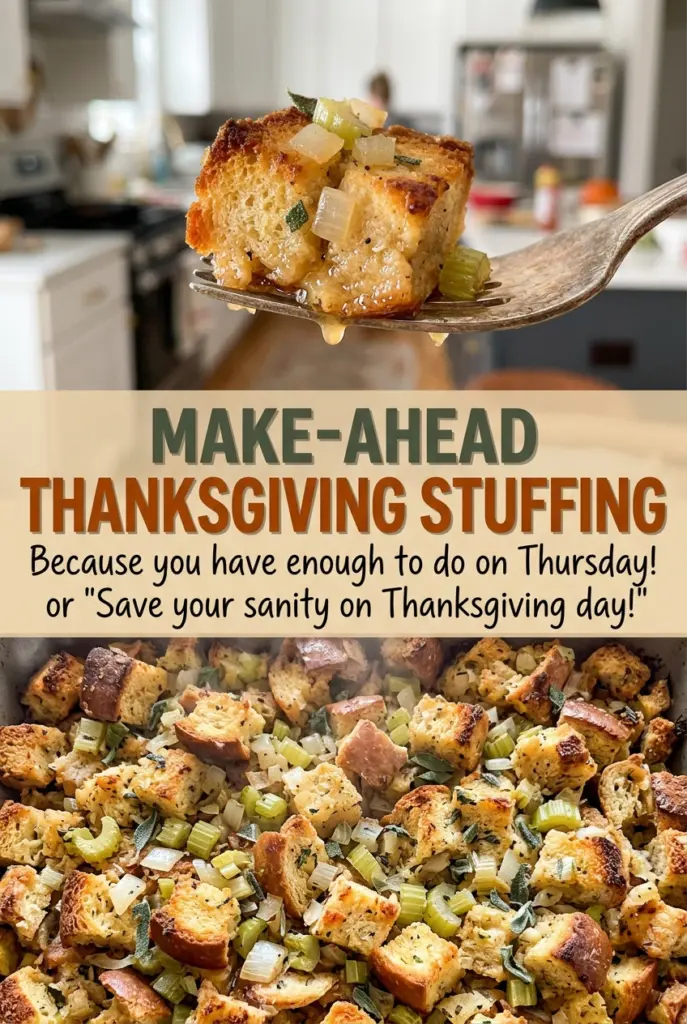
Make-Ahead Thanksgiving Stuffing
The bread cubes need to feel almost too dry before they go into the bowl. If they’re still soft in the middle, they’ll soak up the broth unevenly and the…
Tip: save now, cook later.The bread cubes need to feel almost too dry before they go into the bowl. If they’re still soft in the middle, they’ll soak up the broth unevenly and the finished stuffing can turn heavy instead of tender. I bake them until dry and crisp, then let them cool while the onion and celery soften in butter.
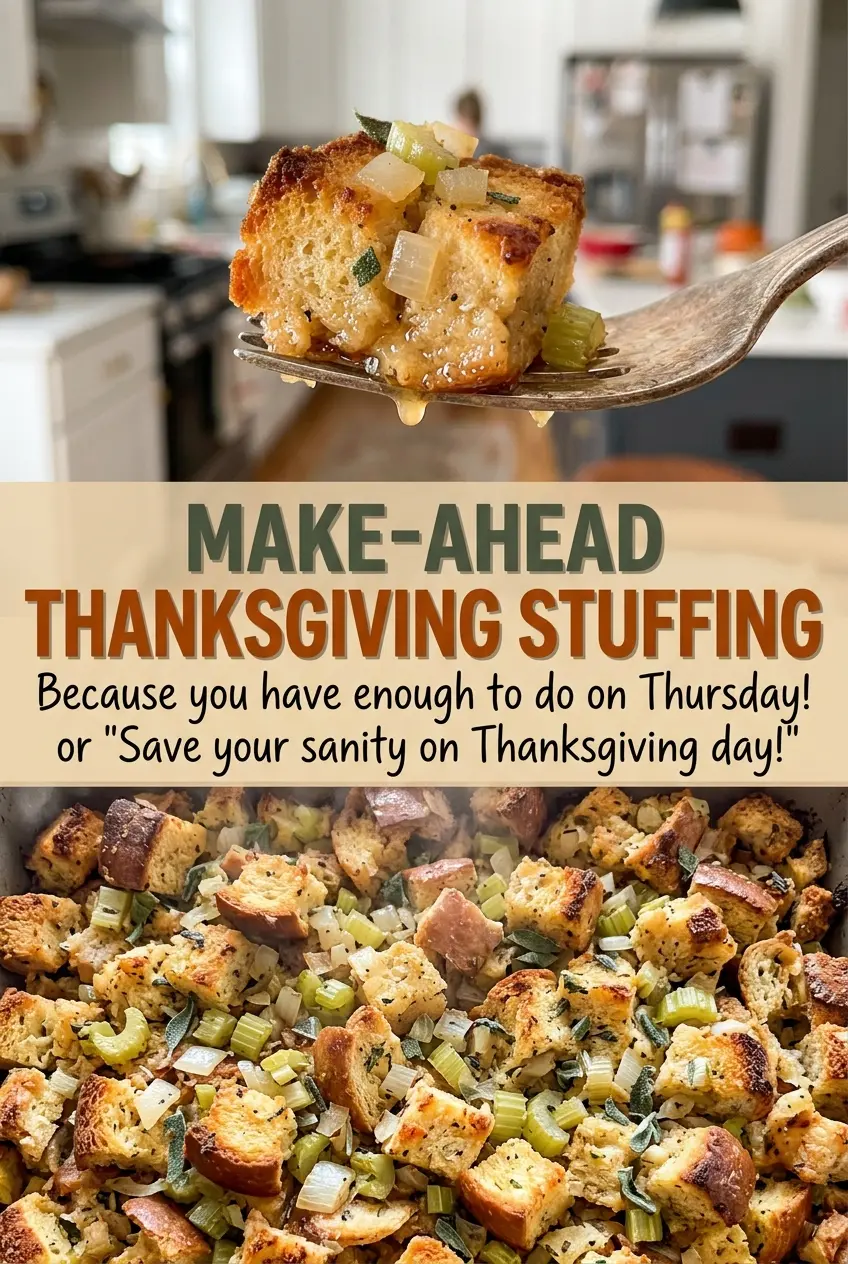
That small bit of planning is what makes Make-Ahead Thanksgiving Stuffing practical without sacrificing texture. The bread gets time to absorb the egg-and-broth mixture in the refrigerator, and the casserole goes into the oven cold, covered first so the center heats through before the top has a chance to brown. After it’s uncovered, the surface turns golden while the inside stays moist and savory.
Kitchen Note
Let the onion and celery soften, but don’t rush them over high heat. At 8 to 10 minutes they should be tender, not browned, so their mellow sweetness doesn’t compete with the herbs.
Save Make-Ahead Thanksgiving Stuffing for a crisp golden top and a casserole you can assemble the day before.
Why This Stuffing Needs Drier Bread Than You’d Expect
Fresh, soft bread seems like it should make a tender casserole, but it can turn gummy once it sits with broth and eggs. Drying the cubes first gives them room to take in the liquid gradually. They soften during the chill and bake without collapsing into a paste.
That texture matters even more in a make-ahead dish. The bread sits with the broth mixture for at least four hours, so a crisp starting point helps it hold its shape through the long rest. Stir the cubes once as they dry in the oven; the ones near the edges of the baking sheets can dry faster than those in the middle.
Look for cubes that feel dry and crisp throughout, not merely stale on the outside. If a cube still bends or feels spongy when you press it, it needs more time. The exact drying time can vary, so use the texture cue along with the 45-to-60-minute window.
What the Bread, Eggs, and Broth Each Bring to the Pan
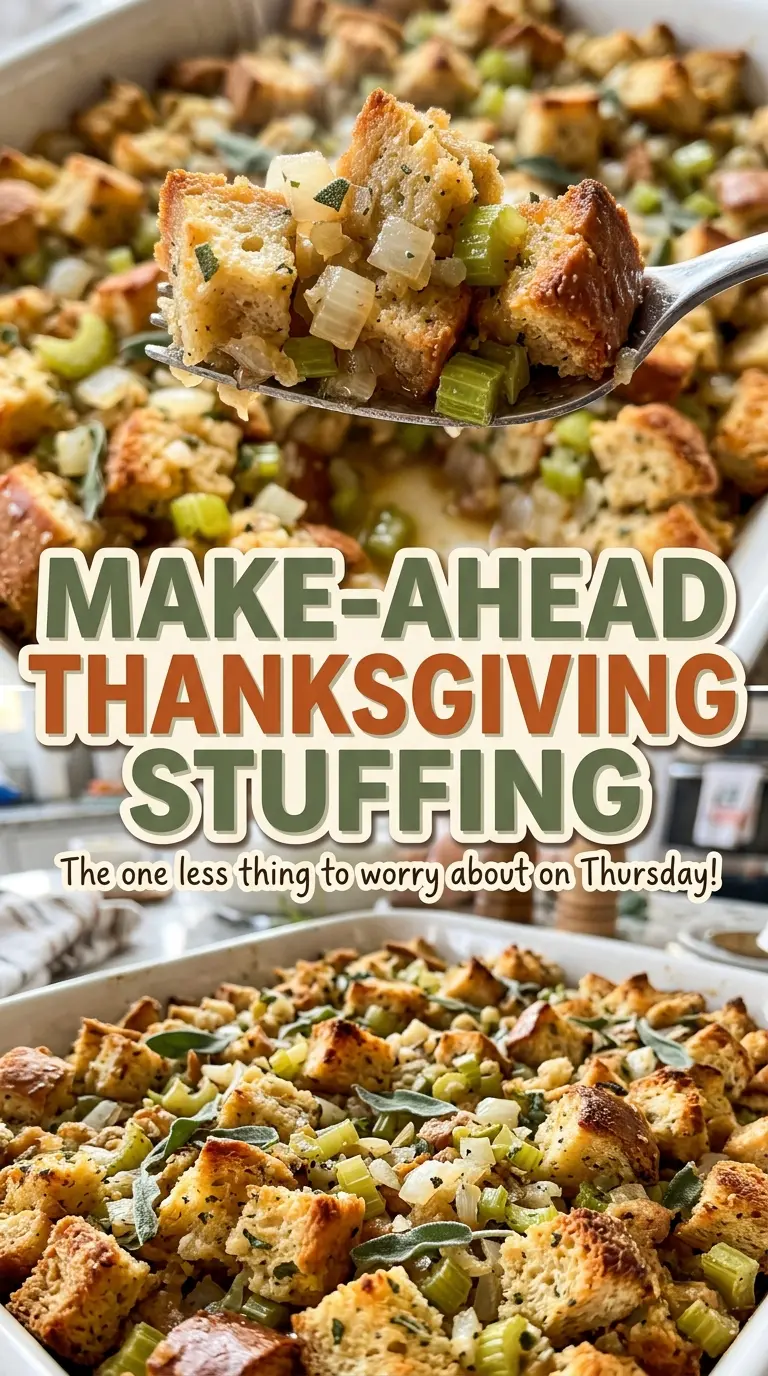
- White sandwich bread — Its soft crumb and mild flavor take on the seasoned broth without overwhelming the sage and thyme. A standard loaf is an economical choice here; cut the cubes evenly so they dry at a similar rate. A gluten-free sandwich loaf can stand in for a gluten-free version, though its crumb may absorb liquid differently.
- Unsalted butter — Butter carries the onion, celery, and dried herbs through the casserole, adding a round, savory richness. Unsalted butter lets the kosher salt stay in balance. For a dairy-free adaptation, use an unsalted plant-based butter designed for cooking; the flavor will be a little less buttery.
- Onion, celery, and dried herbs — Finely chopped vegetables soften into the bread instead of leaving large crunchy pieces. Dried sage and thyme bring concentrated flavor to the warm butter, while fresh parsley adds a brighter note after the skillet comes off the heat. Fresh parsley should look lively rather than limp.
- Chicken broth and eggs — Broth moistens the bread, and the eggs help the casserole hold together once baked. Low-sodium broth keeps the seasoning from becoming too salty. For a vegetarian version, use low-sodium vegetable broth; it works in the same mixture, with a slightly different savory depth.
Drying, Chilling, and Baking the Stuffing in Stages
Dry the Cubes Until Crisp
Heat the oven to 300°F and spread the bread cubes in a single layer on two rimmed baking sheets. Bake for 45 to 60 minutes, stirring once, until the cubes are dry and crisp, then let them cool. Crowding them in piles keeps moisture trapped, so give the cubes room across both sheets. Cool bread is easier to toss evenly with the warm vegetables and liquid.
Soften the Vegetables and Wake Up the Herbs
Coat a 9×13-inch baking dish with nonstick cooking spray. Melt the butter in a large skillet over medium heat, then add the finely chopped onion and celery. Cook for 8 to 10 minutes, stirring occasionally, until softened. Stir in the sage, thyme, salt, and pepper for 30 seconds, then take the skillet off the heat and mix in the parsley.
Moisten Evenly Before the Refrigerator Rest
Whisk the chicken broth and eggs together in a large bowl. Add the cooled bread cubes and butter-vegetable mixture, then toss until every cube is evenly moistened. If some cubes remain dry, keep tossing so the liquid doesn’t collect only at the bottom of the bowl. Transfer the mixture to the prepared dish, cover it tightly with foil, and refrigerate for at least 4 hours or up to 24 hours.
Bake Covered, Then Brown the Top
Heat the oven to 350°F and put the covered dish straight from the refrigerator into the oven. Bake covered for 45 minutes, then remove the foil and continue baking for 20 to 30 minutes. The uncovered top should turn golden, and the center should reach 160°F. Let the casserole rest for 10 minutes before serving so it settles rather than falling apart when scooped.
Three Practical Swaps for Different Tables
Make It Vegetarian With Vegetable Broth
Replace the chicken broth with low-sodium vegetable broth. The stuffing keeps its soft, savory center, though the broth won’t have the same chicken flavor. Choose a low-sodium version so the salt in the dish stays balanced.
Use Plant-Based Butter for a Dairy-Free Pan
Swap in unsalted plant-based butter made for cooking, keeping the rest of the mixture the same. It will soften the vegetables and carry the herbs, though the finished stuffing may have a less rich, buttery taste. The eggs remain in the recipe, so this is dairy-free rather than vegan.
Choose a Gluten-Free Sandwich Loaf
Use gluten-free white sandwich bread and dry the cubes until crisp before mixing. Gluten-free breads vary in density, so watch the texture as you toss; some cubes may soften sooner than others. The casserole will still bind with the eggs, though the crumb may be less uniform.
Storage and Reheating
- Refrigerator: Keep the assembled, unbaked dish covered for 4 to 24 hours. Refrigerate baked leftovers promptly and use within 3 to 4 days.
- Freezer: Freeze baked portions in an airtight container for up to 3 months for best quality. Thaw overnight in the refrigerator before reheating.
- Reheating: Cover leftovers and reheat in the oven until the center reaches 165°F; uncover near the end if you’d like to crisp the top again. Avoid reheating uncovered from the start, which can dry the surface before the middle is hot.
Questions That Come Up When Making Stuffing Ahead
Make-Ahead Thanksgiving Stuffing
Ingredients
Equipment
Method
- Heat the oven to 300°F.
- Spread the bread cubes in a single layer on 2 rimmed baking sheets.
- Bake for 45–60 minutes, stirring once, until dry and crisp, then cool.
- Coat a 9x13-inch baking dish with nonstick cooking spray.
- Melt the butter in a large skillet over medium heat, add the onion and celery, and cook for 8–10 minutes, stirring occasionally, until softened.
- Stir in the sage, thyme, salt, and pepper, cook for 30 seconds, then remove the skillet from the heat and stir in the parsley.
- Whisk the broth and eggs in a large bowl, add the dried bread and butter-vegetable mixture, and toss until evenly moistened.
- Transfer the stuffing to the prepared dish, cover tightly with foil, and refrigerate for at least 4 hours or up to 24 hours.
- Heat the oven to 350°F and bake the covered stuffing straight from the refrigerator for 45 minutes.
- Uncover and bake for 20–30 minutes, until the center reaches 160°F and the top is golden.
- Let the stuffing rest for 10 minutes before serving.
