
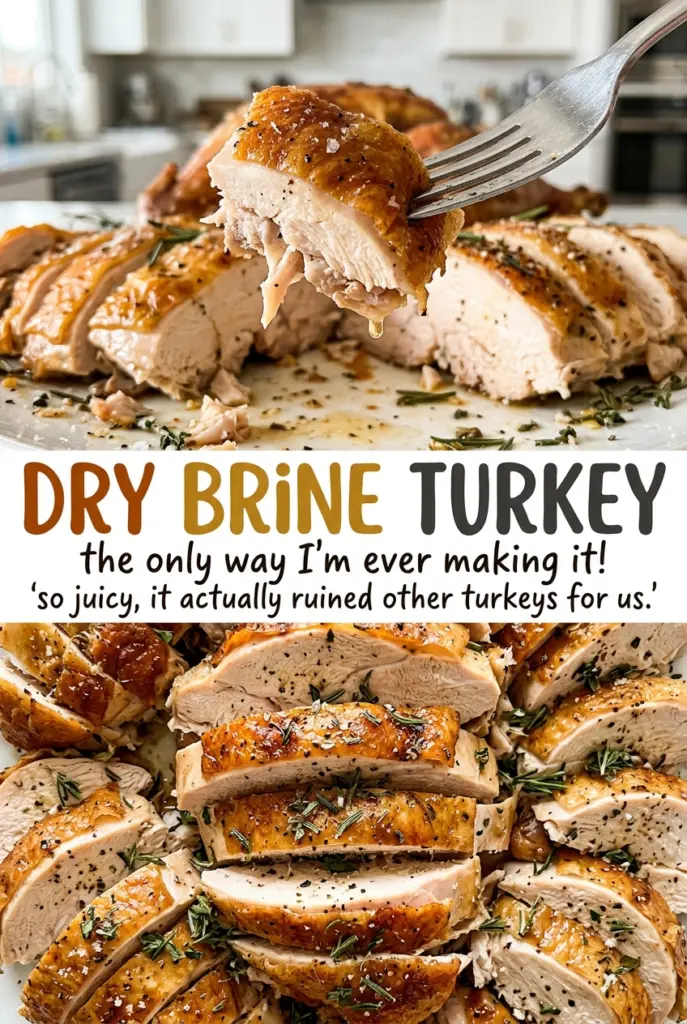
Dry Brine Turkey
The first time I tried to get a turkey ready early, I kept thinking the skin looked too damp to brown well. With dry brine turkey, the fix isn’t another…
Tip: save now, cook later.The first time I tried to get a turkey ready early, I kept thinking the skin looked too damp to brown well. With dry brine turkey, the fix isn’t another coating or a hotter oven; it’s giving the salted bird room in the refrigerator. I pat the thawed turkey dry, work kosher salt over and under the skin, then set it uncovered on a rack. That stretch of refrigerator time changes how the surface behaves once the turkey hits the oven.
Because the salt reaches under loosened skin as well as outside, the meat gets seasoned beyond its surface. The softened unsalted butter goes on just before roasting, while the onion, lemon, and thyme stay loose in the cavity rather than packed in. The result is a whole bird with seasoning throughout and skin that has a chance to brown without a wet brine to drain or blot. This method fits a 12- to 14-pound turkey and asks for a little advance planning, not a complicated prep day.
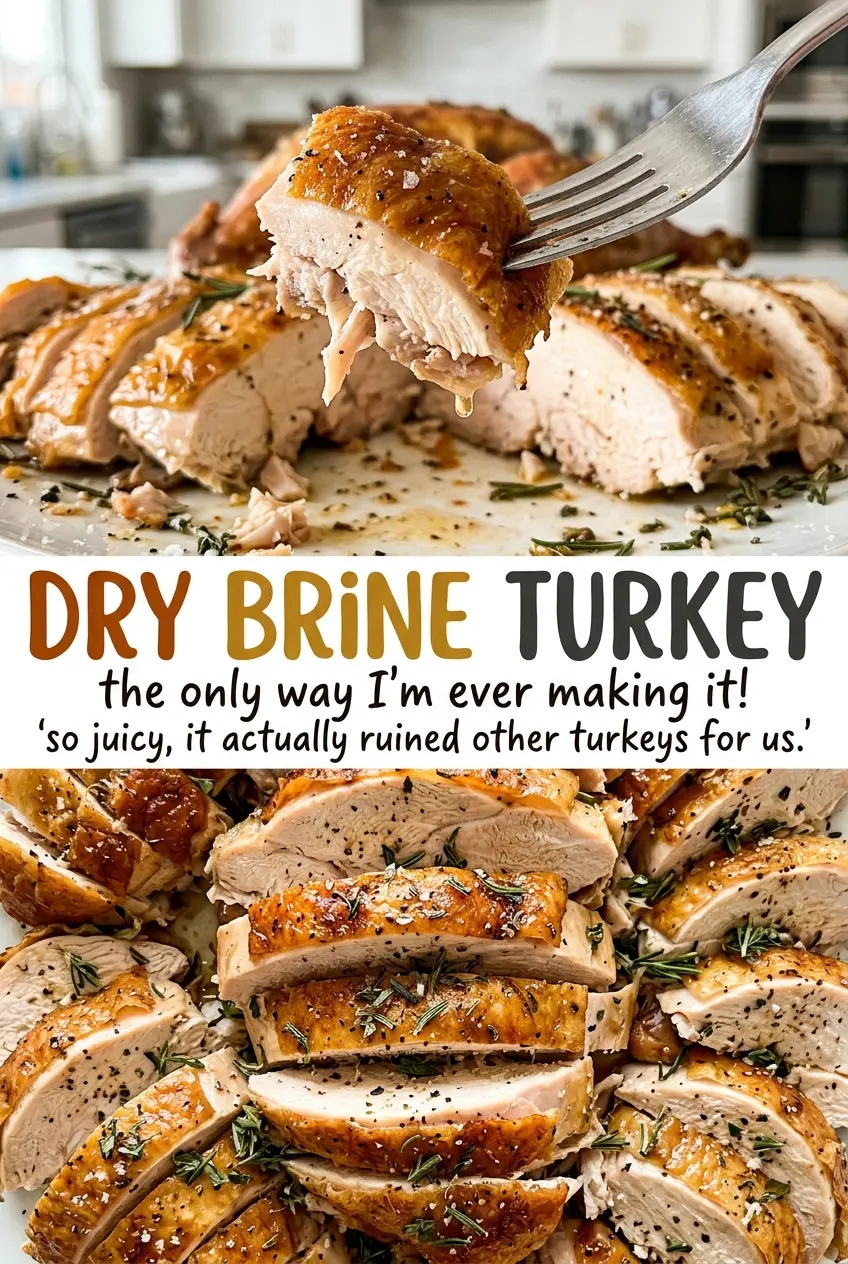
Kitchen Note
I weigh the kosher salt when I can, since the same spoonful of Diamond Crystal and Morton won’t weigh the same. If you’re measuring by volume, use the amount for the brand you have; swapping those measures can leave the turkey too salty.
Save this dry brine turkey for a deeply seasoned bird with skin that has time to dry before roasting.
Why a Dry-Brined Turkey Needs Air, Not a Wet Rinse
A dry brine isn’t just a different way to get salt onto the bird. Salt draws a little moisture to the surface, dissolves into it, and then that seasoned moisture works back into the meat. Meanwhile, air moving around the uncovered turkey helps dry the skin. That drier surface browns more readily than damp skin, which has to lose moisture before it can start to brown.
The wire rack matters here: it lifts the turkey so air can reach more of the surface instead of leaving the underside pressed against a pan. The salt under the loosened skin also seasons the thicker breast and thigh meat, not just the outside. Butter adds richness later, but it can’t do the same job as time and airflow. Keep the bird uncovered during its refrigerator rest, and resist the urge to rinse away the salt before roasting.
What Salt, Butter, and the Cavity Aromatics Do for This Turkey
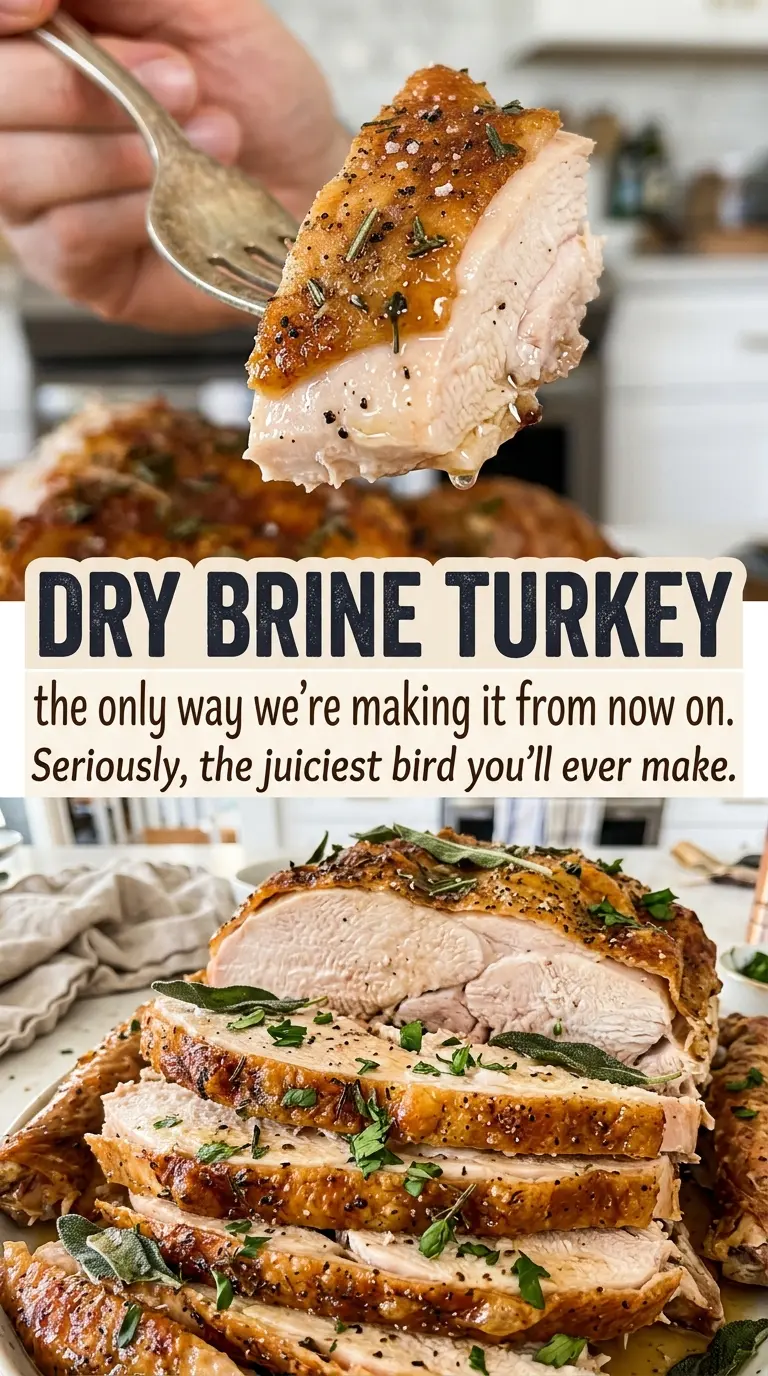
- The turkey — Start with a fully thawed bird in the specified 12- to 14-pound range. Remove the neck and giblets before salting, and pat the skin dry rather than rinsing it.
- Kosher salt — Its coarse crystals are easy to distribute over the skin and beneath it. Use the brand-specific measure in the ingredient list; Diamond Crystal and Morton have different crystal sizes, so their spoon measurements aren’t interchangeable.
- Unsalted butter — Softened butter spreads beneath the loosened skin and over the outside without tearing the skin. Unsalted butter keeps the seasoning in your control after the dry brine.
- Black pepper — It gives the buttery exterior a warm, savory bite. Ordinary black pepper works well; even coverage matters more than choosing a specialty grind.
- Onion, lemon, and thyme — These aromatics scent the cavity as the turkey roasts. Keep them loose rather than packing the cavity tightly, and use the combination that suits the flavor you want.
The Brine-to-Roast Sequence That Sets Up the Skin
Dry the Bird and Get Salt Under the Skin
Remove the neck and giblets, then pat the turkey very dry with paper towels; don’t rinse it. Gently work your fingers beneath the skin over the breast and thighs, loosening it without pulling hard. Rub the salt evenly over the skin, beneath those loosened areas, and inside the cavity. If the skin tears, stop stretching that spot and season the exposed area gently.
Give the Salted Turkey Its Uncovered Rest
Set the turkey breast side up on a wire rack in an 18×13-inch rimmed baking sheet. Refrigerate it uncovered for 24 to 48 hours. Keep it on the rack so air can circulate around the bird, and leave enough space that the turkey isn’t pressed against other food. The skin should feel drier when you take it out than it did before salting.
Move to the Roasting Pan and Add the Finishing Seasoning
Heat the oven to 325°F with a rack in the lower third. Transfer the turkey, breast side up, to a rack in a 16-inch roasting pan, tuck the wing tips underneath, and tie the legs loosely with kitchen twine. Rub the softened butter beneath the loosened skin and over the outside, then season the exterior with black pepper. Place the onion, lemon, and thyme loosely in the cavity rather than forcing them in.
Roast to Temperature, Then Let the Meat Rest
Roast for 3 to 3 3/4 hours, tenting the turkey loosely with foil if the skin gets too dark before the meat is ready. Check the breast and innermost thigh with an instant-read thermometer rather than relying on the clock alone. The breast should register 165°F and the innermost thigh 175°F. Transfer the turkey to a carving board and let it rest for 30 minutes before carving.
Three Small Changes That Shift the Turkey’s Cavity Aroma
A dairy-free, butter-free finish
For a dairy-free version, leave out the butter rather than adding a new ingredient. The turkey will still roast, but the skin won’t have the same richness and may brown less evenly than it does with butter.
Keep the lemon, skip the thyme
Use the onion and lemon in the cavity and leave out the thyme. The citrus aroma will stand out more, while the salt and pepper seasoning on the turkey stays unchanged.
Choose thyme over citrus
Leave out the lemon and use the onion and thyme in the cavity. You’ll get a gentler, more herbal aroma instead of the brighter citrus note.
Storage and Reheating
- Refrigerator: Refrigerate carved leftovers within 2 hours in shallow, airtight containers. They keep for 3 to 4 days; the breast meat will lose some juiciness as it sits.
- Freezer: Freeze carved meat in airtight freezer-safe packaging for 2 to 6 months for best quality. Thaw it in the refrigerator before reheating.
- Reheating: Warm covered portions in a 325°F oven until they reach 165°F throughout. Reheat only what you plan to serve; repeated warming dries the meat out.
Questions That Come Up While Dry-Brining a Whole Turkey
Dry Brine Turkey
Ingredients
Equipment
Method
- Remove the neck and giblets from the turkey, then pat it very dry with paper towels; do not rinse it.
- Gently loosen the skin over the breast and thighs.
- Rub the salt evenly over the skin, under the loosened skin, and inside the cavity.
- Set the turkey breast side up on a wire rack in an 18x13-inch rimmed baking sheet and refrigerate uncovered for 24 to 48 hours.
- Heat the oven to 325°F with a rack in the lower third.
- Transfer the turkey breast side up to a rack in a 16-inch roasting pan.
- Tuck the wing tips under.
- Tie the legs loosely with kitchen twine.
- Rub the butter under the loosened skin and over the outside of the turkey.
- Season the outside with the black pepper.
- Place the onion, lemon, and thyme loosely in the cavity.
- Roast for 3 to 3 3/4 hours, tenting loosely with foil if the skin gets too dark, until the breast registers 165°F and the innermost thigh registers 175°F on an instant-read thermometer.
- Transfer the turkey to a carving board and let it rest for 30 minutes before carving.
