
Italian Herb Chicken
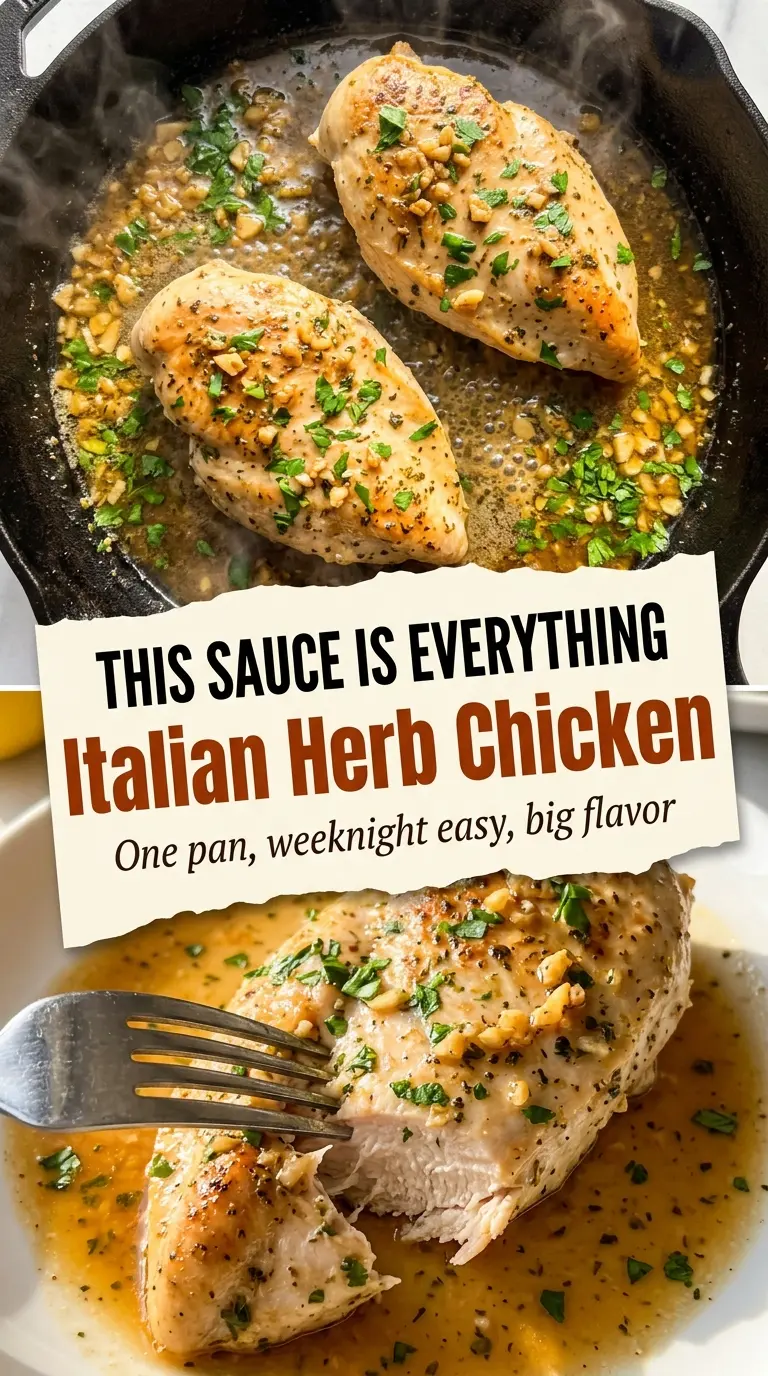
Golden-seared Italian Herb Chicken hits the table with crisp edges, juicy meat, and a pan sauce that tastes like it came from a much longer cook. The dried herbs bloom…
Tip: save now, cook later.Golden-seared Italian Herb Chicken hits the table with crisp edges, juicy meat, and a pan sauce that tastes like it came from a much longer cook. The dried herbs bloom in the hot oil, the chicken picks up a deep savory crust, and the lemon at the end keeps everything bright instead of heavy. It’s the kind of skillet dinner that looks polished enough for company but still lands in the weeknight rotation because it doesn’t ask for much.
The trick is in the sequence. A dry chicken breast sears better than a damp one, and that herb blend needs direct heat to wake up the oregano, basil, rosemary, and thyme. After the chicken comes out, the same pan becomes the sauce base, so those browned bits get scraped up into the broth instead of left behind. That’s where a lot of the flavor lives.
Below, I’ll walk you through the crust, the pan sauce, and a few smart swaps if you need to work with what’s already in the kitchen. If you’ve had chicken breasts turn bland or dry on you before, this version fixes both problems at once.
The chicken stayed juicy and the lemon-garlic pan sauce came together fast with just the right amount of herby flavor. My husband kept spooning the sauce over his pasta, and there wasn’t a dry bite in the whole pan.
Save this Italian Herb Chicken for the nights when you want juicy skillet chicken, a lemony pan sauce, and almost no cleanup.
The Secret to Juicy Herb Chicken Is Not Crowding the Pan
Chicken breasts dry out most often because they’re steamed in a skillet that’s too full or flipped too early. Space matters here. If the pieces touch, the surface moisture has nowhere to go, and that golden crust never forms. You want a steady sizzle the moment the chicken hits the oil, not a sluggish hiss.
The second mistake is chasing color before the pan is hot enough. The herbs need oil that’s shimmering, not smoking, so the seasoning blooms without burning. Once the chicken is in place, leave it alone long enough for the crust to set. If it sticks when you try to lift it, it isn’t ready yet.
- Dry the chicken thoroughly — moisture on the surface is the enemy of browning.
- Crush the rosemary — bigger rosemary needles can feel sharp and uneven; a quick crush helps them distribute better.
- Use a wide skillet — a crowded pan drops the temperature and leaves you with pale chicken.
- Pull at 165°F — any higher and the lean breast meat starts heading toward chalky.
What Each Ingredient Is Actually Doing in This Dish
- Chicken breasts — boneless, skinless breasts are lean, so the sear and sauce do the heavy lifting. If yours are very thick, pound them to even thickness so the thinner end doesn’t dry out while the thicker end finishes.
- Dried oregano, basil, thyme, and rosemary — this blend gives the chicken its Mediterranean backbone. Fresh herbs won’t behave the same in the dry rub; they release water and don’t cling as well, so dried herbs are the better choice here.
- Garlic powder and onion powder — these round out the seasoning without adding moisture. They help the crust taste complete before the sauce even starts.
- Olive oil — it carries the herbs and helps the chicken brown. Use a decent olive oil here because you’re tasting it in both the sear and the finish.
- Chicken broth — this loosens the browned bits into a quick pan sauce. Water will work in a pinch, but it leaves the sauce flatter and less savory.
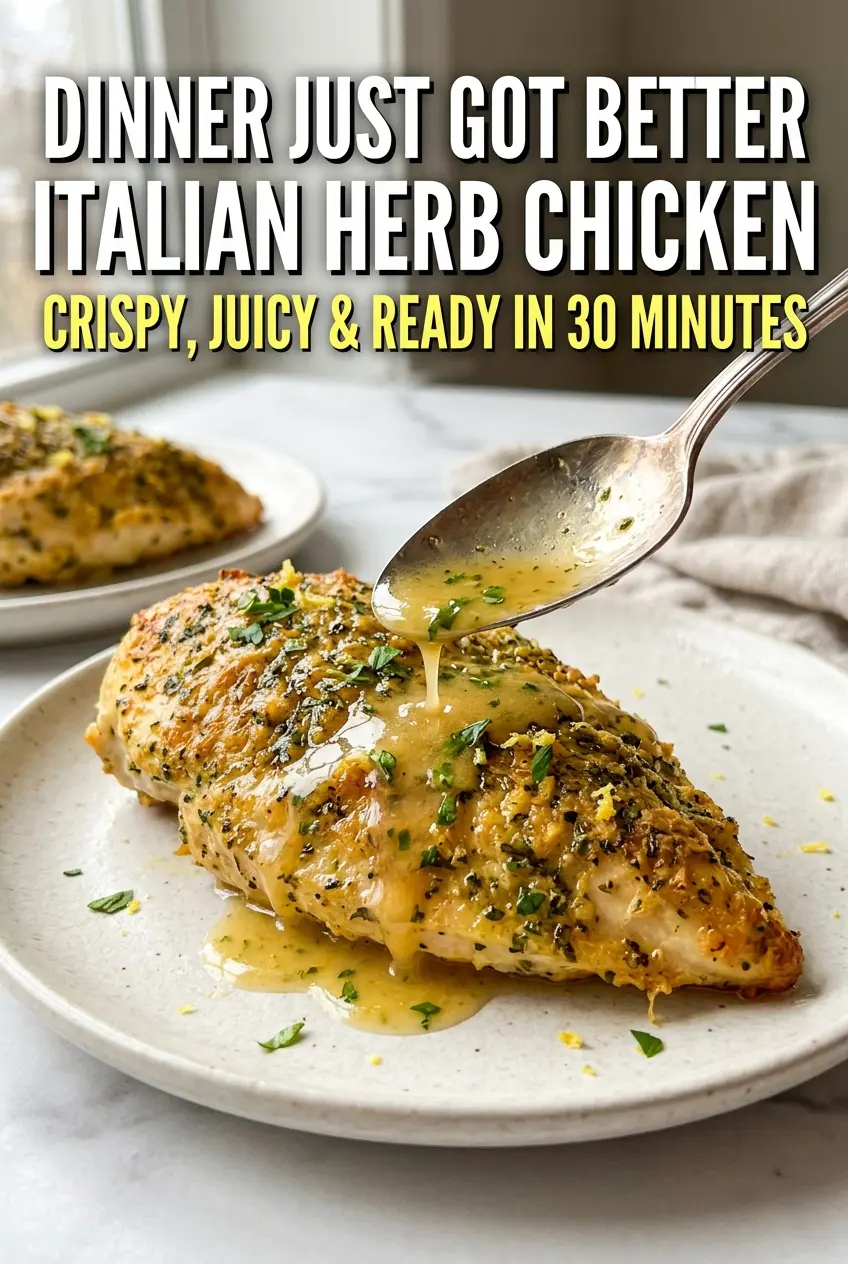
- Butter, lemon juice, and lemon zest — butter gives the sauce body, while lemon keeps it bright and cuts through the richness. Zest matters more than people think; it carries the fresh citrus aroma that juice alone can’t give you.
- Parsley — added at the end, it brings freshness and a clean green finish that keeps the dish from tasting one-note.
The 20 Minutes That Turn Seasoned Chicken Into Dinner
Building the Herb Crust
Pat the chicken dry first, then rub the seasoning all over so every surface is coated. The herbs should look like a thin, even layer, not a paste. Heat the oil until it shimmers, then lay the chicken in away from you so it doesn’t splash. If the pan is too cool, the spices sit in oil and taste dull instead of toasted.
Letting the First Side Set
Leave the chicken alone for 5 to 6 minutes on the first side. That’s long enough for the bottom to turn deep golden and release cleanly from the skillet. If you force the flip too soon, the crust tears and sticks. A good sear sounds steady and active, not frantic.
Finishing Without Drying It Out
After you flip, cook just until the thickest part reaches 165°F. Pull the chicken to a plate and let it rest while you build the sauce. Resting keeps the juices in the meat instead of dumping them straight onto the cutting board. If you slice too soon, the pan sauce can’t save lost moisture.
Turning the Fond Into Sauce
Drop the heat to medium and cook the garlic for about 30 seconds, just until fragrant. Add the broth and scrape the pan until the browned bits dissolve into the liquid. Stir in butter, lemon juice, and zest, then let the sauce reduce slightly so it coats a spoon instead of running right off. Return the chicken for a final minute or two so it picks up the sauce.
How to Adapt This for Different Nights at the Table
Dairy-Free Version
Swap the butter for an extra tablespoon of olive oil. The sauce will be a little lighter and less silky, but it still carries the lemon, garlic, and herb flavors well because the pan drippings and broth do most of the work.
Chicken Thigh Swap
Boneless thighs work beautifully if you want a juicier, richer result. They need a few extra minutes on the stove and don’t dry out as fast as breasts, so they’re more forgiving if your skillet runs hot.
Gluten-Free Serving Ideas
The chicken itself is naturally gluten-free, so the only thing to watch is the broth. Use a certified gluten-free broth and serve it with rice, potatoes, or vegetables instead of bread if you want to keep the whole plate gluten-free.
Make It a Little Saucier
Add another 1/4 cup broth and let the sauce reduce a little less if you want extra spooning sauce for pasta or mashed potatoes. It won’t cling as thickly, but it gives you more of that lemon-garlic pan sauce to work with.
Storage and Reheating
- Refrigerator: Store leftovers in an airtight container for up to 4 days. The sauce may thicken a little in the fridge, but the flavor holds up well.
- Freezer: It freezes, but the sauce is best fresh. If you freeze it, wrap the chicken tightly and freeze with a little sauce for up to 2 months; the texture is slightly less silky after thawing.
- Reheating: Warm gently in a covered skillet over low heat with a splash of broth. High heat dries out the chicken fast and can make the sauce separate.
Answers to the Questions Worth Asking
Italian Herb Chicken
Ingredients
Equipment
Method
- Pat the chicken breasts dry with paper towels to help them sear instead of steam.
- In a small bowl, combine oregano, basil, rosemary, thyme, garlic powder, onion powder, salt, and black pepper, then rub the mixture all over both sides of the chicken.
- Heat 2 tbsp olive oil in a large skillet over medium-high heat until shimmering.
- Add the chicken breasts and sear without moving for 5–6 minutes, until a deep golden crust forms on the bottom.
- Flip the chicken and cook for another 5–6 minutes, or until the internal temperature reaches 165°F (74°C), then transfer to a plate and tent loosely with foil.
- Reduce heat to medium, then add the minced garlic to the same skillet and cook for 30 seconds, stirring, until fragrant.
- Pour in the chicken broth and scrape up the golden bits from the bottom of the pan.
- Stir in the butter, lemon juice, and lemon zest, then simmer for 2–3 minutes until the sauce reduces slightly.
- Return the chicken to the skillet and spoon the pan sauce over it, then simmer together for 1–2 minutes.
- Garnish with fresh parsley and an extra drizzle of olive oil, then serve immediately.
