
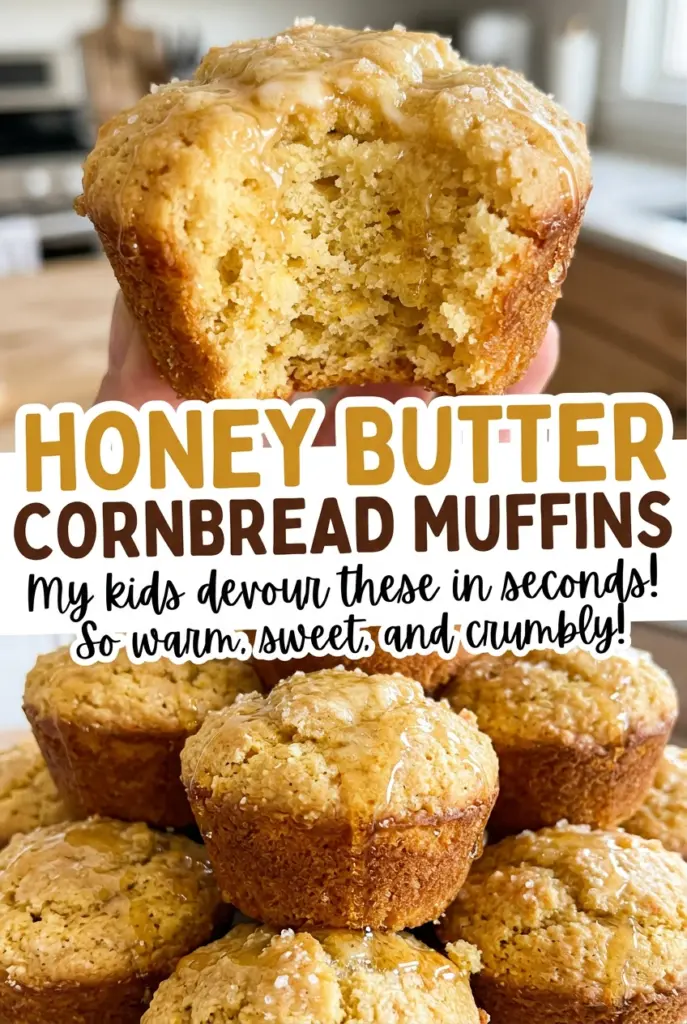
Honey Butter Cornbread Muffins
At the end of the bake, the tops should be golden while the centers still leave a few moist crumbs on the toothpick. That’s the point I look for with…
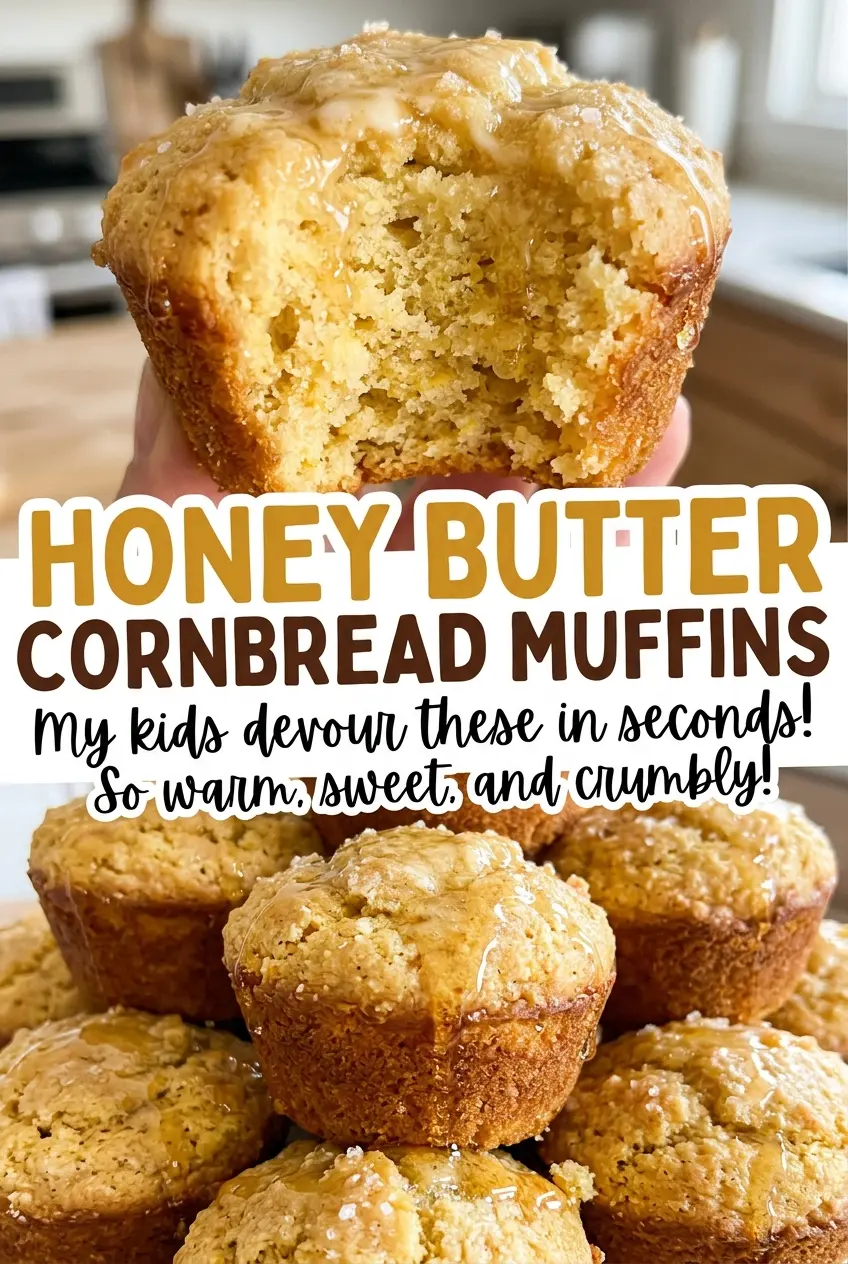
Tip: save now, cook later.At the end of the bake, the tops should be golden while the centers still leave a few moist crumbs on the toothpick. That’s the point I look for with these Honey Butter Cornbread Muffins: cooked through, but not dried out. The yellow cornmeal gives them their familiar cornbread texture, and the honey butter adds a soft, sweet finish.
The batter comes together with two bowls and a light hand. I whisk the dry ingredients separately from the eggs, buttermilk, and oil, then stir them together only until the dry streaks disappear. It’s an easy place to overwork the batter, so I stop as soon as it’s combined.
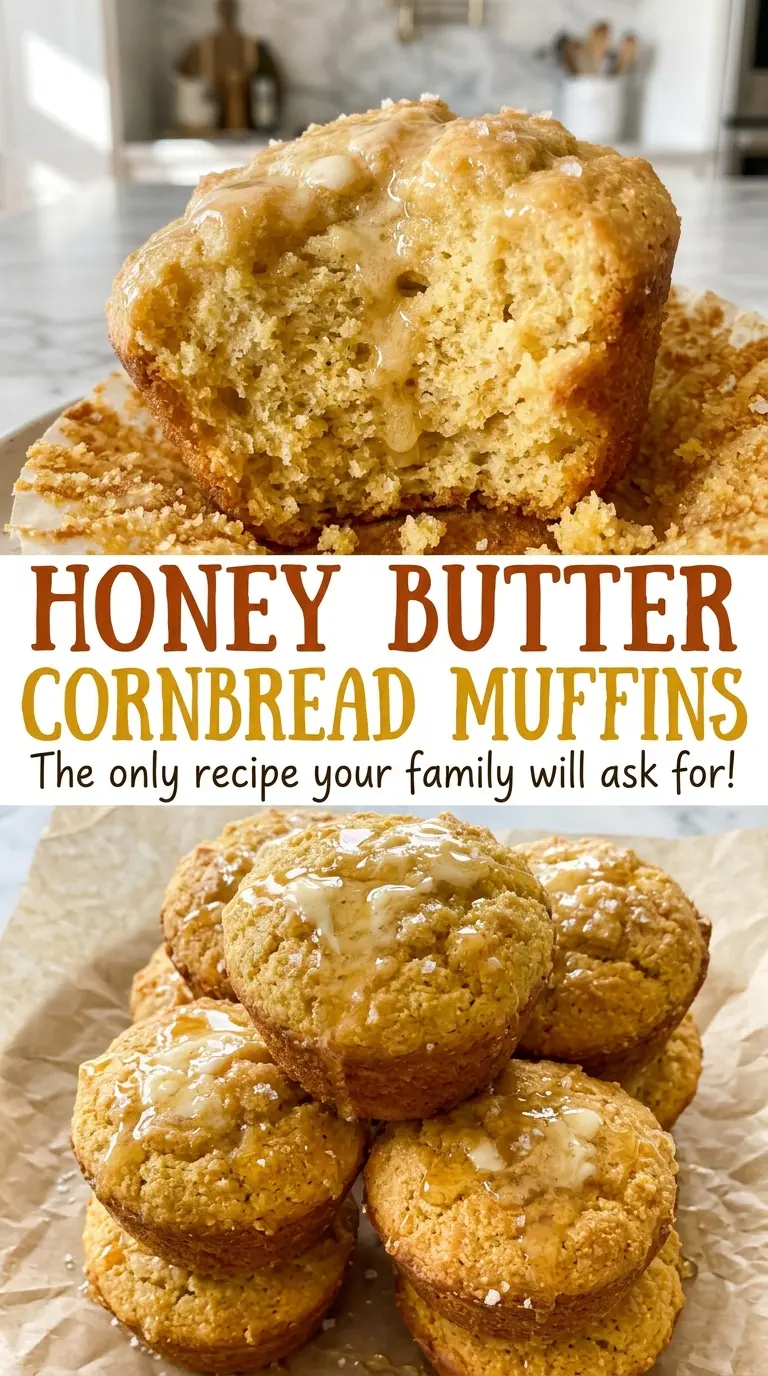
The honey butter goes on while the muffins are warm, after they’ve rested in the pan for five minutes. It softens over the tops and leaves a little honeyed sheen without hiding the cornmeal flavor. Serve them warm or let them cool on a rack for a tender, lightly sweet muffin.
Kitchen Note
Let the muffins rest in the pan for the full five minutes before brushing them. They’re warm enough for the honey butter to soften over the tops, but have had a moment to settle before you lift them out.
Save these Honey Butter Cornbread Muffins for a warm batch with golden tops and a soft honey-butter finish.
Why These Muffins Need Both Cornmeal and Flour
Cornmeal brings the flavor and the characteristic grain of cornbread, but it doesn’t behave like all-purpose flour. Using both gives the muffins a cornbread bite with enough structure to hold together when you lift one from the pan. With cornmeal alone, the crumb would be much more fragile; with flour alone, you’d lose what makes these taste like cornbread.
The buttermilk and vegetable oil also have different jobs. Buttermilk adds moisture and a gentle tang, while oil keeps the crumb tender after baking. The sugar adds sweetness, but the muffins aren’t meant to taste like cake—the honey butter is the more noticeable sweet finish. Keeping the batter’s ingredients in balance is what lets the cornmeal stay front and center.
That balance is also why I don’t treat this batter like a dough that needs to be worked smooth. Stirring until no dry streaks remain is enough. A few small lumps aren’t a problem; continuing to beat the mixture after it’s combined is more likely to give you a firm, less tender muffin.
What the Cornmeal, Buttermilk, and Honey Each Bring
- Yellow cornmeal — This is where the cornbread flavor and fine, sandy texture come from. A standard grocery-store cornmeal works well; a coarser grind will make the muffins noticeably more textured. Keep it in a cool, dry spot and check that it smells fresh rather than stale.
- All-purpose flour — Flour supports the cornmeal so the baked muffins hold their shape. Use regular all-purpose flour, and spoon it into a measuring cup rather than packing it down if you’re measuring by volume.
- Buttermilk — It brings moisture and a mild tang that plain milk won’t fully reproduce. Use the buttermilk called for here rather than swapping in a thinner liquid, which changes both the flavor and the batter’s consistency.
- Vegetable oil and eggs — The oil helps keep the crumb tender, and the eggs help bind the batter. A neutral vegetable oil is all you need; there’s no reason to reach for a specialty oil. Use large eggs, as the batter’s proportions are built around that size.
- Honey and unsalted butter — The topping is simple, so the honey’s flavor comes through clearly; an everyday honey is fine. The butter should be softened enough to stir smoothly with the honey, not melted, so the mixture stays brushable rather than running straight off the warm tops.
- Baking powder — This is the leavener that lifts the muffins. If yours has been open for a long time, replace it before baking; old baking powder can leave the centers dense even when you’ve mixed the batter gently.
Mixing the Batter Without Toughening the Crumb
Prepare the pan and whisk the dry ingredients
Heat the oven to 400°F and coat a standard 12-cup muffin pan with nonstick cooking spray. Whisk the cornmeal, flour, sugar, baking powder, and kosher salt in a large bowl so the leavener is distributed throughout. If baking powder stays in a clump, one part of the batch can rise differently from another. Set the bowl aside while you mix the wet ingredients.
Whisk the wet ingredients separately
In a medium bowl, whisk the eggs, buttermilk, and vegetable oil until combined. Keep whisking until the mixture looks even, with no obvious streaks of oil or egg. Mixing the wet ingredients first makes it easier to bring them into the dry ingredients quickly. You don’t need to whip air into them.
Stir just until the dry streaks disappear
Pour the wet mixture into the large bowl of dry ingredients and stir until no dry streaks remain. Scrape along the bottom of the bowl, where pockets of flour and cornmeal tend to hide. Stop once those dry patches are gone; a perfectly smooth batter isn’t the goal. Overmixing can make the baked crumb firm instead of tender.
Stir together the honey butter
In a small bowl, stir the softened unsalted butter and honey until smooth. If the butter is too firm, it’s harder to combine evenly and may leave little butter pieces through the mixture. Don’t melt it to hurry things along; melted butter makes a runnier topping. Set the bowl aside while the muffins bake.
Bake until golden, then finish
Divide the batter evenly among the prepared muffin cups and bake for 15 to 18 minutes. Look for golden tops and a toothpick inserted in the center that comes out with a few moist crumbs, not wet batter. Rest the muffins in the pan for five minutes, then brush their warm tops with the honey butter. Transfer them to a wire rack to finish cooling.
Two Ways to Change the Honey Finish
Keep the muffins plain
Leave off the honey butter and let the cornbread flavor come through without a sweet topping. The muffin batter itself stays the same, so you still get its gently sweet, tender crumb; this change doesn’t make the muffins dairy-free because the batter contains buttermilk.
Brush some and serve the rest on the side
Brush the warm tops with some of the honey butter, then put the rest in a small bowl for serving. The tops get a lighter honey finish, and each person can add more at the table. The butter needs to be soft enough to stir smoothly either way.
Storage and Reheating
- Refrigerator: Store cooled muffins in an airtight container for up to 4 days. The crumb may feel firmer once chilled.
- Freezer: Freeze cooled muffins in a sealed freezer-safe container for up to 2 months. Thaw at room temperature before warming.
- Reheating: Warm a muffin in the microwave in short bursts until just warm. Long heating can dry the crumb; avoid reheating the whole batch more than once.
Questions That Come Up Before the First Batch
Honey Butter Cornbread Muffins
Ingredients
Equipment
Method
- Heat the oven to 400°F.
- Grease a standard 12-cup muffin pan with nonstick cooking spray.
- Whisk the cornmeal, flour, sugar, baking powder, and salt in a large bowl.
- In a medium bowl, whisk the eggs, buttermilk, and vegetable oil until combined.
- Pour the wet ingredients into the dry ingredients and stir just until no dry streaks remain.
- Stir the softened butter and honey together in a small bowl until smooth.
- Divide the batter evenly among the muffin cups.
- Bake for 15 to 18 minutes, until the tops are golden and a toothpick inserted in the center comes out with a few moist crumbs.
- Let the muffins rest in the pan for 5 minutes.
- Brush the warm tops with the honey butter.
- Transfer the muffins to a wire rack.