
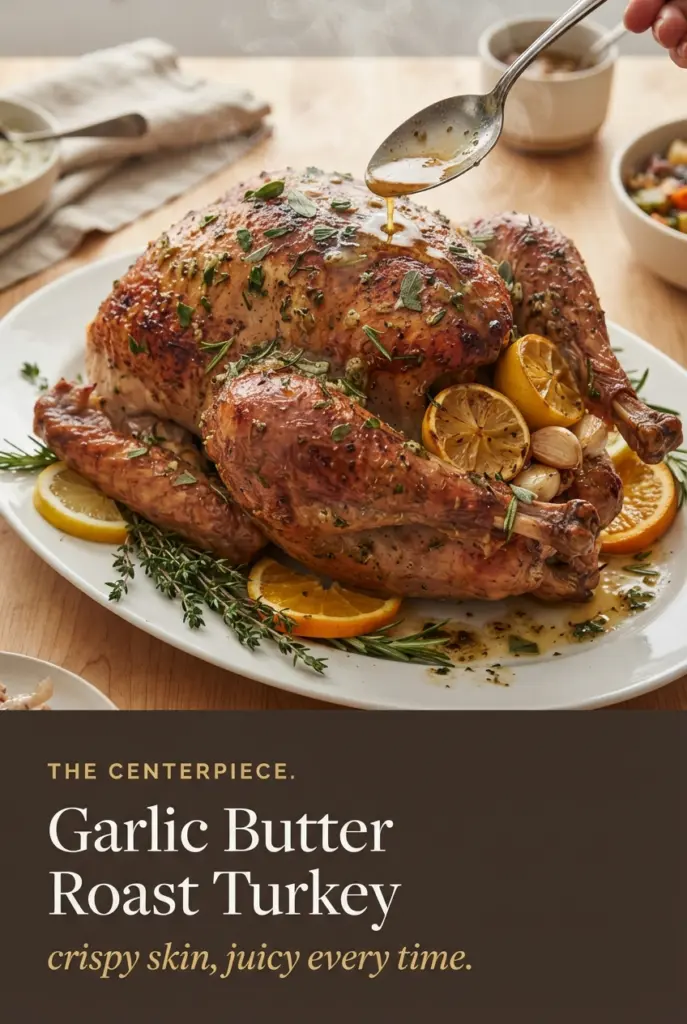
Garlic Butter Roast Turkey
Garlic butter roast turkey earns its place on the table because it gives you what everyone hopes for and so few birds actually deliver: deep bronze skin that crackles when…
Tip: save now, cook later.Garlic butter roast turkey earns its place on the table because it gives you what everyone hopes for and so few birds actually deliver: deep bronze skin that crackles when you cut into it and meat that stays juicy all the way through the breast. The butter goes under the skin instead of just sitting on top, which means the seasonings melt straight into the meat while the skin roasts up dry and crisp. That one move changes everything.
The dry brine helps the skin shed moisture before it ever hits the oven, and the baking powder gives the skin a little extra lift and browning power. Roasting hot at the start, then lowering the temperature, gives you color without burning the outside before the center is done. It’s the kind of method that looks fancy but really just rewards patience and a thermometer.
Below, I’ll walk you through the part that matters most: loosening the skin without tearing it, getting the butter where it needs to go, and knowing exactly when to tent the breast so the turkey finishes evenly. The drippings also turn into an excellent base for gravy, so don’t let them go to waste.
The skin came out crackly and bronze, and the garlic butter kept the breast meat juicy even after resting. I was nervous about loosening the skin, but it was easier than I expected and the drippings made an amazing gravy.
Save this garlic butter roast turkey for the kind of holiday meal where the skin needs to shatter and the drippings need to pull their weight.
The Reason This Turkey Gets Crisp Instead of Steaming
The biggest mistake with roast turkey is trapping moisture against the skin. If the bird goes into the oven damp, the first thing that happens is steaming, not browning. That’s why the uncovered dry brine matters here. It gives the skin time to dehydrate in the fridge so the oven heat can work on fat and browning instead of evaporating surface moisture.
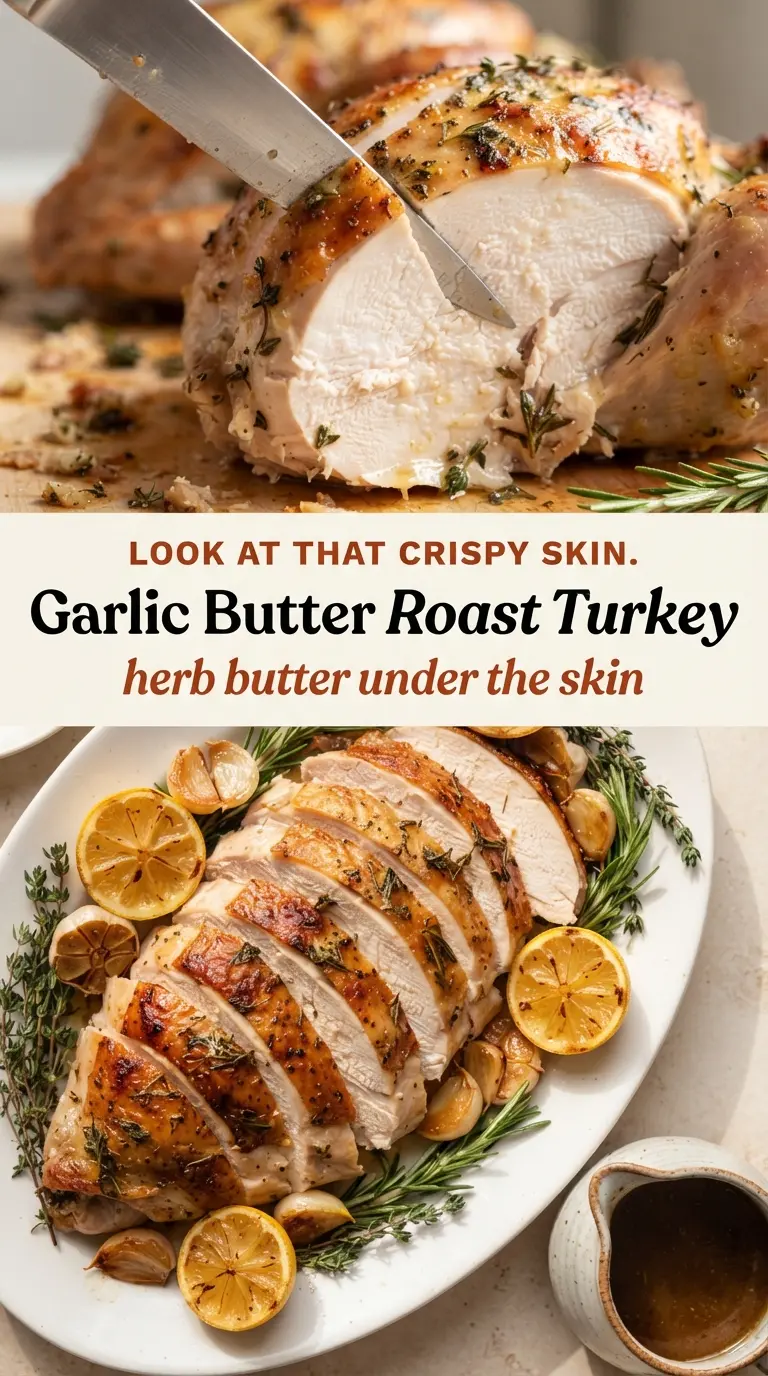
The second thing that keeps this turkey honest is the butter placement. Butter on the outside helps with color, but butter under the skin is what bastes the breast as it cooks. That layer melts slowly and protects the meat from drying out, which matters a lot on a bird that needs a long roast.
- Dry brine — The salt seasons the meat and pulls moisture out of the skin so it can dry properly. The baking powder nudges the skin toward crispness by helping it brown faster.
- Butter under the skin — This is the part that keeps the breast from turning chalky. If you only rub the outside, the flavor stays on the surface.
- Broth in the pan — It keeps the drippings from scorching and gives you a better base for gravy. Don’t pour it over the bird; that defeats the whole point of dry skin.
What Each Ingredient Is Doing in This Garlic Butter Turkey
- Turkey — A 12 to 14 pound bird roasts evenly enough for this method without taking all day. If yours is larger, expect a longer cook and watch the thermometer instead of the clock.
- Butter — Use real unsalted butter here. Margarine won’t behave the same way, and salted butter makes it harder to control the seasoning.
- Garlic, sage, rosemary, thyme, and lemon zest — This is the backbone of the flavor. Fresh herbs matter because dried herbs don’t melt into the butter the same way and can taste dusty in a compound butter.
- Baking powder — This helps the skin brown and crisp. Aluminum-free is ideal if that’s what you keep around, but the bigger thing is using it as written, not more.
- Chicken broth — It doesn’t season the turkey itself much; it protects the drippings and gives you moisture in the pan. Stock works too, but use something you’d happily taste on its own.
- Lemon and onion in the cavity — These add aroma more than strong flavor. They keep the interior from feeling one-note while the turkey roasts.
Loosening the Skin, Building the Butter, and Roasting at Two Temperatures
Dry the Bird First
Pat the turkey completely dry, inside and out, before anything else touches it. If the surface still feels slick, the salt and baking powder will sit on top instead of working into the skin. After the dry brine goes on, leave the bird uncovered in the fridge so the skin can dry out and tighten. That’s what gives you the crackly finish later.
Work the Butter Under the Skin
Mix the butter until the herbs and garlic are evenly distributed, then gently slide your fingers under the breast and thigh skin to loosen it. The skin should lift away in sheets; if it tears, stop and work a smaller area. Push most of the butter underneath, then massage the outside so it spreads into an even layer. That step is what keeps the breast from drying out while the skin browns.
Start Hot, Then Back Off
The first 30 minutes at 425°F build color fast. After that, drop the oven to 325°F so the breast can cook through without the skin burning before the thigh is done. Baste with the pan juices every 45 minutes, but don’t keep the oven door open too long. If the breast darkens faster than the rest of the bird, lay foil loosely over that area only.
Rest Before You Carve
When the thermometer hits 165°F in the thigh and 160°F in the breast, move the turkey to a board and let it rest for 30 minutes. The temperature will climb a little as it sits, and the juices will settle back into the meat instead of flooding your cutting board. If you carve too soon, the breast meat loses the moisture you worked to keep in it.
How to Adapt This for Smaller Gatherings and Different Diets
Bone-in turkey breast for a smaller crowd
You can use this same butter and herb mix on a bone-in turkey breast, just shorten the roast time and start checking early. You’ll still get crisp skin and good flavor, but you lose the dramatic pan drippings and the dark-meat juiciness of a whole bird.
Dairy-free version
Swap the butter for a good plant-based butter that behaves like dairy butter when melted. The flavor will be a little less rich, but the garlic and herbs still carry the dish, and the skin will roast up well if you keep the same drying step.
Gluten-free as written
This turkey is naturally gluten-free as long as your broth is certified gluten-free. The gravy question matters more than the roast itself, so check the label if you plan to use the drippings for serving.
Make-ahead timing for a busy holiday
You can mix the garlic herb butter up to 3 days ahead and keep it covered in the fridge. The turkey itself benefits from the overnight dry brine, so that part is built to be done early. Bring the bird and butter back toward room temperature before roasting so the butter spreads more easily under the skin.
Storage and Reheating
- Refrigerator: Store carved turkey in an airtight container for 3 to 4 days. The skin softens, but the meat stays useful for sandwiches, soups, and leftovers.
- Freezer: It freezes well in sliced portions for up to 2 months. Wrap tightly with a little pan juice or broth so the meat doesn’t dry out.
- Reheating: Warm slices covered in a low oven with a spoonful of drippings or broth. High heat dries turkey out fast, and the breast meat punishes you for rushing it.
