
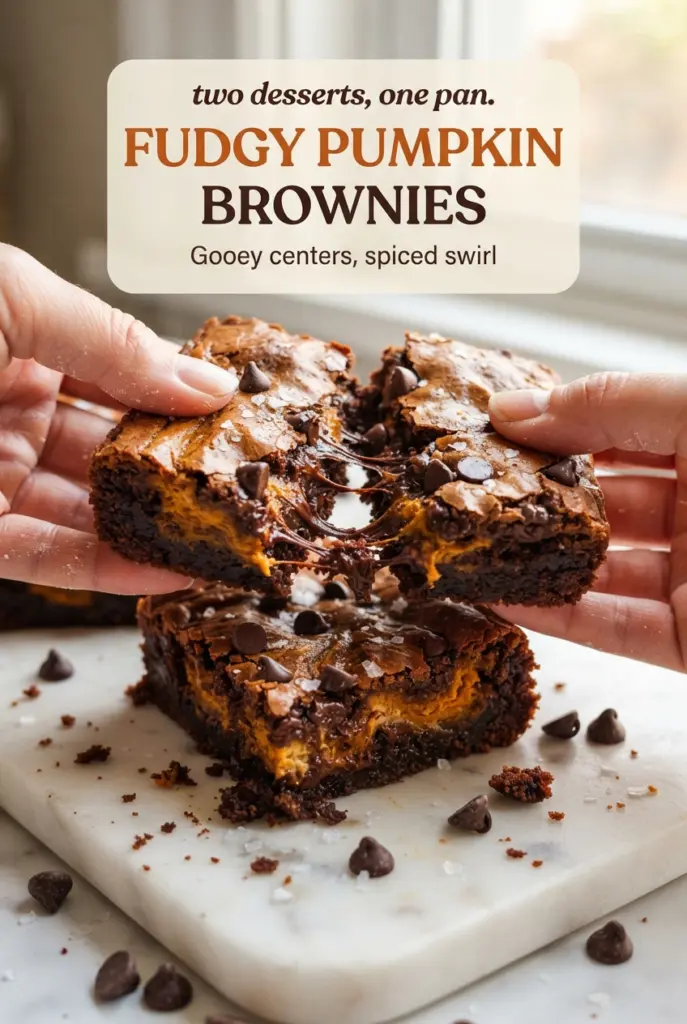
Fudgy Pumpkin Pie Brownies
These fudgy pumpkin pie brownies land in that sweet spot where a dense chocolate brownie meets a creamy pumpkin swirl, and neither side gets lost. The brownie layer bakes up…
Tip: save now, cook later.These fudgy pumpkin pie brownies land in that sweet spot where a dense chocolate brownie meets a creamy pumpkin swirl, and neither side gets lost. The brownie layer bakes up rich and gooey with a thin crackly top, while the pumpkin mixture turns silky and lightly spiced, almost like pumpkin cheesecake tucked through every square. The result is a pan of brownies that looks impressive when sliced and eats even better than it looks.
The trick is treating the two batters like they have different jobs. The brownie base needs enough mixing after the eggs go in to build that glossy top, but once the flour hits, you stop early so the texture stays fudgy. The pumpkin layer gets beaten smooth before it goes on the pan, which keeps it from baking up lumpy or watery. A small amount of flour in that swirl helps it set cleanly instead of sinking into the chocolate.
Below, I’ll walk through the little details that matter here: how to marble without muddying the layers, when to pull the pan so the center stays soft, and why these brownies slice so much cleaner after a chill in the fridge.
The pumpkin swirl baked up creamy instead of disappearing into the brownies, and the center stayed fudgy after chilling. I cut them the next day and they came out with clean marbled layers exactly like the photos.
Save these fudgy pumpkin pie brownies for the dessert tray days when you want a glossy crackly top, a creamy pumpkin swirl, and clean marbled squares.
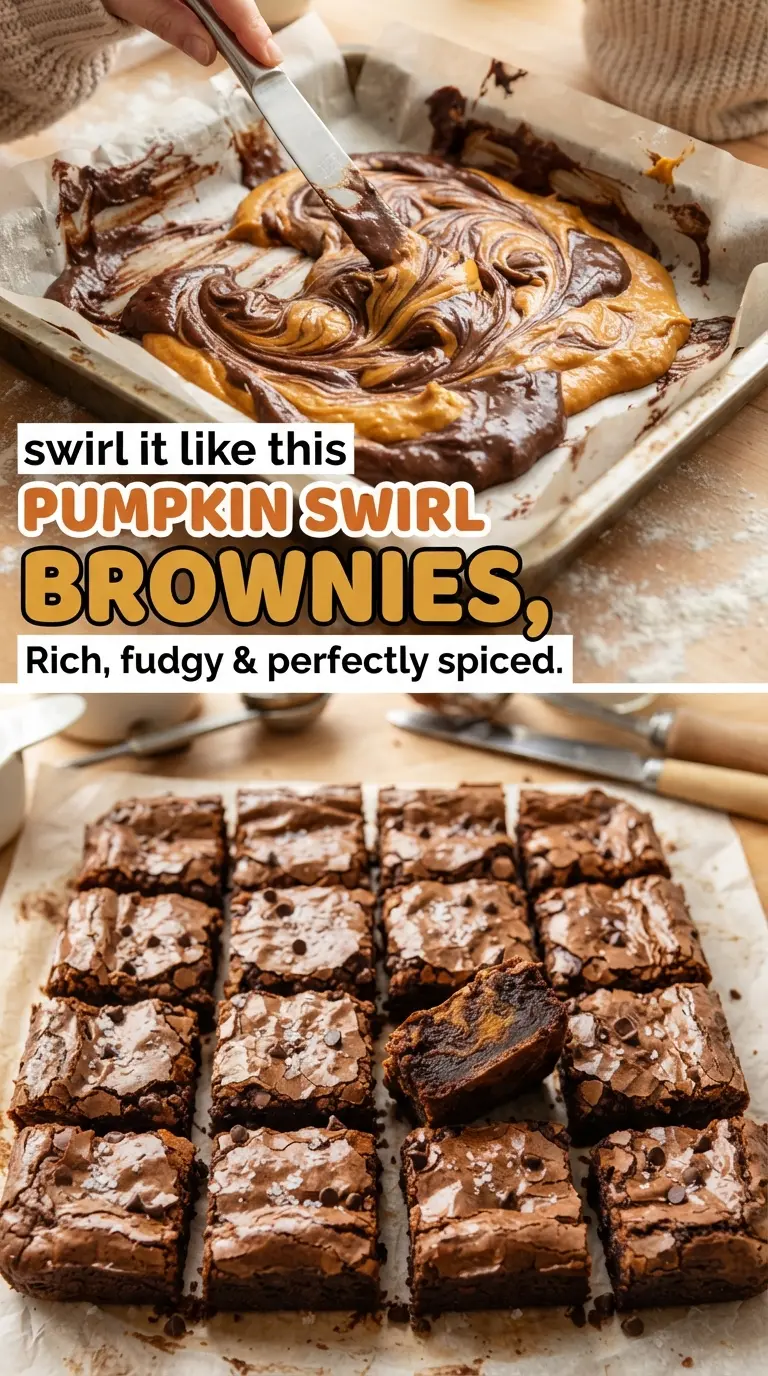
The Secret to Keeping the Pumpkin Swirl Distinct Instead of Muddy
The mistake that ruins marbled brownies is overworking the swirl. If you drag the knife too many times, the pumpkin layer blends into the chocolate and you lose the contrast that makes these squares special. Two to four broad passes through the batter is enough to create ribbons without turning the whole pan tan.
Temperature matters too. The brownie batter should be thick and glossy, not warm and loose, before the pumpkin goes on top. If the chocolate mixture is still hot, the pumpkin layer can sink and streak too deeply. Let the melted butter and chocolate cool for a few minutes so the batters stay layered long enough to marble cleanly.
- Chocolate — Use semisweet chocolate with a decent cocoa percentage here. It gives the brownies their deep flavor and keeps the pumpkin from tasting overly sweet. Chips work in a pinch, but chopped baking chocolate melts more smoothly into the base.
- Cream cheese — This is what gives the pumpkin swirl its cheesecake-like body. It has to be softened all the way through, or you’ll end up with little lumps that never disappear, no matter how long you beat the mixture.
- Pumpkin purée — Use plain pumpkin purée, not pumpkin pie filling. The filling already contains sugar and spices, and that throws off the balance of the swirl. If your purée looks loose or watery, blot it with a paper towel first so the brownies don’t bake up damp.
- Pumpkin pie spice — This is the fastest way to get warm spice flavor that reads clearly against the chocolate. If you don’t have it, use cinnamon with a pinch of nutmeg and ginger. The flavor won’t be identical, but it lands in the same place.
- Flour in both layers — The small amount in the brownie batter keeps the structure fudgy instead of cakey, and the flour in the pumpkin layer helps it set into a neat ribbon. Skip either one and the texture shifts in a way you’ll notice when slicing.
Building the Batter So the Center Stays Fudgy
Melt the chocolate base gently
Combine the butter and chopped chocolate until just smooth, then stop. You want the mixture warm enough to melt together, not hot enough to scramble the eggs when they go in. If it feels steaming, give it a few more minutes to cool before adding the sugars.
Whisk for the shiny top
Once the sugars go into the chocolate mixture, whisk until it looks glossy. Add the eggs one at a time and beat hard for about a minute; that agitation is what helps build the crackly surface on top. If you rush this step, the brownies will still taste good, but they won’t have that shiny finish that makes them look bakery-made.
Fold just until the flour disappears
After the flour and cocoa go in, switch to a spatula and fold only until the dry streaks are gone. Overmixing develops too much gluten and turns the brownies dense in the wrong way — more chewy than fudgy. The batter should be thick and smooth, with a few streaks of chocolate chips folded through at the end.
Beat the pumpkin layer until completely smooth
The cream cheese needs to be free of lumps before you add the pumpkin and spices. If you start with a soft but still cool block of cream cheese, you’ll spend forever chasing little bits around the bowl. A smooth swirl bakes into soft ribbons; a lumpy one bakes into uneven pockets.
Make Them Dairy-Free
Use a plant-based butter and dairy-free cream cheese. The brownies will still bake up fudgy, but the pumpkin layer will be a little softer and less tangy. Stick with a brand of dairy-free cream cheese that firms up well when baked, or the swirl can spread too much.
Make It Gluten-Free
Swap the all-purpose flour in both layers with a 1:1 gluten-free baking blend that includes xanthan gum. The texture stays close to the original, though the brownies may need an extra minute or two in the oven. Don’t use almond flour here; it changes the structure too much and the center won’t set the same way.
Turn Them Into a Plain Fudge Brownie
Skip the pumpkin layer and spread the brownie batter into the pan on its own. You’ll get a thicker, more classic fudgy brownie with the same crackly top and chocolate chips throughout. Bake time may be a few minutes shorter, so start checking early.
Storage and Reheating
- Refrigerator: Store in an airtight container for up to 5 days. The pumpkin swirl firms up a bit in the fridge, which actually helps the slices hold their shape.
- Freezer: These freeze well. Wrap individual squares tightly and freeze for up to 2 months, then thaw in the fridge overnight for the best texture.
- Reheating: Let chilled brownies sit at room temperature for 15 to 20 minutes before serving, or warm one square in the microwave for 10 to 12 seconds. Too much heat makes the pumpkin layer soft and the brownie layer greasy, so use short bursts.
The Questions People Ask Before They Slice Into These Brownies
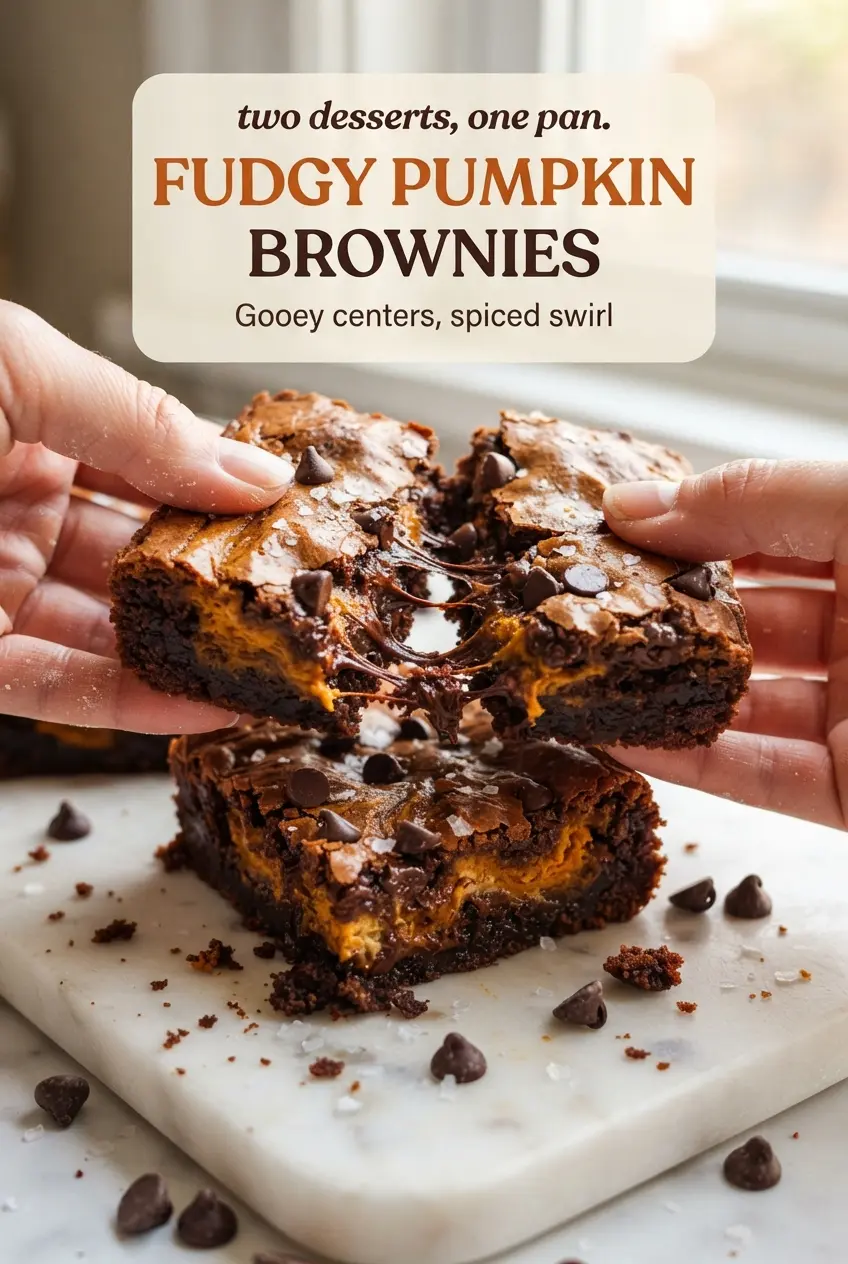
Fudgy Pumpkin Pie Brownies
Ingredients
Equipment
Method
- Preheat the oven to 350°F (175°C) and line a 9x9-inch pan with parchment paper, leaving overhang on two sides for lifting.
- Melt the butter and chopped semisweet chocolate together in a heatproof bowl set over simmering water, stirring until smooth, then cool for 5 minutes.
- Whisk the granulated sugar and packed light brown sugar into the chocolate mixture until glossy.
- Whisk in the eggs one at a time, then add vanilla and beat vigorously for 1 minute for a shiny, crackly top.
- Sift in the all-purpose flour, cocoa powder, and salt, then fold just until no dry streaks remain.
- Fold in the semisweet chocolate chips.
- Beat the cream cheese until completely smooth with no lumps.
- Beat in the pumpkin purée, granulated sugar, egg yolk, all-purpose flour, pumpkin pie spice, vanilla extract, and salt until creamy.
- Spread about three-quarters of the brownie batter evenly in the prepared pan.
- Spoon the pumpkin mixture over the top in dollops, then drop the remaining brownie batter in spoonfuls between them.
- Drag a butter knife through the batters in an S pattern 4–5 times to marble, taking care not to overmix so the swirl stays visible.
- Sprinkle with mini chocolate chips (optional) and flaky sea salt.
- Bake for 38–43 minutes, until the edges are set and a toothpick in the center comes out with moist crumbs, not wet batter.
- Cool completely in the pan for at least 2 hours.
- Chill for 1 hour for the cleanest slices.
- Lift the brownies out using the parchment, then cut into 16 squares with a warm knife.
