
Christmas Tree Brownie Bites with Green Frosting
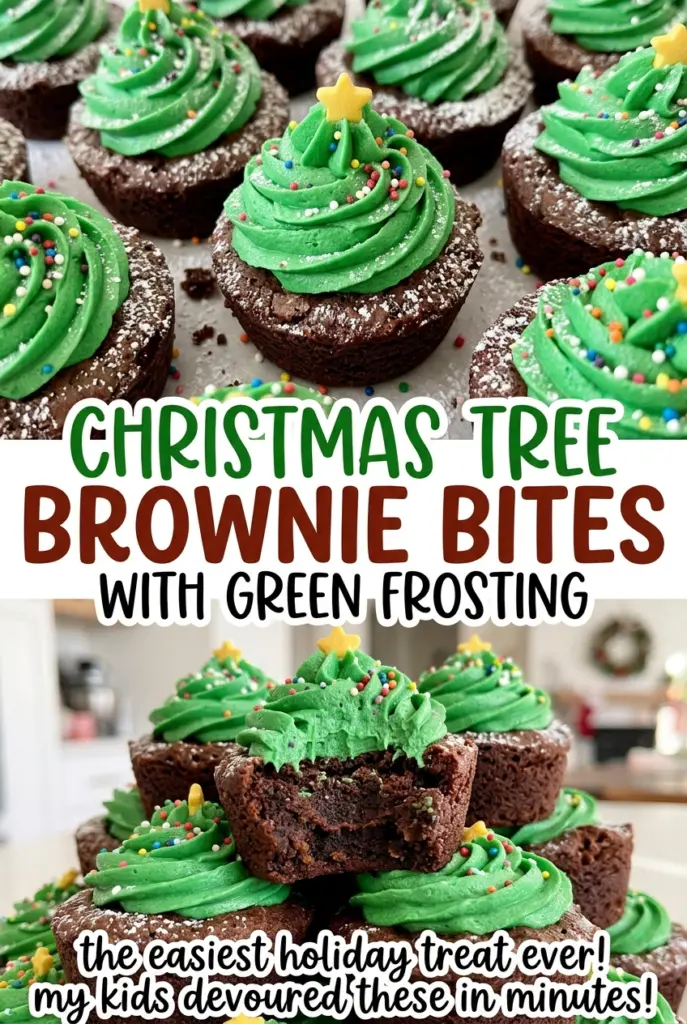
The first squeeze of green frosting can look more like a mound than a tree until the zigzags narrow toward the top. Keep the motion steady and let each tier…
Tip: save now, cook later.The first squeeze of green frosting can look more like a mound than a tree until the zigzags narrow toward the top. Keep the motion steady and let each tier rest on the one below it, and these Christmas Tree Brownie Bites with Green Frosting take shape without fussy decorating. I like the mini muffin format because every brownie already has its own paper liner and a neat little base for the frosting.
The brownie bites are rich with cocoa, while the buttercream adds a soft, sweet finish. Let the brownies cool completely before piping so the frosting keeps its ridges instead of softening against a warm top. Finish each tree with a yellow star, and you have a small, fudgy brownie under a ruffled green crown.
Kitchen Note
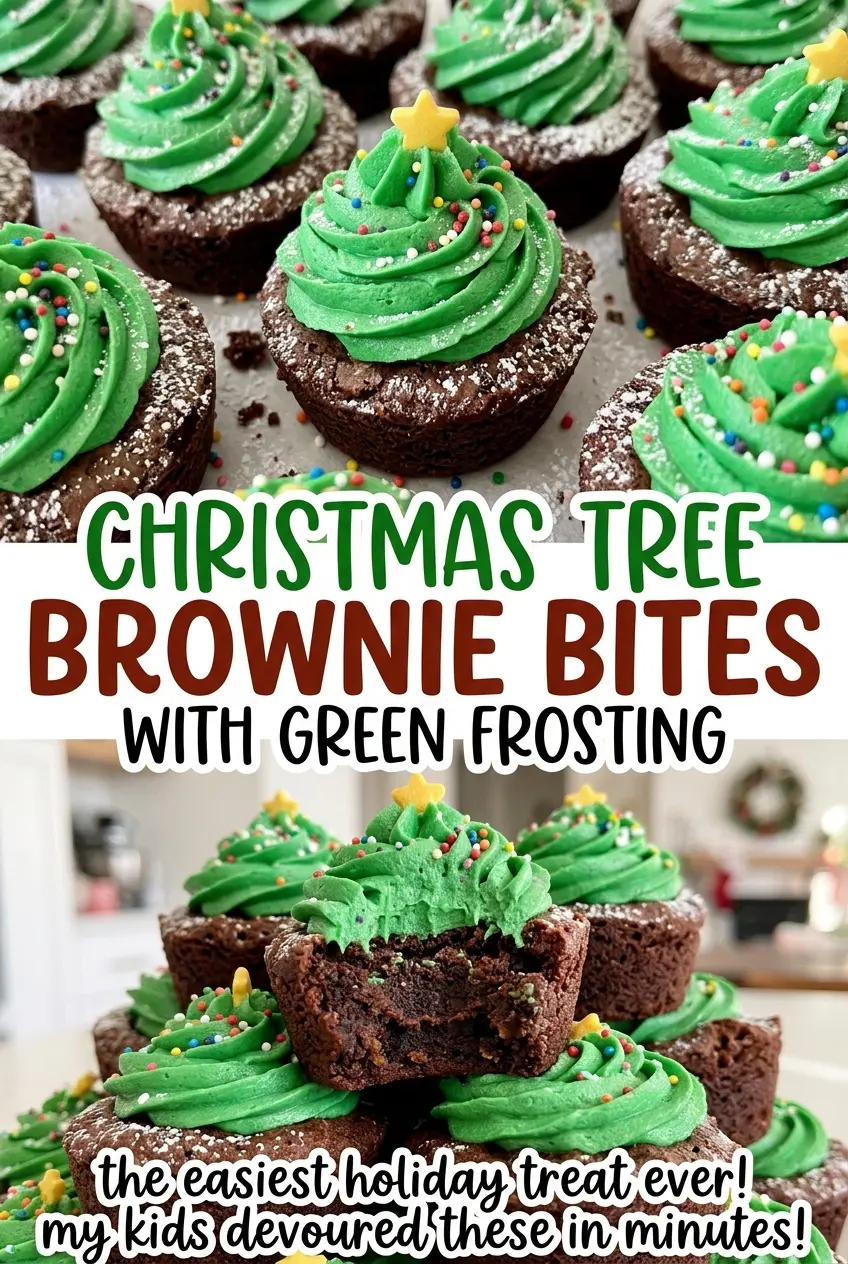
Set the yellow star on the very peak after the last zigzag, using just enough pressure to keep it in place. Push it too far into soft frosting and the little topper disappears.
Save these Christmas Tree Brownie Bites with Green Frosting for a festive dessert table—the fudgy cocoa bases and narrowing green zigzags make each one look like its own little tree.
Why These Trees Start With Mini Brownie Bites, Not a Cut Slab
A pan of brownies is easy to slice, but these individual bites give each tree a compact, defined base. There’s no need to trim uneven edges or find a flat place for a decoration after cutting. The paper liners also make it easy to lift each cooled bite without handling its top, which matters once you’ve piped the frosting.
The small format gives the decoration a clear job: the brownie is the trunk and base, the narrowing frosting tiers make the evergreen shape, and the yellow star finishes the peak. Each cup gets its own portion, so the finished batch feels consistent from the first tree to the last. A large brownie square would still taste good, but it wouldn’t have the same tidy, one-bite presentation or the little liner that makes serving simple.
The Ingredients That Keep the Brownies Fudgy and the Tree Pipeable
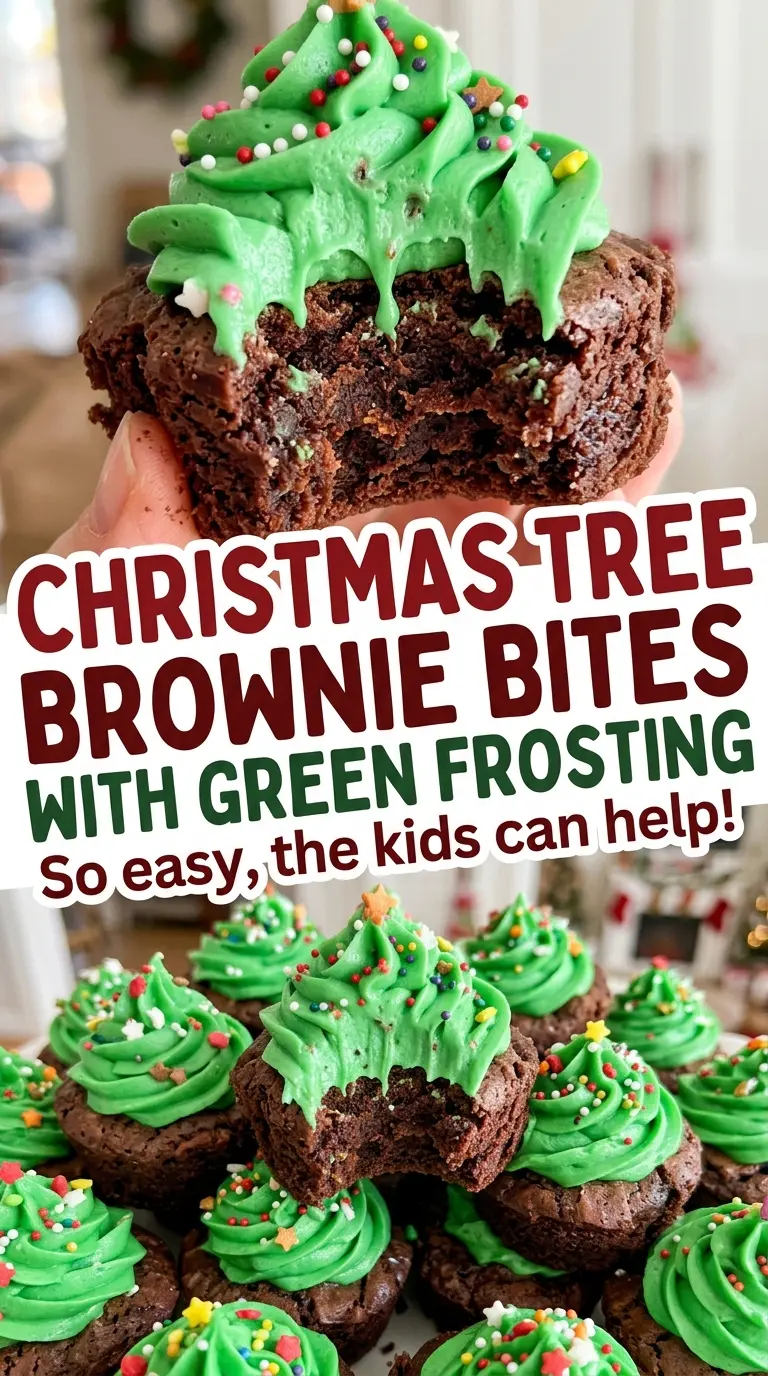
- Unsalted butter — Melted butter gives the brownie batter its rich texture, while softened butter beats smoothly into the frosting. Regular stick butter is fine; the important prep difference is using it melted for the brownies and softened for the frosting.
- Large eggs — The eggs help the small brownies hold together once baked. I wouldn’t replace them with a flax mixture here; the texture and set can turn softer and less reliable in these little portions.
- Unsweetened cocoa powder — This supplies the chocolate flavor without adding sugar. Dutch-process unsweetened cocoa works in the same amount for a rounder, less sharp cocoa taste; cocoa drink mix isn’t a substitute because it contains sugar and other ingredients.
- All-purpose flour — A small amount gives the brownie bites enough structure to lift from their liners. For a gluten-free batch, use the same amount of a cup-for-cup gluten-free baking blend; the bites may be a little more delicate, so let them cool fully before moving them.
- Powdered sugar and milk — Powdered sugar makes the buttercream smooth, and milk loosens it enough to pipe. Granulated sugar won’t dissolve into the same fine frosting, so it isn’t a useful swap here.
- Green gel food coloring — Gel gives the frosting a strong green color without adding much liquid. Use a concentrated gel rather than a large pour of liquid coloring, which can loosen the buttercream.
- Yellow star sprinkles — The small star shape reads clearly as a tree topper. A standard yellow star sprinkle is all you need; there’s no need for a specialty decorating set.
Mixing and Decorating the Bites Without Losing Their Shape
Prepare the Mini Muffin Pan and Butter
Heat the oven to 350°F and line a 24-cup mini muffin pan with paper liners. Melt the butter in a microwave-safe bowl or a small saucepan, then let it cool for 5 minutes. That short rest keeps the butter from being piping hot when the eggs go in. Have the sugar and remaining brownie ingredients ready before you start mixing.
Mix the Brownie Batter Just Until Combined
Whisk the sugar into the melted butter, then whisk in the eggs one at a time and the vanilla. Stir in the cocoa powder, flour, and salt only until the dry streaks disappear. The batter should look evenly chocolate-colored, without pockets of flour along the sides of the bowl. Stop there rather than beating it smooth for longer.
Bake, Then Cool the Bites Completely
Divide the batter among the liners, using about 1 1/2 tablespoons per cup. Bake for 12–15 minutes, until the tops are set and a toothpick comes out with a few moist crumbs; a clean toothpick means the small brownies have gone further than this fudgy texture needs. Let them cool in the pan for 10 minutes, then transfer them to a rack and wait until they’re completely cool before frosting.
Beat the Green Buttercream
Beat the softened butter in a medium bowl until smooth, about 1 minute. Gradually beat in the powdered sugar, then add the milk and vanilla and beat until fluffy. Beat in the green gel food coloring until the color looks even, scraping down the bowl if a pale streak clings to the side. The frosting should hold its shape well enough to pipe.
Pipe the Trees and Add the Stars
Transfer the frosting to a piping bag fitted with a small star tip. Starting near the center of each cooled brownie, pipe zigzag tiers that get narrower as you move upward; a wide base and a small top make the tree shape easy to read. Top each tree with a yellow star sprinkle. Let the frosting set before serving so the decorations don’t smear as you handle the bites.
Three Ways to Change the Cocoa, Frosting, or Tree Shape
Use Dutch-Process Cocoa for a Milder Chocolate Note
Replace the unsweetened cocoa powder with the same amount of unsweetened Dutch-process cocoa. The brownie flavor will taste rounder and less sharp, while the rest of the method stays the same.
Make a Dairy-Free Batch
Use unsalted plant-based baking sticks in place of both portions of butter, and use unsweetened non-dairy milk in the frosting. Choose dairy-free yellow star sprinkles as well. The brownies and frosting may taste a little less buttery, and the frosting texture can vary slightly by brand.
Pipe Smooth Tiers Without a Star Tip
Use a piping bag with a small corner snipped off instead of fitting it with a star tip, then pipe the same narrowing zigzags. The trees will have smooth ribbons rather than ridged edges, but the shape will still read clearly.
Storage and Reheating
- Refrigerator: Store the frosted bites in an airtight container for up to 4 days. The frosting firms up when cold.
- Freezer: Freeze the unfrosted brownie bites in an airtight container for up to 2 months. Thaw them before piping so moisture doesn’t collect on the frosting.
- Reheating: Don’t microwave decorated bites; the buttercream will melt. Let chilled brownies come to room temperature before serving.
Questions That Come Up While Making These Brownie Trees
Christmas Tree Brownie Bites with Green Frosting
Ingredients
Equipment
Method
- Heat the oven to 350°F.
- Line a 24-cup mini muffin pan with paper liners.
- Melt the butter in a microwave-safe bowl or small saucepan, then let it cool for 5 minutes.
- Whisk the sugar into the melted butter.
- Whisk in the eggs one at a time, then whisk in the vanilla.
- Stir in the cocoa powder, flour, and salt just until no dry streaks remain.
- Divide the batter among the liners, using about 1 1/2 tablespoons per cup.
- Bake for 12–15 minutes, until the tops are set and a toothpick comes out with a few moist crumbs.
- Cool the brownies in the pan for 10 minutes.
- Transfer them to a rack and cool completely.
- Beat the softened butter in a medium bowl until smooth, about 1 minute.
- Gradually beat in the powdered sugar.
- Beat in the milk and vanilla until fluffy.
- Beat in the green food coloring.
- Transfer the frosting to a piping bag fitted with a small star tip.
- Pipe narrowing zigzag tiers onto each cooled brownie bite to form a tree.
- Top each tree with a yellow star sprinkle and let the frosting set before serving.
