
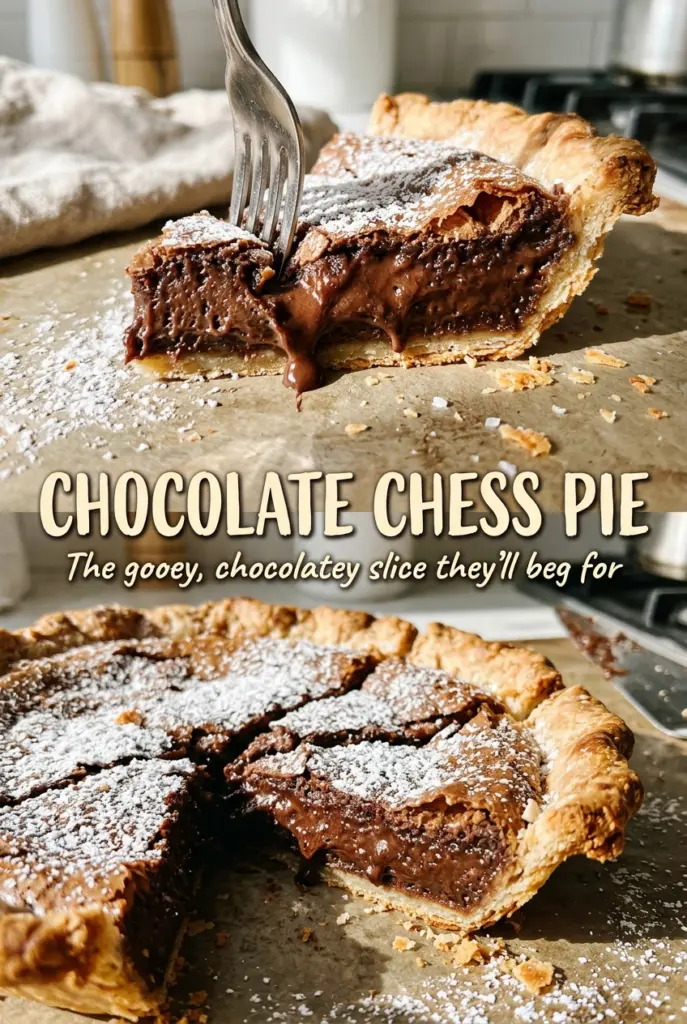
Chocolate Chess Pie
The filling for a chocolate pie can look surprisingly loose before it goes into the oven, and that’s part of what makes chocolate chess pie different from a brownie-style filling.…
Tip: save now, cook later.The filling for a chocolate pie can look surprisingly loose before it goes into the oven, and that’s part of what makes chocolate chess pie different from a brownie-style filling. Here, cocoa powder blends into a simple egg-and-milk mixture, then bakes into a smooth, rich custard inside a flaky crust. I whisk the dry ingredients thoroughly before they meet the eggs so the cocoa is spread evenly through every slice.
This pie doesn’t need melted chocolate or a complicated crust to get its deep chocolate flavor. The eggs give the filling structure, while evaporated milk keeps it creamy without adding sweetness. Once the pie has cooled, each slice holds together neatly with a soft, velvety center and a little cocoa bitterness to balance the sugar.
Kitchen Note
Let the melted butter cool slightly before it goes into the eggs. Butter that’s still piping hot can start to set the eggs in little strands, while slightly cooled butter blends into the filling smoothly.
Save this chocolate chess pie for a bake with a flaky crust and a smooth, cocoa-rich center.
Why the Center Should Still Wobble When the Edges Set
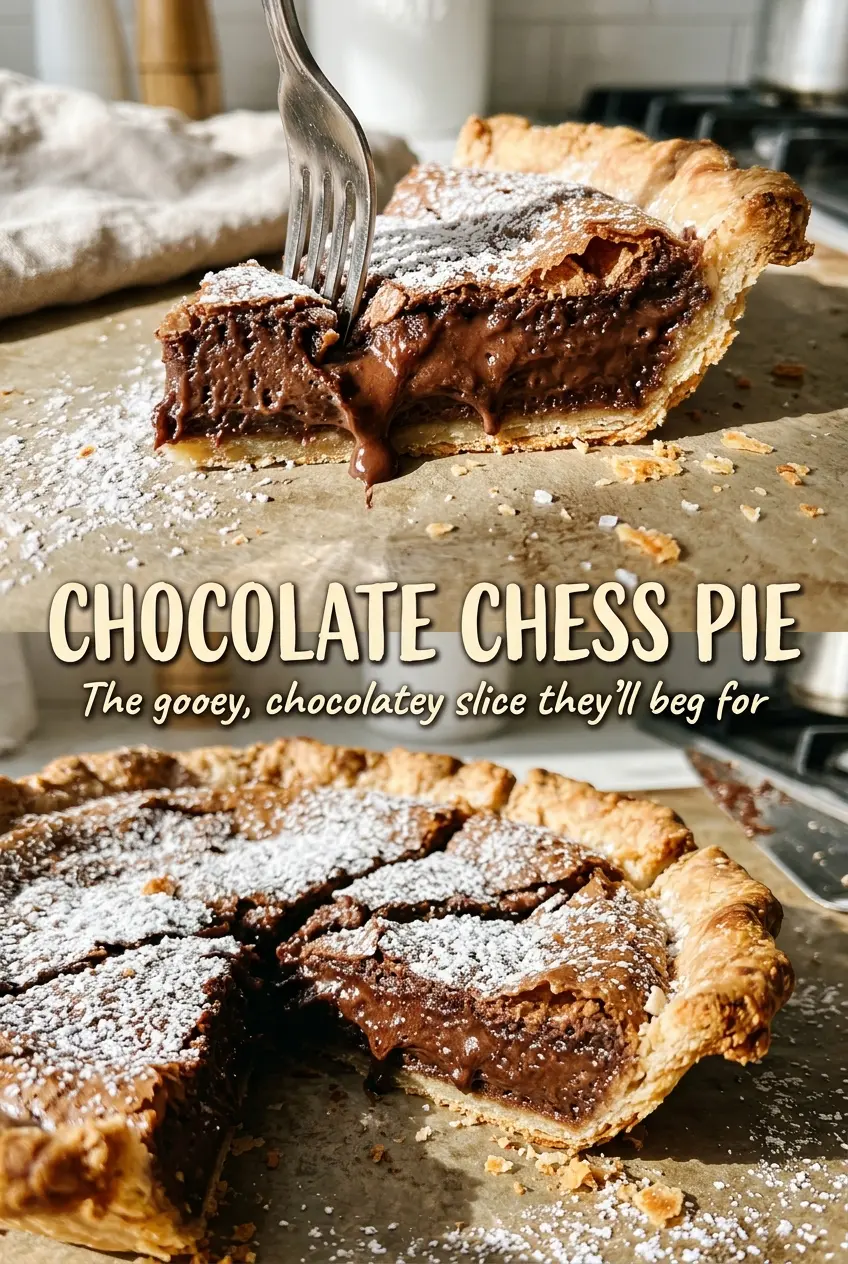
A chocolate chess pie doesn’t bake until its middle looks firm all the way across. The outside of the filling sets first, while the center stays a little soft; that slight movement is the cue to pull it from the oven, not a sign that the pie needs another long stretch of baking. The center continues to settle as the pie cools, which is why a hot slice won’t have the same clean texture as one that’s had time to rest.
If you wait for the whole surface to look completely solid in the oven, the filling can bake past its tender stage. It may still taste chocolatey, but the texture will be firmer and less custardy. Look for set edges and a center that moves gently when you nudge the pie plate. The thermometer gives you another check, but the visual cue matters too: you’re aiming for a pie that’s set around the rim with just a little life left in the middle.
That balance is what makes the first slice hold its shape without turning dense. Give the pie time to cool before cutting, and the center will have a chance to finish setting into a soft, smooth piece.
The Ingredients That Keep Chocolate Chess Pie Custardy, Not Cakey
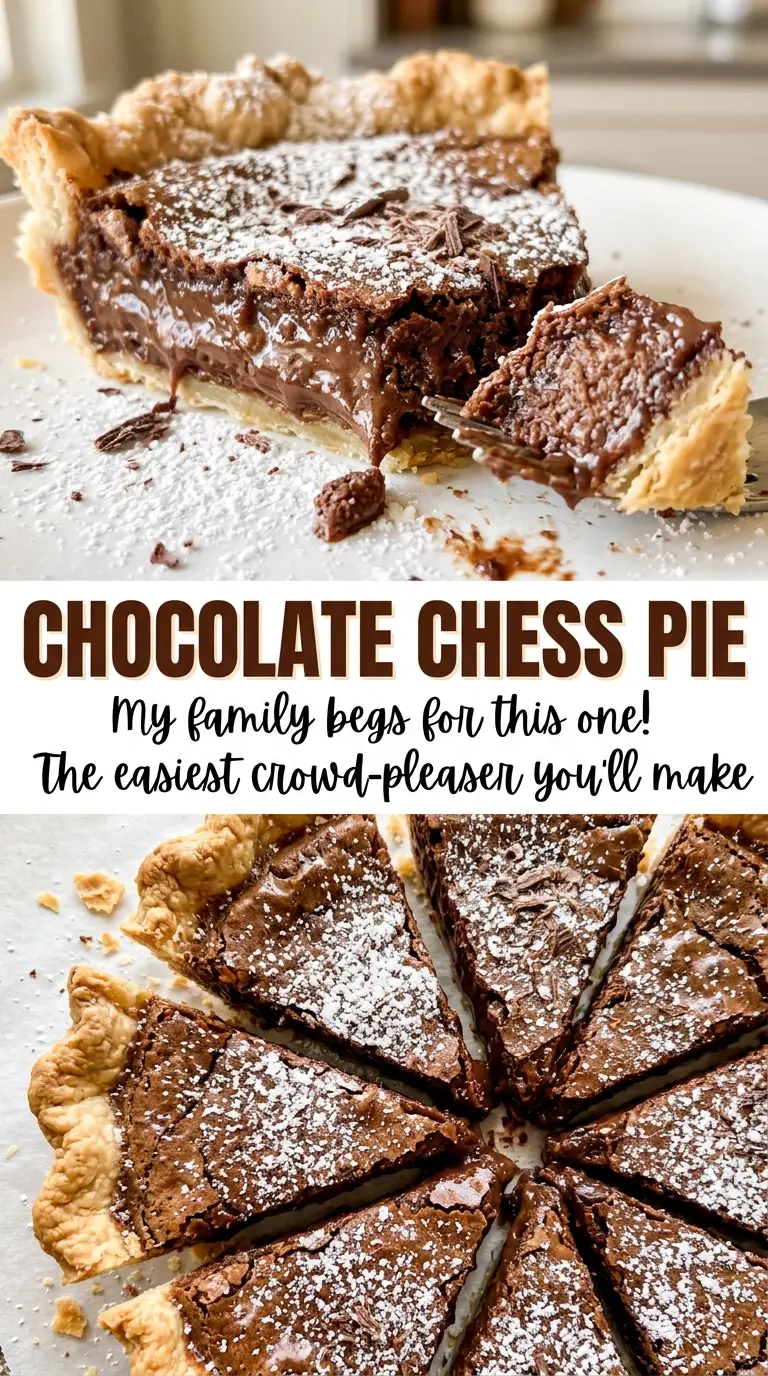
- Refrigerated pie crust — A ready-to-use, unbaked crust keeps this pie simple and gives the filling a crisp-edged shell. Choose a crust that fits a 9-inch pie plate; a shell with a different depth can change how much filling it holds. The gluten-free adaptation below keeps the same pie format.
- Granulated sugar — Sugar sweetens the cocoa and contributes to the filling’s set, so it isn’t just a finishing touch. Keep it granulated rather than swapping in a liquid sweetener, which would change the moisture balance.
- Unsweetened cocoa powder — This is the main source of chocolate flavor, so use cocoa you like the taste of on its own. Hot cocoa mix isn’t a substitute; it contains sugar and other additions that change the filling. Dutch-process cocoa is a workable swap when you want a darker, mellower chocolate note.
- All-purpose flour — A small amount helps the egg-based filling set without making it heavy. A measure-for-measure gluten-free flour blend works for the gluten-free version; ordinary flour is fine for the standard pie.
- Eggs and evaporated milk — Eggs set the custard, and evaporated milk gives it body without the added sugar in condensed milk. Use evaporated milk here; sweetened condensed milk is much thicker and would make the filling far too sweet.
- Unsalted butter — Butter adds richness and helps the filling feel silky rather than dry. Unsalted butter lets the measured salt stay in control, and a standard grocery-store butter works well.
- Vanilla extract — Vanilla rounds out the cocoa rather than making the pie taste strongly of vanilla. Pure vanilla has a clean aroma, but imitation vanilla works in a baked filling too.
Mixing and Baking the Filling Without Losing Its Soft Center
Fit the Crust Into the Pie Plate
Heat the oven to 350°F, then fit the unbaked refrigerated crust into a 9-inch pie plate. Press it gently into the plate so it sits against the bottom and sides, then crimp the edge. Avoid stretching the dough to make it reach; stretched dough is more likely to pull back as it bakes. Set the prepared crust aside while you mix the filling.
Whisk the Cocoa Into the Sugar Mixture
In a medium bowl, whisk together the granulated sugar, cocoa powder, flour, and salt until the color looks even. In a second bowl, whisk the eggs, then whisk in the evaporated milk, melted butter, and vanilla. Stir the sugar mixture into the egg mixture until the filling looks smooth, scraping the bottom and sides of the bowl so dry cocoa doesn’t stay tucked there. A few dry pockets can bake into little bitter spots, so check the mixture before pouring.
Bake Until the Rim Is Set and the Middle Moves
Pour the filling into the crust and bake for 45–55 minutes. The edges should look set, while the center remains just slightly wobbly when the pie plate is nudged; the center should register at least 160°F. If the rim is firm but the middle still has a small jiggle, that’s the texture to aim for. Transfer the pie to a wire rack and let it cool for at least 3 hours before slicing.
Two Smart Swaps That Keep the Pie’s Texture Intact
Make It Gluten-Free With a Matched Crust and Flour
Use a 9-inch gluten-free pie crust and replace the all-purpose flour with the same amount of a measure-for-measure gluten-free flour blend. Keep the rest of the filling and method unchanged. The cocoa custard stays rich and tender, though the crust may have a slightly different texture from a wheat-based one.
Use Dutch-Process Cocoa for a Mellow Chocolate Flavor
Swap Dutch-process cocoa for the unsweetened cocoa powder in the filling, using the same amount. It gives the pie a darker color and a less sharp cocoa flavor. Since the filling doesn’t rely on baking soda for its rise, this cocoa change doesn’t interfere with the pie’s set.
Storage and Reheating
- Refrigerator: Cover the cooled pie and refrigerate it for 3 to 4 days. The crust softens gradually as it sits.
- Freezer: Freeze the cooled pie whole or in slices, wrapped tightly, for up to 2 months. Thaw it overnight in the refrigerator; the filling may be a little less silky after freezing.
- Reheating: This pie doesn’t need reheating; serve it chilled or cool. Avoid warming the whole pie, which can soften the crust and loosen the custard.
Questions That Come Up Before the First Slice
Chocolate Chess Pie
Ingredients
Equipment
Method
- Preheat the oven to 350°F.
- Fit the unbaked 9-inch refrigerated pie crust into a 9-inch pie plate, crimping the edge.
- In a medium bowl, whisk together the granulated sugar, unsweetened cocoa powder, all-purpose flour, and salt.
- In a second bowl, whisk the eggs.
- Whisk the evaporated milk, melted and slightly cooled unsalted butter, and vanilla extract into the eggs.
- Stir the sugar mixture into the egg mixture until smooth.
- Pour the filling into the crust and bake for 45–55 minutes, until the edges are set, the center is just slightly wobbly, and the center registers at least 160°F.
- Cool the pie on a wire rack for at least 3 hours before slicing.