
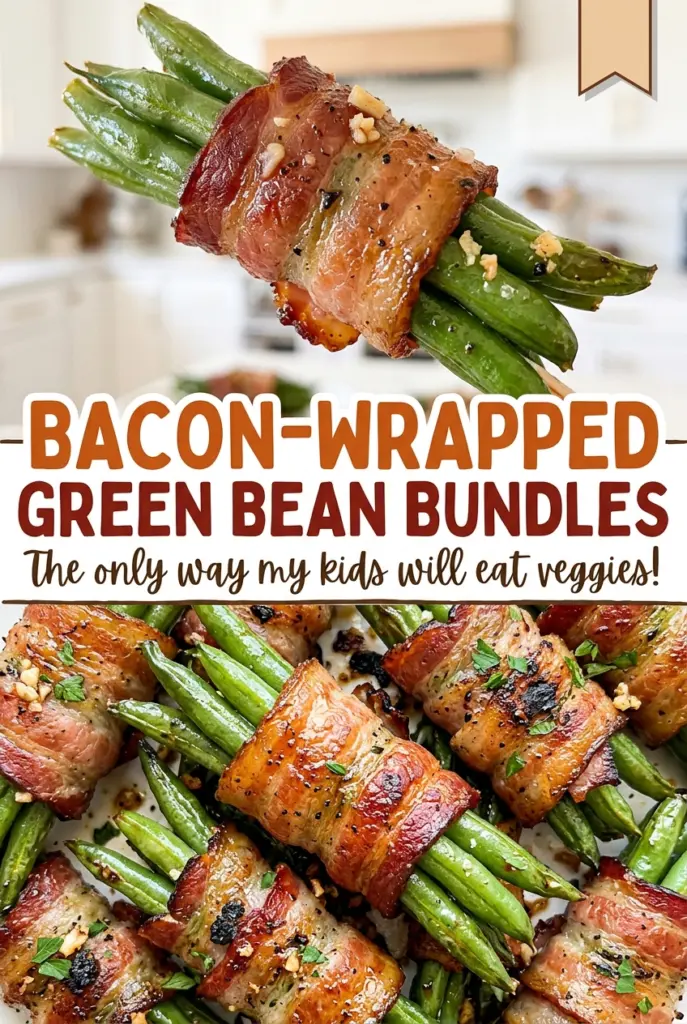
Bacon-Wrapped Green Bean Bundles
The bacon is the first thing I watch when these bundles go into the oven. If it starts out raw, it can still look pale by the time the green…
Tip: save now, cook later.The bacon is the first thing I watch when these bundles go into the oven. If it starts out raw, it can still look pale by the time the green beans are tender, so I cook it just long enough to render some fat while keeping each slice flexible. That small head start makes these Bacon-Wrapped Green Bean Bundles easier to wrap and helps the bacon brown in the same time the beans finish cooking.
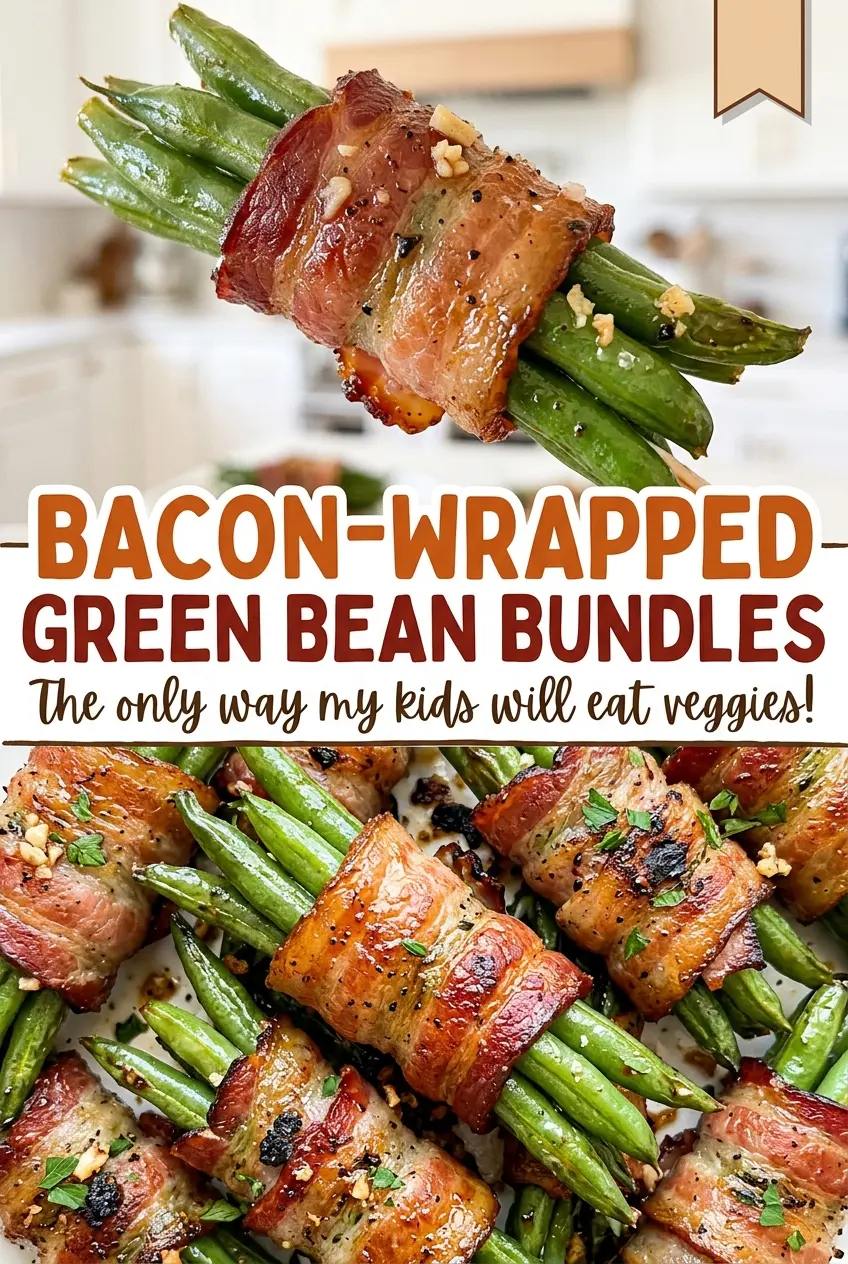
The green beans get a quick boil before they meet the bacon, too. They’ll be tender after baking without needing the bacon to stay in the oven long enough to dry out. I brush the bundles with a butter and brown sugar glaze that turns glossy around the edges as it bakes. The finished beans are tender, the bacon is browned, and the sweet-savory glaze clings to every bundle.
Kitchen Note
Take the bacon out of the skillet while it still bends easily. If it crisps up there, it’s much harder to wrap snugly around the beans without tearing.
Save these Bacon-Wrapped Green Bean Bundles for a side dish with tender beans, browned bacon, and a buttery brown sugar glaze.
Why the Green Beans Get a Boil Before They Meet the Bacon
These bundles have two ingredients that need different things from the oven: bacon needs enough time to brown, while green beans need enough time to turn tender. Putting raw beans inside bacon and relying on baking alone gives the beans a slower start. The bacon can get ahead, leaving you with browned edges and beans that still have too much bite.
A short boil gives the beans a head start without cooking them all the way through. Rinsing them under cold water stops that first round of cooking, so they don’t go limp while you wrap and bake them. The remaining oven time can then do its job on both parts: finish softening the beans and brown the bacon. It’s a simple sequence, but it’s what lets the bundles come out together instead of making you choose between crisp bacon and tender beans.
What the Bacon, Butter, and Brown Sugar Each Bring
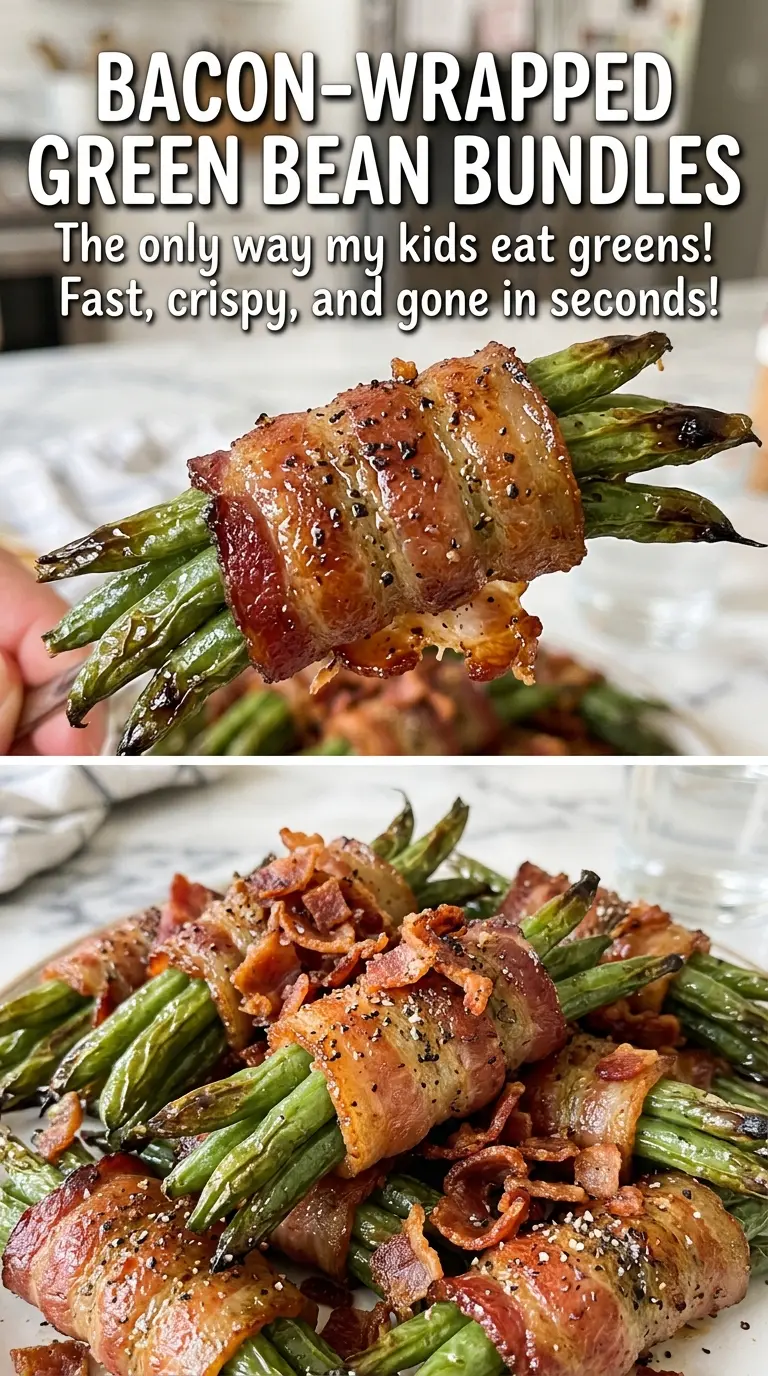
- Fresh green beans — Fresh beans keep their shape through blanching and baking. Choose firm beans without shriveled spots, trim the ends, and dry them well after rinsing so the glaze can coat the bundles rather than slide off.
- Regular bacon — Regular slices render and brown on a schedule that works with the beans. Thick-cut bacon takes longer to crisp and can throw off that timing, so I stick with regular bacon here. The least expensive package is fine as long as the slices are intact enough to wrap.
- Unsalted butter — Butter gives the glaze a smooth, rich base, and unsalted butter lets the kosher salt in the bean water do its job without making the glaze taste overly salty. A dairy-free version works with plain plant-based butter; it will taste a little less buttery.
- Light brown sugar — Its mild molasses flavor adds sweetness and helps the glaze cling as it bakes. Break up any hard lumps before stirring it into the melted butter so you don’t end up with sugary pockets on a few bundles.
- Garlic powder and black pepper — Garlic powder spreads evenly through the butter, while black pepper keeps the sweetness in check. Use finely ground pepper for an even seasoning, or coarsely ground pepper if you prefer a more noticeable pepper bite.
From Blanched Beans to Browned Bacon Bundles
Give the Beans Their Head Start
Heat the oven to 400°F and line a rimmed 13×18-inch baking sheet with foil. Bring the water and kosher salt to a boil in a 6-quart pot, then add the trimmed green beans and boil for 3 minutes. Drain them, rinse under cold water, and pat them dry before you start wrapping. Damp beans make the glaze harder to keep in place, so take a moment to dry them well.
Render the Bacon Until It Still Bends
Cook the bacon in a 12-inch skillet over medium heat in 2 batches, turning each slice once. Give each batch 4 to 6 minutes, stopping when some fat has rendered but the slices are still flexible rather than crisp. Transfer the bacon to paper towels to drain. If a slice feels brittle when you lift it, it has gone too far for easy wrapping.
Stir the Glaze and Wrap the Bundles
Melt the butter in a small saucepan over medium-low heat. Take the pan off the heat before stirring in the brown sugar, garlic powder, and black pepper. Divide the beans into 8 bundles and wrap one bacon slice around each, with the overlap underneath. Set the bundles on the lined baking sheet and brush the glaze over them.
Bake Until the Bacon Browns
Bake the bundles for 20 to 25 minutes, until the bacon is browned and the beans are tender. Look for the bacon to have a deeper color rather than a raw, pale surface; the beans should yield when pierced with a fork. Let the bundles rest on the baking sheet for 5 minutes before serving. That short rest gives the glaze a moment to settle instead of running off as soon as you lift them.
Three Flavor Tweaks That Keep the Bundles Balanced
Use Dark Brown Sugar for a Deeper Glaze
Swap in packed dark brown sugar for the light brown sugar. The extra molasses gives the glaze a deeper, more caramel-like sweetness, which stands up well to the salty bacon.
Add a Little Heat
Stir a pinch of cayenne into the glaze with the garlic powder and black pepper. It adds a gentle warmth that cuts through the brown sugar without changing the way the glaze coats the beans.
Make the Glaze Dairy-Free
Replace the butter with the same amount of plain plant-based butter that melts smoothly. The glaze will still coat the bundles, though the buttery flavor will be less pronounced; check that the bacon you choose is dairy-free, too.
Storage and Reheating
- Refrigerator: Store leftovers in an airtight container for 3 to 4 days. The beans soften and the bacon loses some of its crispness.
- Freezer: I don’t recommend freezing these bundles; the beans turn soft after thawing and the bacon won’t keep its freshly baked texture.
- Reheating: Warm them in a 350°F oven until the center reaches 165°F. A microwave works in a pinch, but it softens the bacon faster.
Questions That Come Up While Making Green Bean Bundles
Bacon-Wrapped Green Bean Bundles
Ingredients
Equipment
Method
- Preheat the oven to 400°F.
- Line a rimmed 13x18-inch baking sheet with foil.
- Bring 8 cups water and 1 tablespoon kosher salt to a boil in a 6-quart pot.
- Add the green beans and boil for 3 minutes.
- Drain the green beans, rinse under cold water, and pat dry.
- Cook the bacon in a 12-inch skillet over medium heat in 2 batches for 4 to 6 minutes per batch, turning once, until partly rendered but still flexible.
- Drain the bacon on paper towels.
- Melt the butter in a small saucepan over medium-low heat.
- Remove the saucepan from the heat and stir in the brown sugar, garlic powder, and black pepper.
- Divide the green beans into 8 bundles.
- Wrap one bacon slice around each bundle, placing the overlap underneath.
- Arrange the bundles on the prepared baking sheet.
- Brush the bundles with the glaze.
- Bake for 20 to 25 minutes, until the bacon is browned and the beans are tender.
- Let the bundles rest on the baking sheet for 5 minutes before serving.
