
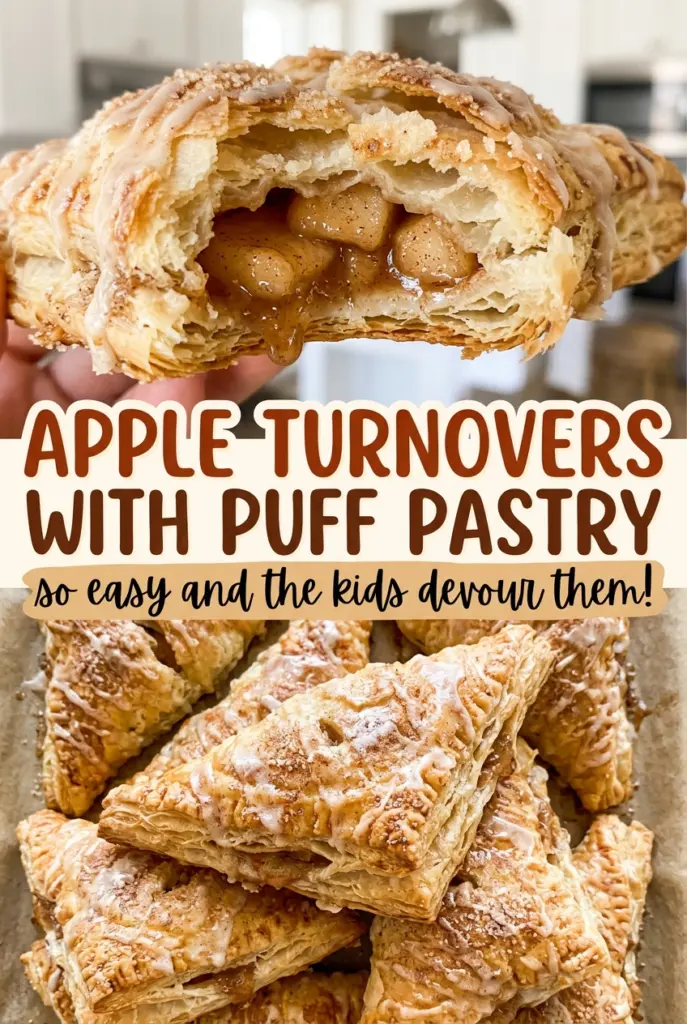
Apple Turnovers with Puff Pastry
When the apples hit the skillet, they soften quickly, but their juices need a little more time to turn glossy and thick. I learned not to rush that part: loose…
Tip: save now, cook later.When the apples hit the skillet, they soften quickly, but their juices need a little more time to turn glossy and thick. I learned not to rush that part: loose filling can run toward the edges and make the pastry harder to seal. These apple turnovers with puff pastry get a tender, cinnamon-scented center without asking you to make dough from scratch.
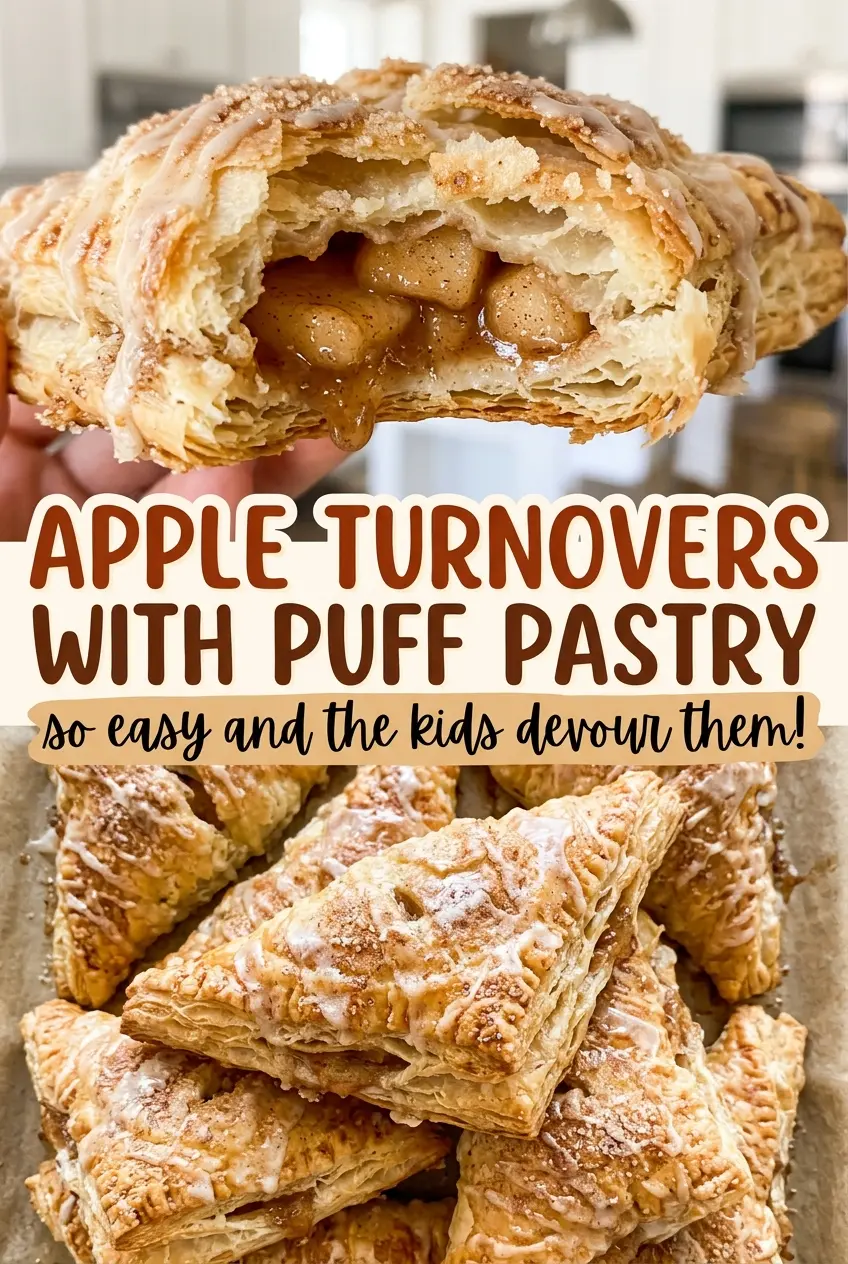
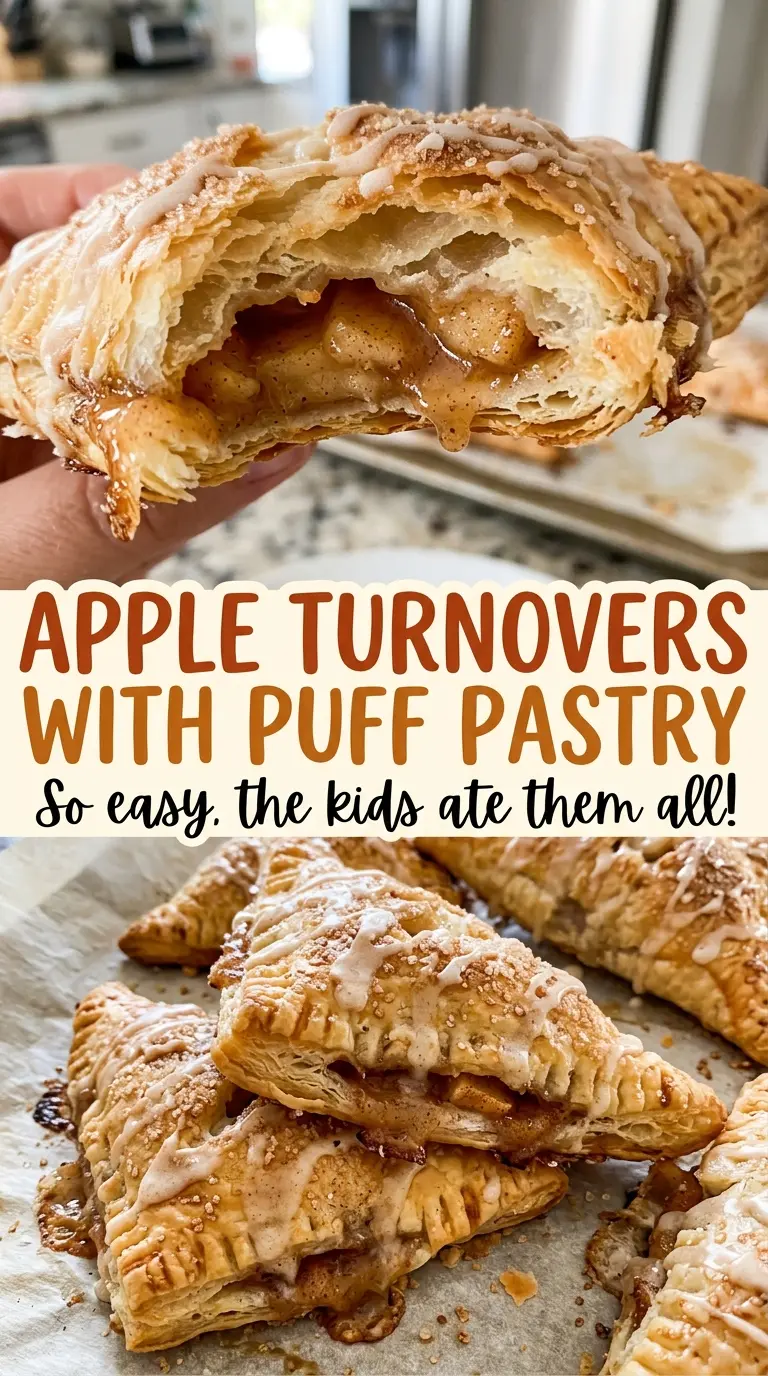
The filling cooks first, so the apples are already just tender when they go into the oven. Cornstarch thickens the juices as they cook, and cooling the mixture keeps it from warming the pastry before baking. The cold pastry puffs into crisp, flaky layers around the fruit, while the fork-crimped edges hold each triangle together. When they come out deep golden, the apple centers are soft and the edges shatter into buttery flakes.
Kitchen Note
The puff pastry should be thawed enough to unfold, but still cold when you cut and fill it. If it feels warm and floppy in your hands, the layers are harder to handle neatly.
Save these apple turnovers with puff pastry for a crisp, golden treat filled with cinnamon apples and wrapped in flaky layers.
Why the Apple Filling Needs to Thicken Before It Goes Near the Pastry
Apples release juice as they soften, and that liquid has nowhere to go once it’s enclosed in puff pastry. The cornstarch gives the juices body right in the skillet, so you’re not sealing a puddle inside each turnover. Look for a glossy, thickened coating around the apple pieces, not a thin pool at the bottom of the pan.
Cooling the filling completely matters for a different reason: warm fruit can soften the pastry before it reaches the oven. That makes the squares harder to fold and can leave the layers less distinct as they bake. Spread the filling in a bowl and give it the full cooling time; the apples should feel cool rather than merely lukewarm before you portion them onto the pastry. A little patience here keeps the center contained and lets the pastry do its job.
Keep the filling in the middle of each square and leave the border clear. The clean edge gives the two sides of pastry room to meet, while the thickened juices stay tucked inside instead of smearing across the seam.
What the Apples, Cornstarch, and Puff Pastry Each Bring
- Apples — Firm apples hold their shape through the skillet cook and oven bake; softer ones can collapse into a sauce. The variety matters more than an expensive brand. Cut the pieces evenly so they soften at roughly the same pace. A different firm apple variety is the closest useful swap and will shift the balance of sweetness and tartness without changing the method.
- Cornstarch — This is what thickens the apple juices while keeping the filling clear and glossy. It needs to be cooked with the fruit, rather than stirred in after the filling is done. There isn’t a like-for-like replacement among the other listed ingredients, so don’t leave it out if you want a contained filling.
- Unsalted butter — It gives the apples a rounded, buttery base without adding extra salt. A standard grocery-store butter works well here; the apple and cinnamon carry the main flavor. Keep the butter unsalted so the measured kosher salt remains in balance.
- Cinnamon and lemon juice — Cinnamon makes the filling taste warmly spiced, while lemon juice keeps the sweet apples from tasting flat. If you want a cleaner apple flavor, omit the cinnamon; there isn’t another listed ingredient that replaces its spice. Keep the lemon juice, since the remaining ingredients don’t provide the same bright acidity.
- Puff pastry — The frozen pastry provides the crisp, layered shell, and the two sheets make eight squares. There’s no comparable swap among the other ingredients. Thaw it enough to unfold without tearing, but don’t let it become soft and sticky on the work surface.
- Egg wash — Whisking the egg with water helps the edges adhere and gives the tops their deep golden finish. For an egg-free wash, use water alone; the pastry will look paler and won’t have the same sheen. This only makes the turnovers egg-free if the puff pastry itself contains no egg.
From Thickened Apples to Deep-Golden Turnovers
Cook the Apples Until the Juices Turn Glossy
Melt the butter in a 10-inch skillet over medium heat, then add the diced apples, sugar, cornstarch, cinnamon, lemon juice, and kosher salt. Stir often as the apples cook for 5–7 minutes. They should be just tender, not falling apart, and the juices should look thickened rather than watery. Transfer the filling to a bowl and let it cool completely, about 20–30 minutes.
Cut and Fill the Pastry Squares
Heat the oven to 400°F and line a large rimmed baking sheet with parchment paper. Unfold both pastry sheets on a clean work surface and cut each into 4 equal squares. Whisk the egg and water together, then brush the edges of each square. Spoon about 1/4 cup of cooled filling onto one half of each square, leaving a 1/2-inch border clear.
Fold, Crimp, and Vent Each Turnover
Fold each square diagonally over the filling to make a triangle, then press the edges together and crimp them with a fork. If filling gets onto the border, wipe it away before sealing; a clean edge is easier to press together. Arrange the turnovers on the prepared baking sheet and brush the tops with the remaining egg wash. Cut 2 small vents in each turnover so steam can escape during baking.
Bake Until the Layers Are Deep Golden
Bake for 20–25 minutes, until the pastry has puffed and turned deep golden brown. The color is a better cue than a pale top: the pastry should look crisp at the edges, not doughy or blond. Let the turnovers cool on the baking sheet for 10 minutes before serving. The filling is hot straight from the oven, and that short rest also gives the pastry time to settle.
Simple Ways to Change the Apple Turnovers
Use a Firmer, Tarier Apple
Choose a firm apple variety with a sharper tartness for a brighter filling that holds its shape. Softer, sweeter apples make a gentler center but can break down more in the skillet, so keep an eye on their texture as they cook.
Leave Out the Cinnamon
Omit the cinnamon for a simpler apple-and-lemon filling. The turnovers will taste less warmly spiced, but the fruit’s own sweet-tart flavor comes through more clearly; keep the rest of the filling method the same.
Make the Wash Without Egg
Brush the pastry with water instead of the egg wash for an egg-free finish, provided the puff pastry itself is egg-free. The edges may not seal quite as firmly, and the tops will be less glossy and less deeply browned.
Storage and Reheating
- Refrigerator: Store cooled turnovers in an airtight container for up to 3 days. The pastry softens as it sits.
- Freezer: Freeze fully cooled turnovers in an airtight container for up to 2 months. The pastry won’t be quite as crisp after thawing, but reheating helps restore some crunch.
- Reheating: Warm them in a 350°F oven for about 8–10 minutes, until heated through and crisp. The microwave is faster but makes the pastry soft.
Questions That Come Up When Baking Apple Turnovers
Apple Turnovers with Puff Pastry
Ingredients
Equipment
Method
- Melt the butter in a 10-inch skillet over medium heat.
- Add the apples, sugar, cornstarch, cinnamon, lemon juice, and salt. Cook, stirring often, for 5–7 minutes, until the apples are just tender and the juices are thickened.
- Transfer the filling to a bowl and cool completely, about 20–30 minutes.
- Heat the oven to 400°F.
- Line a large rimmed baking sheet with parchment paper.
- Unfold the puff pastry sheets on a clean work surface and cut each into 4 equal squares.
- Whisk the egg and water in a small bowl.
- Brush the edges of each pastry square with the egg wash.
- Spoon about 1/4 cup filling onto one half of each square, leaving a 1/2-inch border.
- Fold each square diagonally over the filling to form a triangle and press the edges together, then crimp with a fork.
- Arrange the turnovers on the baking sheet.
- Brush the tops with the remaining egg wash and cut 2 small vents in each.
- Bake for 20–25 minutes, until puffed and deep golden brown.
- Cool on the baking sheet for 10 minutes before serving.
