
White Chocolate Raspberry Poke Cake
White Chocolate Raspberry Poke Cake earns its place in the dessert rotation because every bite hits the same sweet spot: soft cake, jammy raspberry filling, and a cool white chocolate…
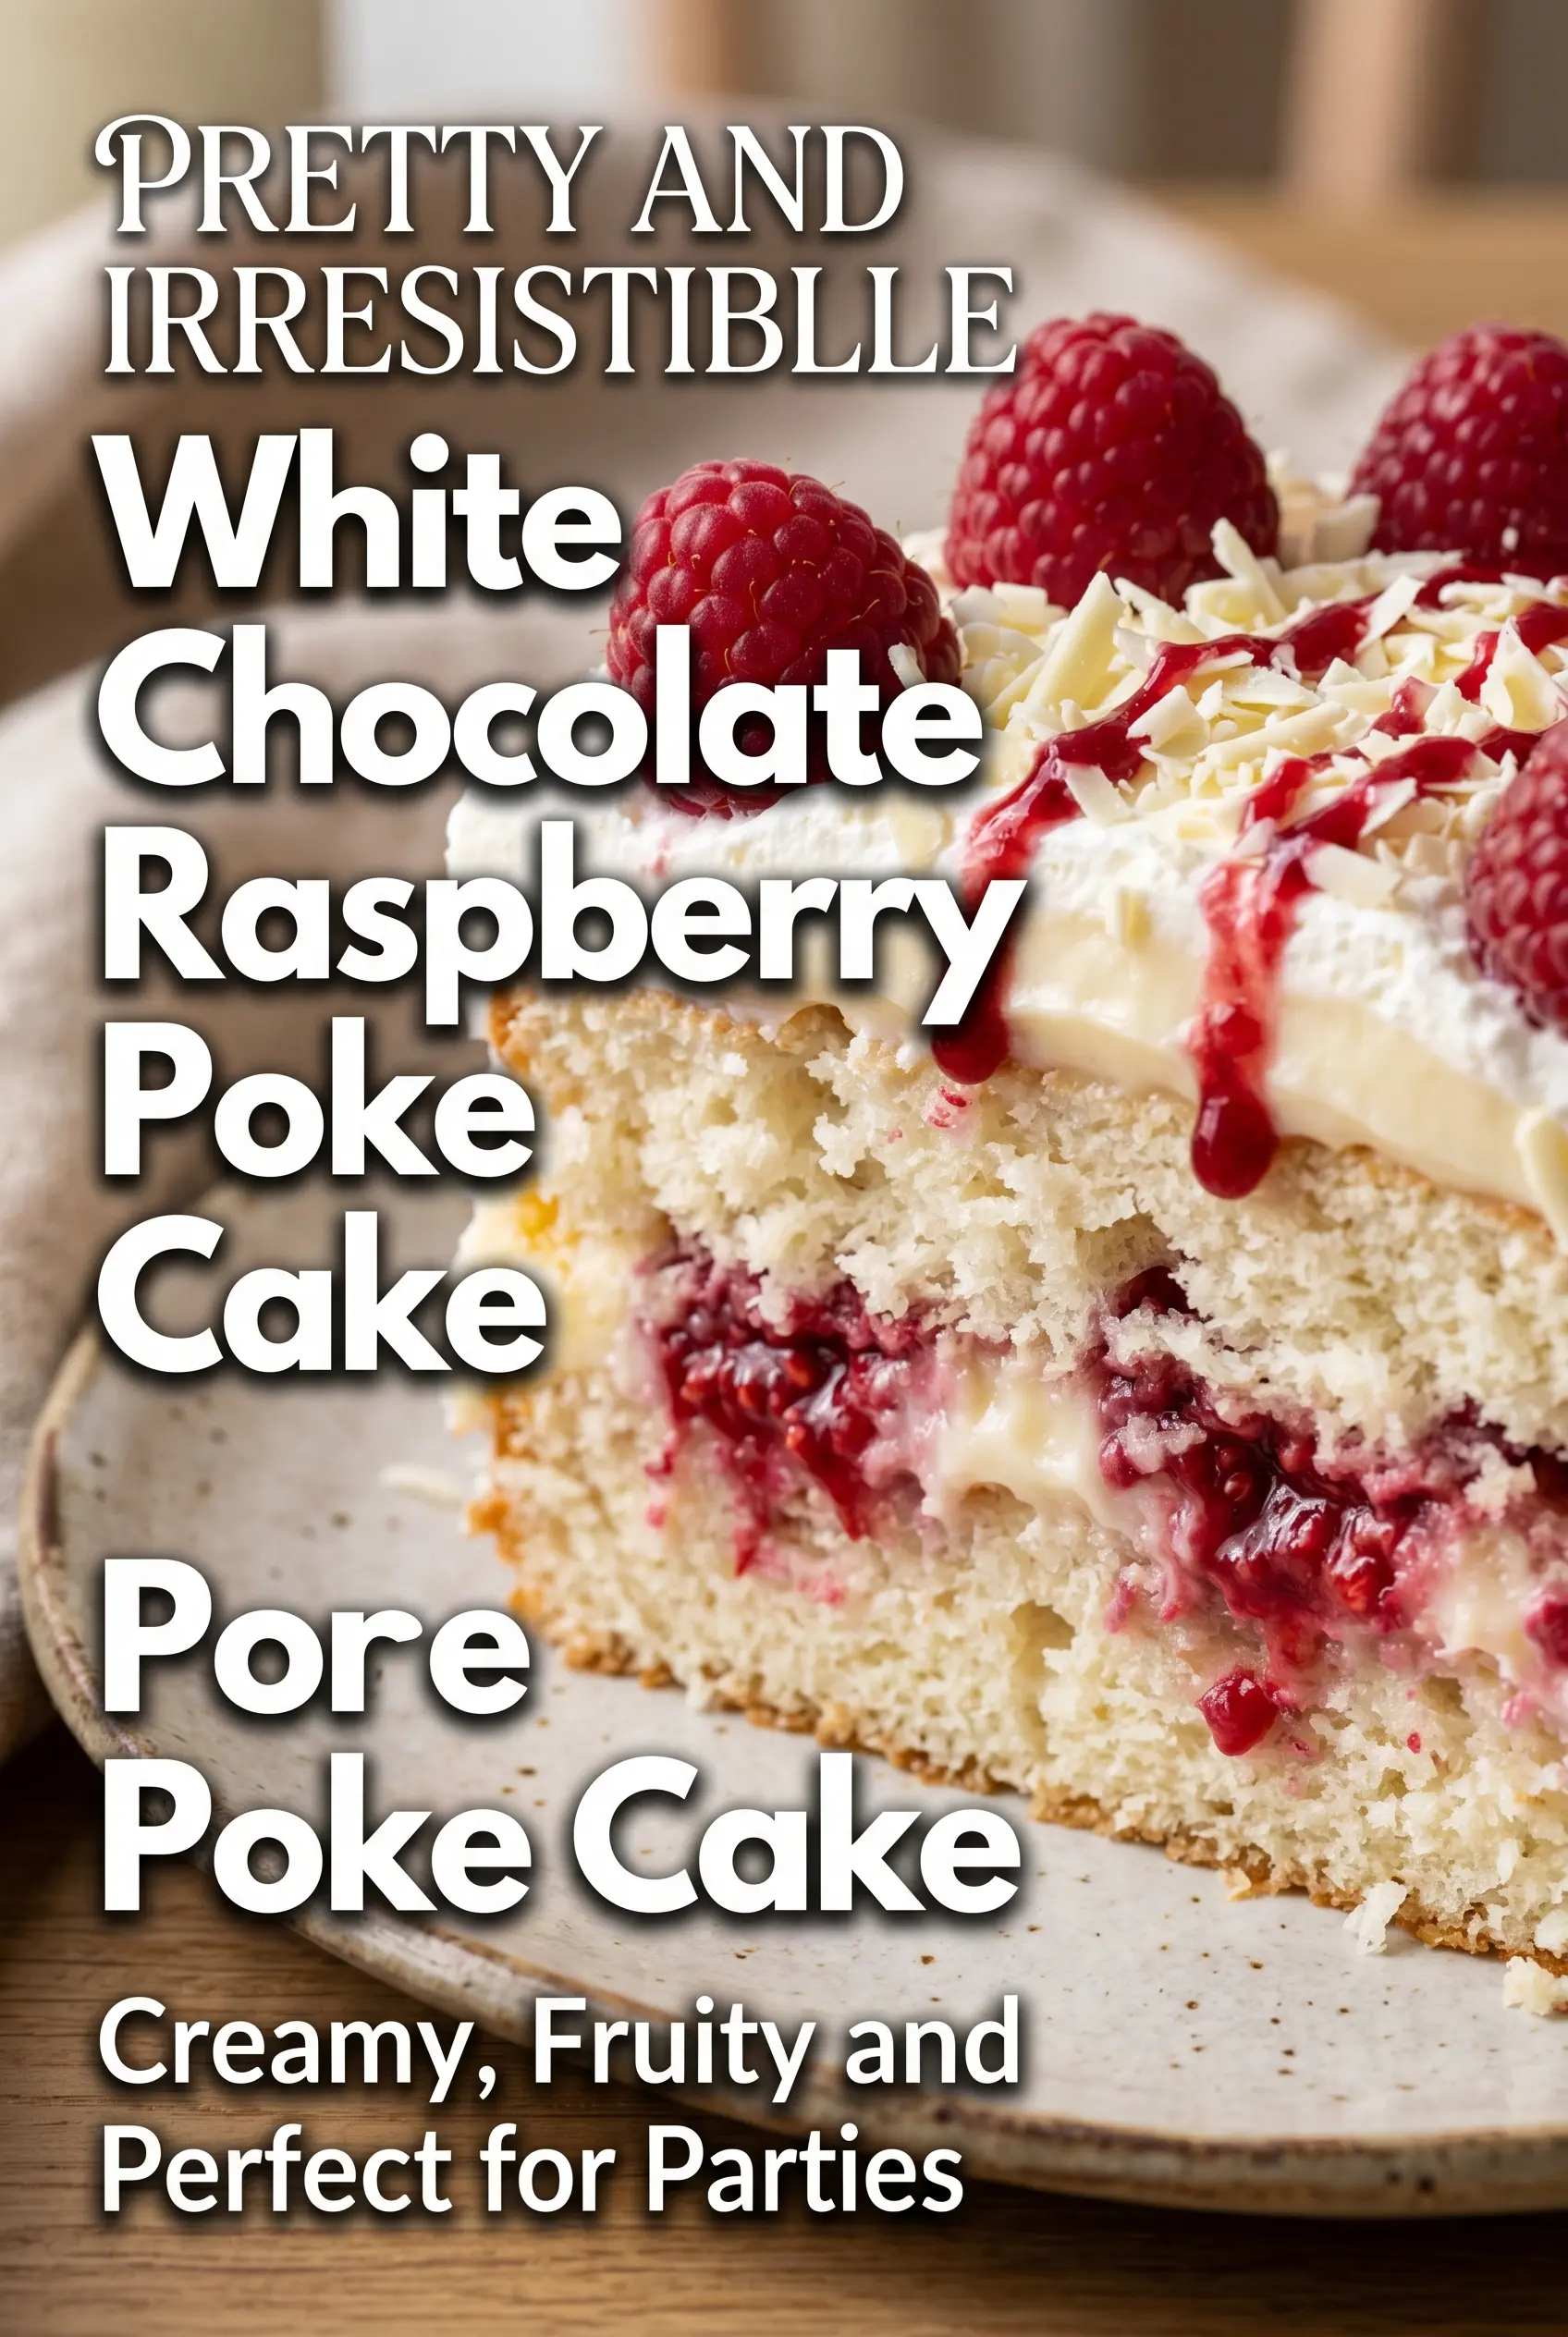
Tip: save now, cook later.White Chocolate Raspberry Poke Cake earns its place in the dessert rotation because every bite hits the same sweet spot: soft cake, jammy raspberry filling, and a cool white chocolate topping that settles into the poked holes instead of sitting on top like frosting. It slices cleanly, feeds a crowd, and tastes like you spent far more time on it than you did.
The trick is in the layering. The raspberry preserves get thinned just enough to soak into the cake, which keeps the fruit flavor bright and stops the filling from clumping in one spot. The white chocolate pudding layer adds body without making the whole dessert heavy, and the whipped topping keeps the finish light so the cake still feels airy after chilling.
Below, you’ll find the small timing details that matter, plus a few practical swaps if you need to work with what’s already in your pantry. If poke cakes have ever turned soggy or patchy on you, the problem is usually in the order of the layers, not the idea itself.
The raspberry layer soaked into the cake perfectly and the white chocolate topping stayed light instead of getting heavy. I made it the night before and it sliced beautifully after chilling.
Like this White Chocolate Raspberry Poke Cake? Save it to Pinterest for the kind of chilled dessert that slices neatly and tastes even better after the flavors settle.
The Reason This Poke Cake Stays Moist Instead of Mushy
The difference between a great poke cake and a soggy one comes down to timing and restraint. The cake needs a brief rest after baking so it’s still warm enough to absorb the raspberry filling, but not so hot that the crumb collapses. Poking evenly across the surface matters too. If the holes are too close together, the filling pools; if they’re too sparse, you end up with dry patches that miss all the flavor.
The other mistake is pouring in filling that’s too thick. Raspberry preserves straight from the jar stay clumpy and won’t travel through the holes the way you want. A little water loosens them just enough to soak in and leave behind a clean ribbon of fruit flavor throughout the cake.
- Let the cake cool for about 10 minutes before poking it. That gives the structure time to set.
- Use the handle of a wooden spoon for holes that are wide enough to catch the filling without tearing the cake apart.
- Pour the raspberry mixture slowly and spread it with a spoon so it settles into the holes instead of sitting on top.
What Each Layer Is Doing in the Cake
White cake mix gives you a soft, neutral base that lets the raspberry and white chocolate stand out. A homemade cake works too, but the boxed mix is dependable here because it bakes up light and sturdy enough to hold the filling.
Raspberry preserves bring concentrated fruit flavor and the right amount of sweetness. Fresh raspberries alone won’t give you the same soakable texture, so don’t swap them in for the filling unless you’re also making a sauce.
Instant white chocolate pudding mix is what gives the middle layer its creamy body. Cook-and-serve pudding won’t set the same way in this recipe, and that extra thickness is what keeps the top from sliding around once you slice the cake.
Whipped topping keeps the finish light and easy to spread. Homemade whipped cream can work for a same-day dessert, but it won’t hold as long in the fridge, especially once the cake has sat overnight.
White chocolate chips add richness without making the topping cloying. Melt them gently and let them cool a bit before folding them into the whipped topping, or they can seize and leave little streaks of solid chocolate behind.
Building the Layers Without Smearing the Cake
Baking the Base
Bake the white cake in a 9×13-inch pan until the center springs back when touched and a toothpick comes out clean. An underbaked cake tears when you poke it; an overbaked one gets dry and doesn’t absorb the filling as well. The goal is a tender crumb that still has enough structure to hold the fruit and pudding.
Soaking in the Raspberry Filling
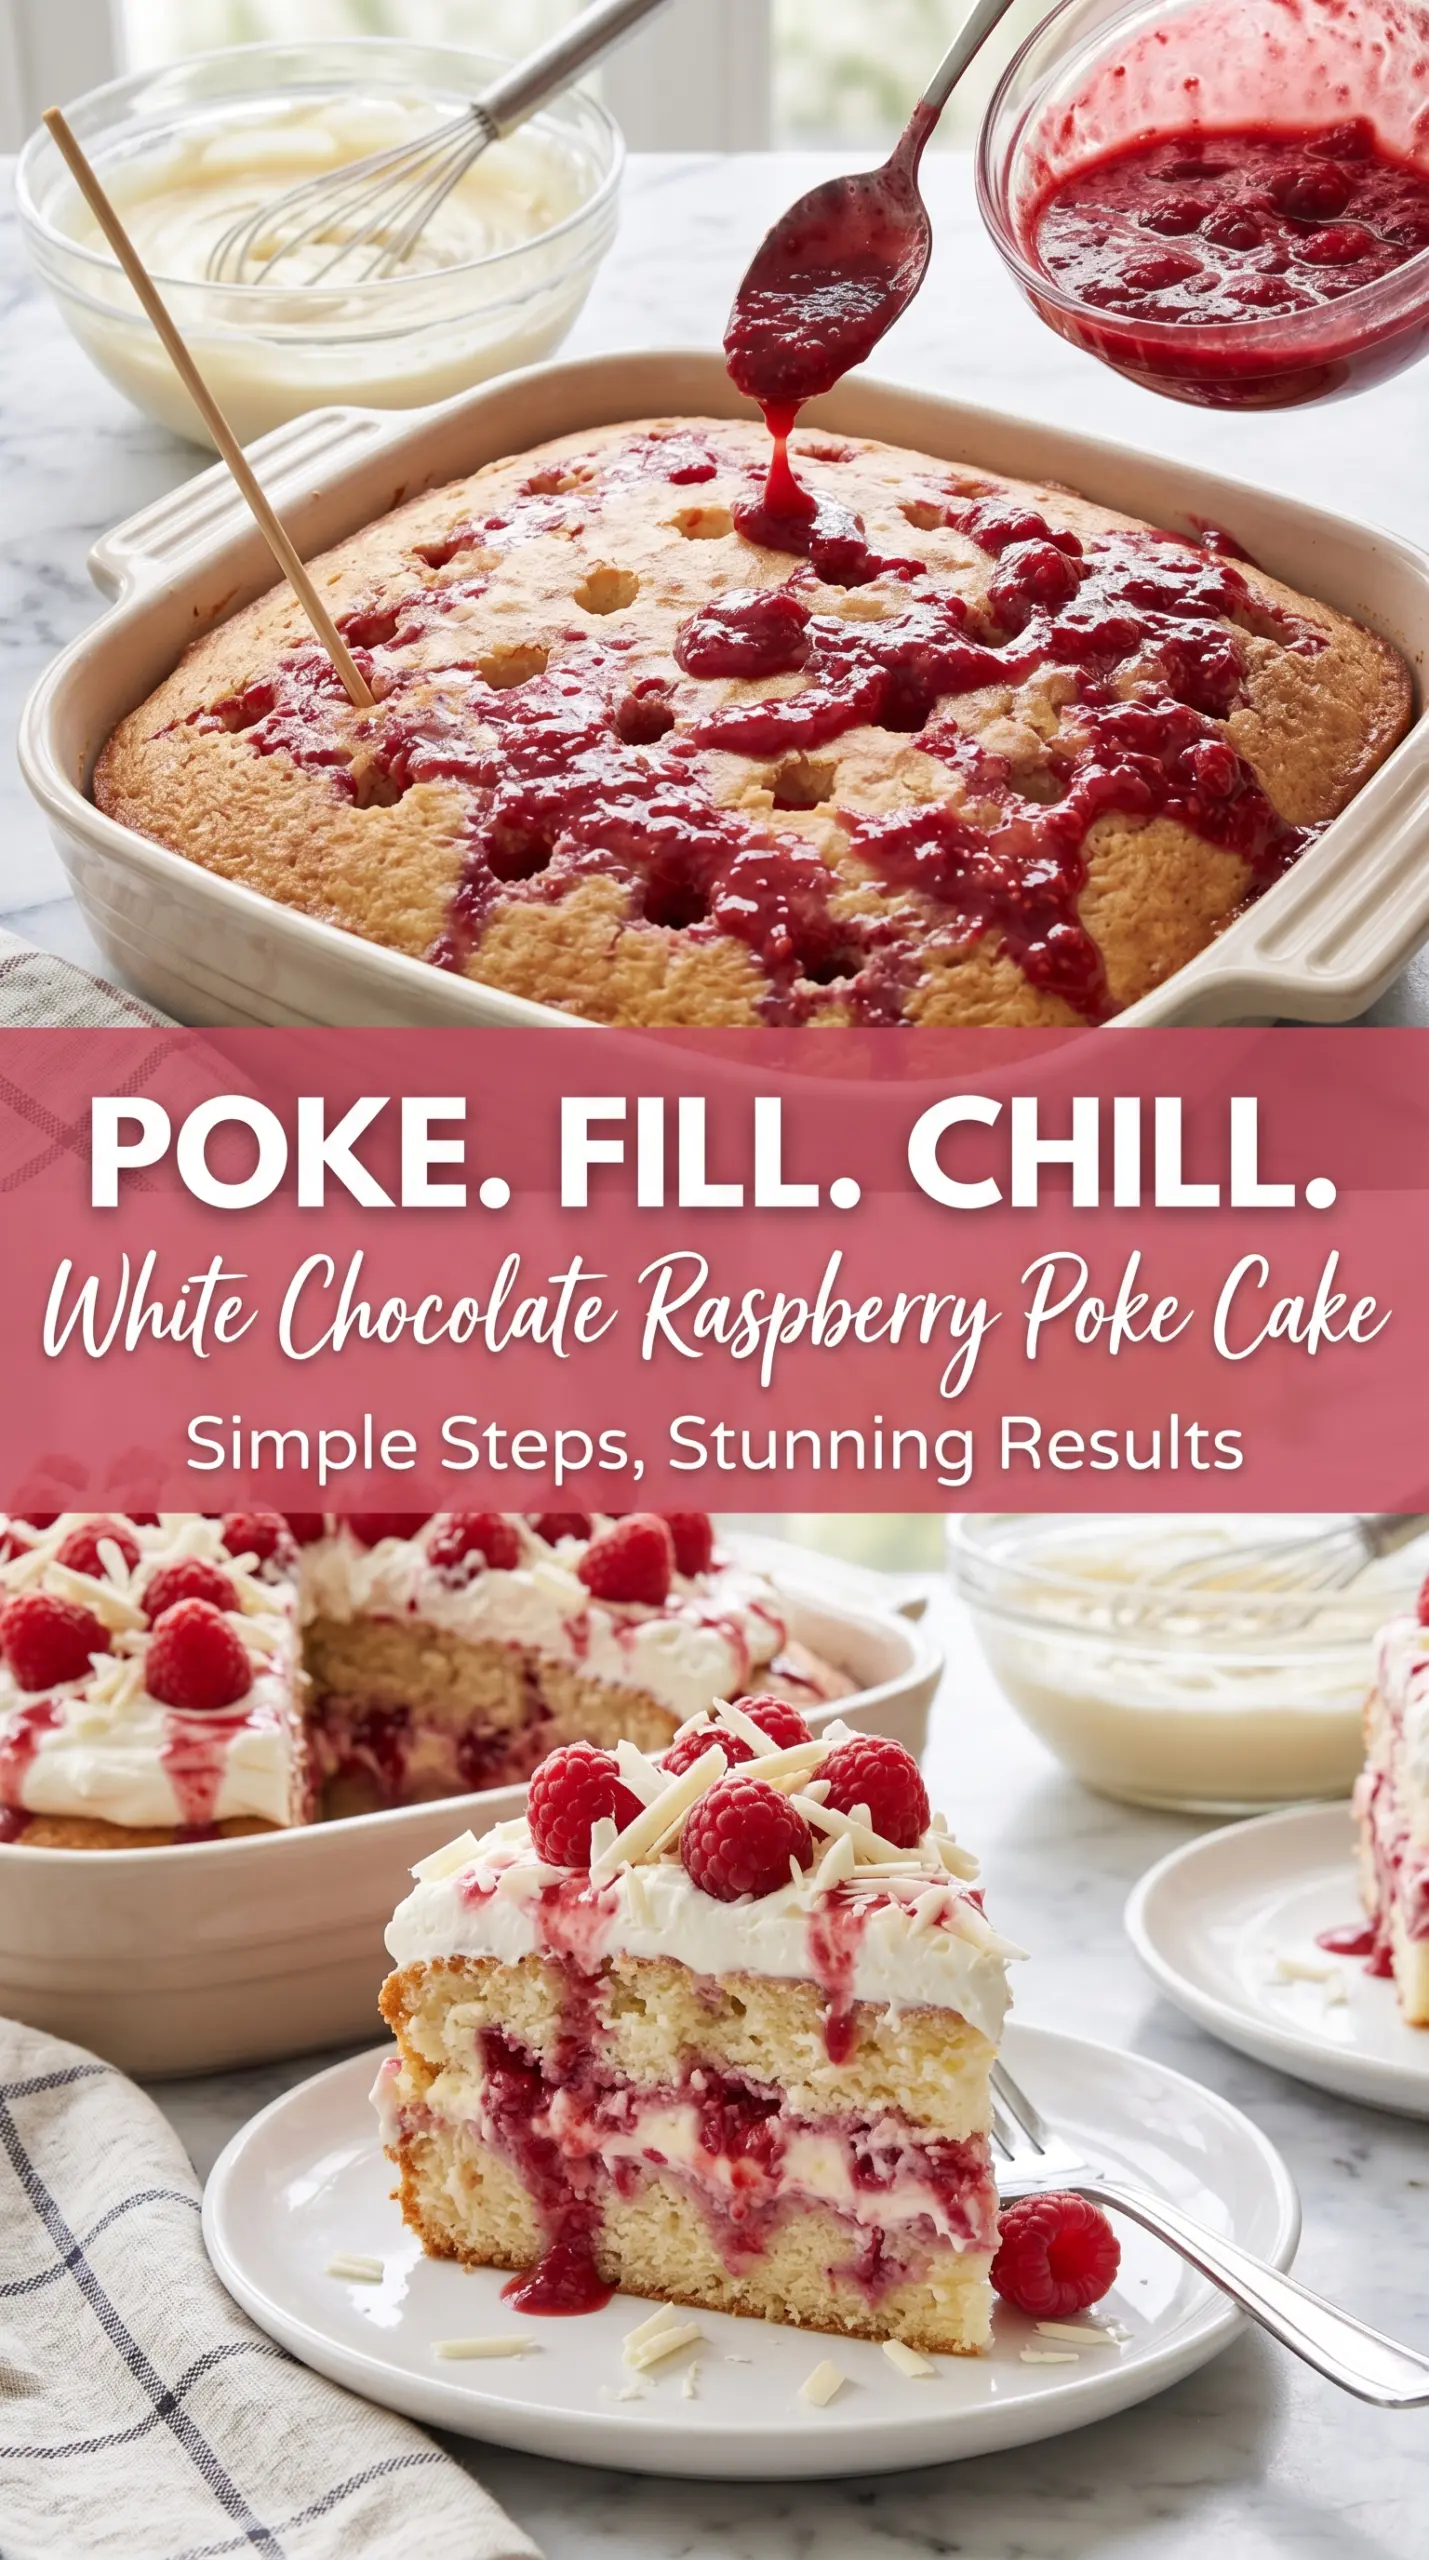
Stir the raspberry preserves with water over low heat until the mixture is smooth and pourable. Pour it over the cake while it’s still warm, then use the back of a spoon to nudge it into the holes if needed. If the filling just sits on the surface, it’s usually too thick or the cake has already cooled too much to absorb it well.
Setting the White Chocolate Layer
Whisk the pudding with cold milk until it starts to thicken, then spread it over the cake in an even layer. Chill the cake for at least an hour before adding the whipped topping so the pudding firms up instead of mixing into the cake beneath it. That chill time is what gives each slice its clean, defined layers.
Finishing with the Topping
Fold the cooled melted white chocolate into the whipped topping until it’s fully combined, then spread it over the chilled cake. Do this gently so you don’t deflate the topping. Add the fresh raspberries and white chocolate shavings right before serving for the cleanest look and the best contrast in texture.
How to Adapt This Cake for the Pantry You Have
Dairy-Free Version
Use a dairy-free white cake mix, plant-based milk for the pudding, and a dairy-free whipped topping. The texture stays close to the original, though the white chocolate note will be a little softer and less creamy.
Fresh Raspberry Swap
If you want a brighter fruit finish, mash a few fresh raspberries into the preserves before heating them. This keeps the filling thick enough to soak into the cake while adding small bursts of fresh berry flavor.
Gluten-Free Version
A gluten-free white cake mix works well here as long as you follow the box directions for pan size and bake time. The cake may be a touch more delicate, so let it cool the full 10 minutes before poking to prevent crumbling.
Storage and Reheating
- Refrigerator: Store covered for up to 4 days. The topping stays best in the first 48 hours, but the cake itself keeps its moisture nicely.
- Freezer: This cake freezes better without the fresh raspberries and white chocolate shavings on top. Wrap individual slices tightly and freeze for up to 2 months.
- Reheating: Serve it cold straight from the fridge or let a slice sit at room temperature for 10 to 15 minutes. Don’t microwave it, or the pudding and topping can soften too much and lose their clean layers.
Answers to the Questions Worth Asking
White Chocolate Raspberry Poke Cake
Ingredients
Equipment
Method
- Prepare and bake the white cake mix according to package directions in a 9×13-inch pan, using the ingredients listed on the box. Bake until a toothpick inserted in the center comes out clean, as directed on the box.
- Let the cake cool for 10 minutes in the pan before poking holes. The surface should be warm but not hot to the touch.
- Use the handle of a wooden spoon to poke holes evenly across the cake, spacing them consistently. Poke down far enough that the holes reach near the bottom layer without breaking the cake apart.
- Heat the raspberry preserves and water together until smooth, stirring as they warm. Bring to a gentle simmer and cook just until fully loosened and glossy.
- Pour the raspberry mixture over the cake, allowing it to fill the holes. Use a spoon to help distribute if needed so most holes get filled.
- Whisk together the instant white chocolate pudding mix and cold milk until slightly thickened. Continue whisking until it looks smooth and thick enough to spread.
- Spread the pudding evenly over the cake, smoothing the top to the edges. Work quickly so the pudding doesn’t set too firm.
- Refrigerate the cake for at least 1 hour. Chill until the pudding layer is set and the cake feels firm.
- Fold the melted and cooled white chocolate into the whipped topping. Mix just until uniform with no white chocolate streaks.
- Spread the whipped topping mixture over the chilled cake. Cover the surface evenly for clean edges.
- Garnish with fresh raspberries and white chocolate shavings. Place raspberries across the top and sprinkle shavings last for visible texture.
- Chill until ready to serve. Keep refrigerated until serving for the best sliceable texture.
