
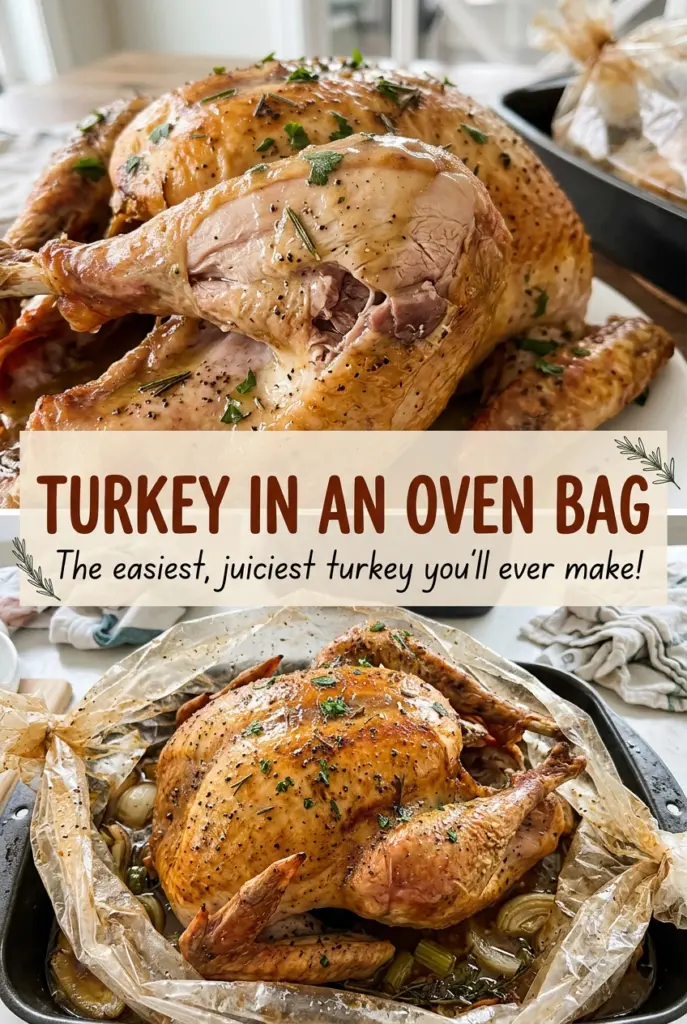
Turkey in an Oven Bag
When the oven bag puffs up in the heat, it holds the turkey in a close, steamy pocket while the vegetables sit underneath. I like this method when I want…
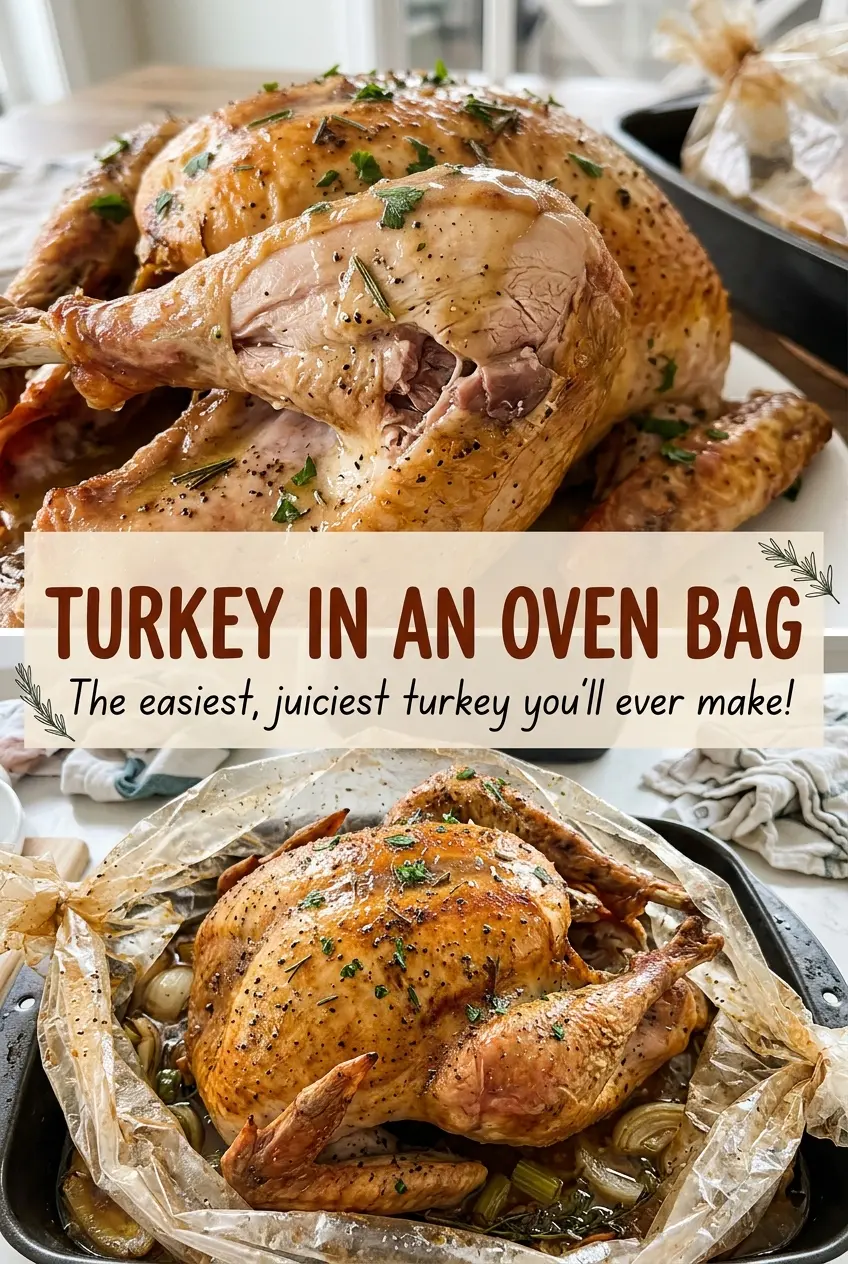
Tip: save now, cook later.When the oven bag puffs up in the heat, it holds the turkey in a close, steamy pocket while the vegetables sit underneath. I like this method when I want a whole bird that doesn’t need constant basting or much fussing at the oven door. These turkey in an oven bag instructions are sized for a 12- to 14-pound turkey, so the bird fits the bag and the cooking time stays useful.
The flour coating, the slits in the bag, and the space around it in the oven all have a job. The vegetables make a bed beneath the turkey, and the softened butter goes both over the skin and under the breast skin, where it can coat the meat directly. Once the bag is closed, the thermometer—not the clock or the color of the skin—is what tells me the turkey is ready for the carving board.
Kitchen Note
Let the turkey rest in the closed bag for the full 15 minutes before opening it. I cut the bag away from my face because the trapped steam escapes quickly once the opening is made.
Save Turkey in an Oven Bag for a moist whole bird, with the vegetables tucked underneath and an easy-to-check finish.
Why a Bag-Roasted Turkey Still Needs Two Temperature Checks
An oven bag makes a humid, enclosed space around the turkey, but it can’t make every part of the bird cook at the same pace. The breast and thigh are different shapes and thicknesses, so one spot can be ready before another. That’s why a single reading near the breast—or a browned-looking exterior—doesn’t tell the whole story.
The useful shift is to treat the stated roasting time as a window for checking, not a promise that the turkey will be done at one exact minute. A thermometer gives you information from the meat itself, even when you can’t see much through the bag. Check both parts listed in the method, and keep the probe away from bone; bone can distort the reading. That small habit is more dependable than judging doneness by the bag’s appearance.
What the Flour, Vegetables, and Butter Each Bring to the Bag
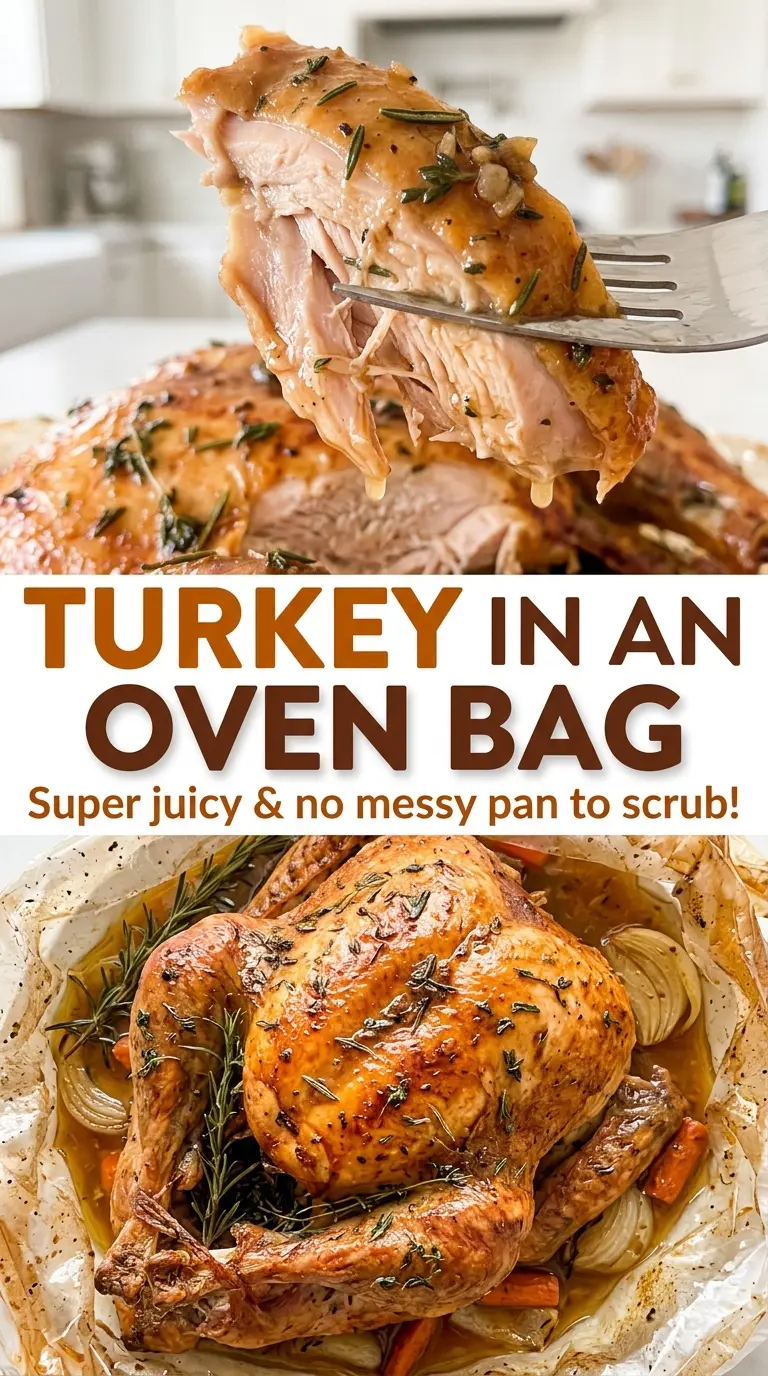
- Flour for the oven bag — The flour is there to coat the inside of the bag before the turkey goes in. Use a turkey-size oven bag and don’t skip this part of the setup; it isn’t a seasoning for the meat.
- The whole turkey — Start with a fully thawed bird with the neck and giblets removed, then pat it dry. A turkey in the 12- to 14-pound range fits the proportions and timing here; a larger bird needs a different setup rather than a guess at extra time.
- Onion, celery, and carrot — These go in the bag under the turkey, where they provide an aromatic bed and mingle with the juices. Ordinary fresh vegetables work well; cut the celery and carrot into the specified pieces so they’re ready to go without extra chopping during assembly.
- Unsalted butter — Softened butter is easy to spread over the exterior and beneath the breast skin. Unsalted butter gives you control over the seasoning, and it should be soft enough to spread without tearing the skin.
- Kosher salt, black pepper, and poultry seasoning — Together, they season both the cavity and the outside. Fresh, fragrant poultry seasoning makes a difference; if the jar smells faint or dusty, its seasoning will be less noticeable against a whole turkey.
Building the Bag and Roasting the Turkey Without Guesswork
Coat the Bag and Set Up the Oven
Heat the oven to 350°F and put a rack in the lower third. Sprinkle the flour inside a large turkey-size oven bag, shake it until the interior is coated, and set the bag in a 16-by-13-inch roasting pan that’s at least 2 inches deep. Don’t use a shallow pan: it needs to support the bag and catch its juices.
Make the Vegetable Bed
Put the quartered onion, celery pieces, and carrot pieces into the bag first. Set the turkey breast side up on top of them. Keeping the vegetables underneath, rather than around the sides of the bird, follows the arrangement that gives the turkey a level bed inside the bag.
Butter and Season the Bird
Rub the softened butter over the turkey and underneath the breast skin. Work gently beneath the skin so it stays intact and the butter reaches the meat. Season the cavity and the exterior with the kosher salt, black pepper, and poultry seasoning.
Close, Roast, and Check the Thickest Parts
Close the bag with its tie, then cut six 1/2-inch slits in the top. Check that the bag won’t touch the oven walls or heating elements. Roast for 2 to 2 1/4 hours, checking with a thermometer inserted into the thickest part of the breast and the innermost part of the thigh without touching bone; each reading needs to reach at least 165°F. Rest the turkey in the bag for 15 minutes, then carefully cut the bag open away from your face and move the turkey to a carving board.
Two Practical Ways to Adapt the Aromatics and Butter
Make the turkey dairy-free
Use the same amount of a firm dairy-free butter-style stick, softened, in place of the unsalted butter. Rub it over the bird and beneath the breast skin in the same way; the flavor will be a little less buttery, but it still gives you a spreadable fat for seasoning the turkey.
Keep the vegetable bed onion-forward
Leave out the carrot and use the onion and celery under the turkey. The bag will have a less sweet vegetable aroma, while the roasting method and the rest of the seasoning stay the same.
Storage and Reheating
- Refrigerator: Carve the cooled turkey and refrigerate it in shallow, covered containers within 2 hours. Use leftovers within 3 to 4 days; the meat will firm up as it chills.
- Freezer: Turkey freezes well. Pack carved portions airtight and freeze for up to 2 to 6 months for best quality.
- Reheating: Cover slices and warm them in the microwave in short intervals, turning them between intervals, until the centers reach 165°F. Heating uncovered for too long dries the edges before the middle is hot.
Questions That Come Up When Roasting Turkey in a Bag
Turkey in an Oven Bag
Ingredients
Equipment
Method
- Heat the oven to 350°F and position a rack in the lower third.
- Sprinkle the flour into a large turkey-size oven bag, shake to coat the inside, and set the bag in a 16x13-inch roasting pan at least 2 inches deep.
- Put the onion, celery, and carrot in the bag, then place the turkey breast side up on top of the vegetables.
- Rub the butter over the turkey and under the breast skin; season the cavity and exterior with the salt, pepper, and poultry seasoning.
- Close the bag with its tie, cut six 1/2-inch slits in the top, and make sure the bag does not touch the oven walls or heating elements.
- Roast for 2 to 2 1/4 hours, until a thermometer inserted into the thickest part of the breast and the innermost part of the thigh, without touching bone, reads at least 165°F.
- Let the turkey rest in the bag for 15 minutes, then carefully cut the bag open away from your face and transfer the turkey to a carving board.
