
Stuffing Muffins
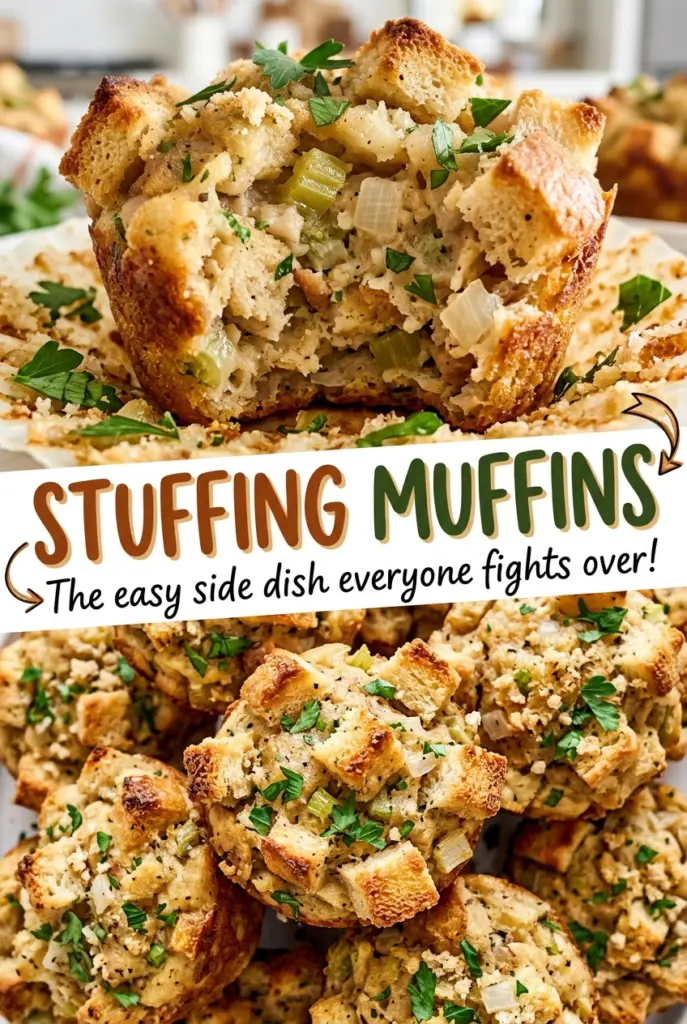
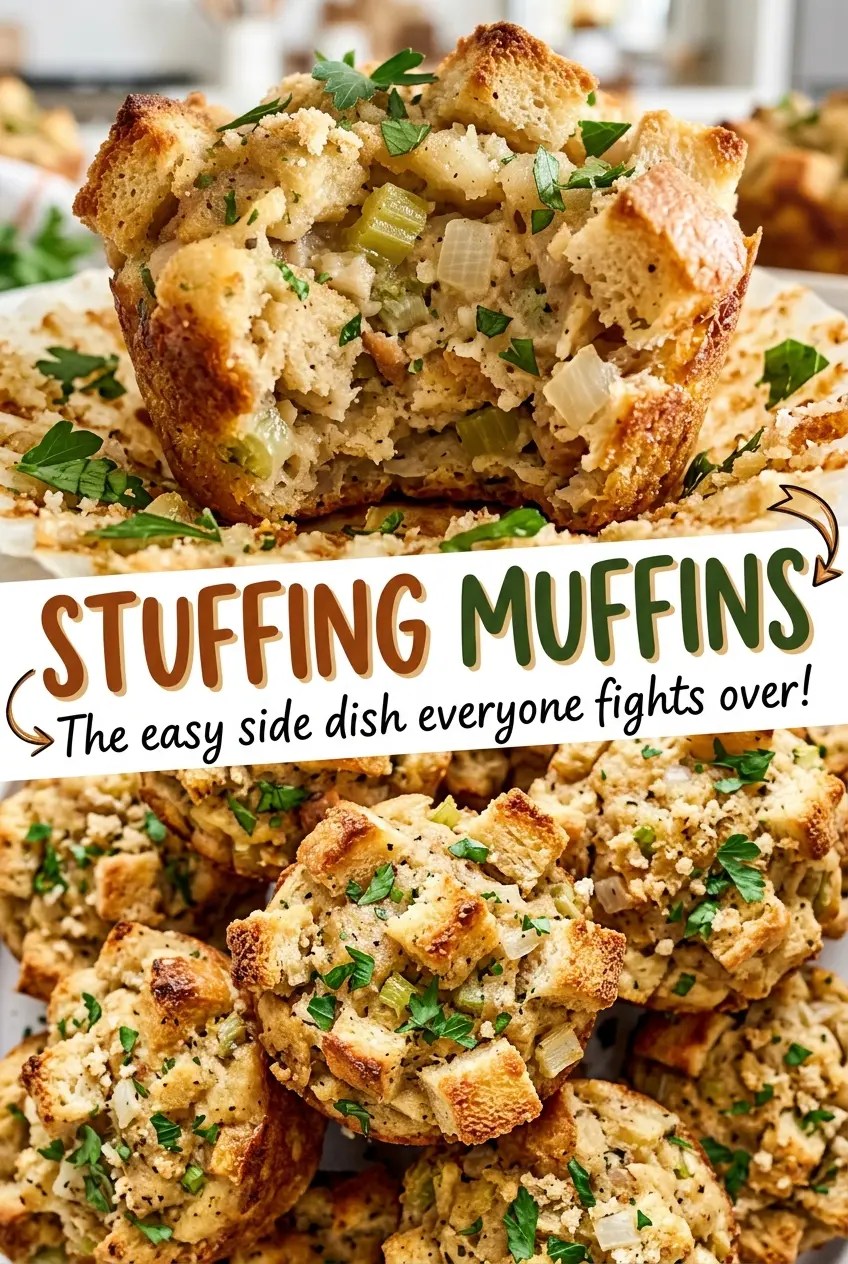
When you lift one from the muffin pan, the browned edges hold their shape while the center stays soft and savory. That’s what I want from stuffing muffins: the familiar,…
Tip: save now, cook later.When you lift one from the muffin pan, the browned edges hold their shape while the center stays soft and savory. That’s what I want from stuffing muffins: the familiar, buttery bread-and-vegetable mixture, with more golden surface in every serving than you get from a baking dish. They’re especially handy when you want portions that are easy to plate.
I keep the bread cubes plain and dried, then toss them with softened onion and celery before adding the broth-and-egg mixture. That order makes it easier to see whether the cubes are evenly moistened before they go into the pan. The result is a batch of stuffing muffins with a tender middle, browned tops, and edges that loosen cleanly after a short rest.
Kitchen Note
Give the muffins five minutes in the pan before trying to lift them out. That brief rest helps them hold together, and loosening the edges first keeps the browned sides from tearing.
Save these stuffing muffins for a holiday table or a make-ahead dinner: browned edges, tender centers, and easy-to-serve portions.
Why the Muffin Pan Gives Stuffing More Golden Edges
A pan of stuffing has a broad top, but most of its bread is tucked beneath that surface. In a muffin pan, each portion has its own exposed top and sides, so you get more browned bits around the batch without changing the bread, vegetables, or seasoning. The smaller portions also make serving straightforward.
That shape works because the mixture has enough moisture and binding to hold together after baking. The broth moistens the dried cubes, while the eggs help set the centers as they cook. If you pack the mixture hard into the cups, though, the portions can turn dense rather than tender. Press just enough to settle the cubes into each cup and keep them in place. Generously greasing the pan matters too: crisped bread can cling to the sides, and a little care before baking makes removal much easier.
Think of the goal as a loosely held mound, not a compact bread cake. The cubes should be moist throughout before you portion them, but they should still have some definition. That balance gives you a tender middle and browned edges in the same bite.
What the Bread, Broth, and Eggs Each Bring
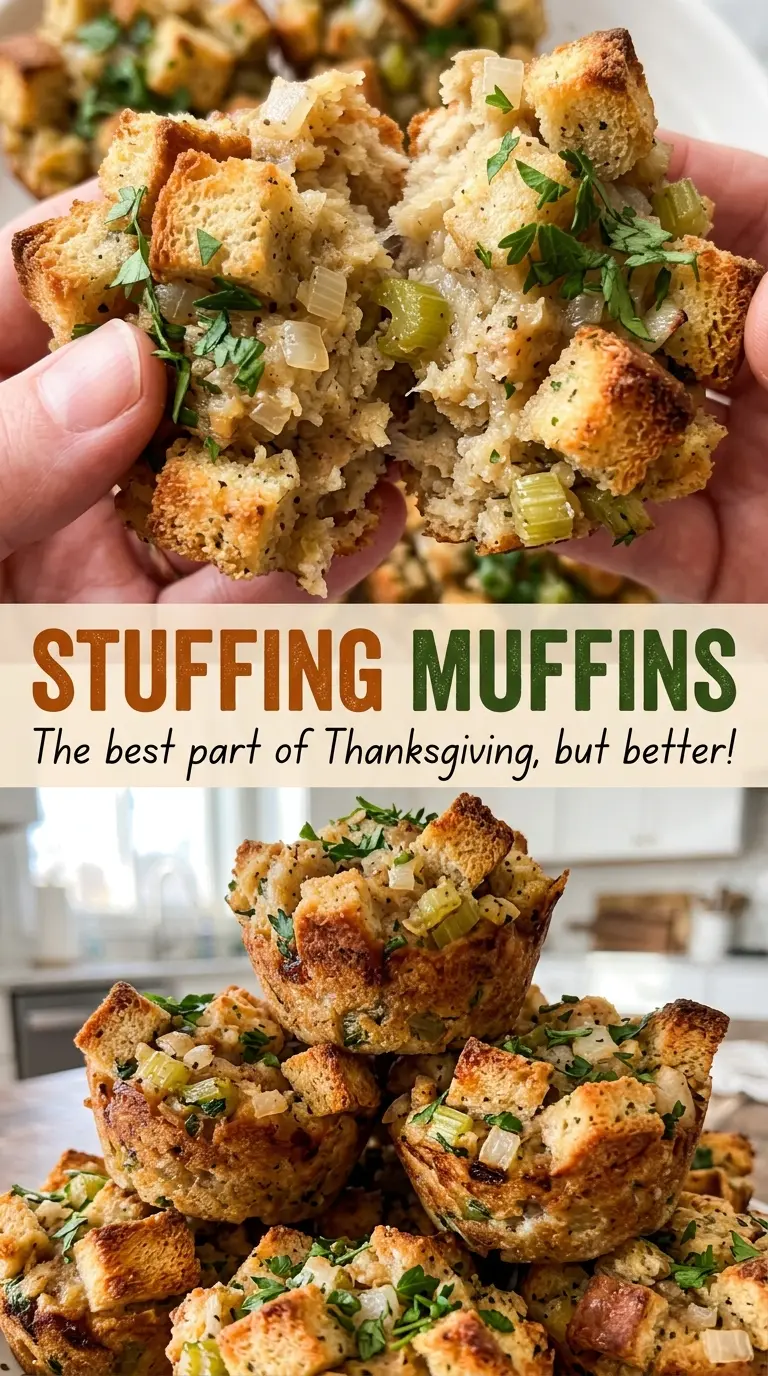
- Plain dried bread cubes — Their dryness gives the broth somewhere to go, and the cubes keep enough structure to form individual portions. Plain cubes leave the seasoning under your control; pre-seasoned cubes can make the finished muffins saltier or more strongly flavored. Use cubes that are dry all the way through rather than soft bread pieces.
- Low-sodium chicken broth — Broth adds savory moisture without making the salt level hard to manage. A low-sodium option is useful because poultry seasoning and kosher salt are already in the mixture. Choose a broth with a flavor you like; there’s no need for a specialty brand.
- Eggs — Whisking them with the broth spreads the binder through the bread instead of leaving streaks in a few cups. They help the baked muffins keep their shape, so there isn’t a simple one-for-one substitute that gives quite the same structure.
- Yellow onion and celery — Finely chopping both helps them soften evenly and distribute through each portion. Fresh, firm vegetables are a good choice, but ordinary grocery-store produce works well here; the important detail is keeping the pieces small.
- Butter and poultry seasoning — Butter softens the vegetables and carries the seasoning across the mixture. Unsalted butter lets the measured kosher salt do its job predictably, while poultry seasoning supplies the classic savory herb-and-spice character without needing a separate blend.
Build the Mixture So Every Muffin Bakes Evenly
Soften the Vegetables Before Adding Seasoning
Heat the oven to 375°F and generously grease a standard 12-cup muffin pan. Melt the butter in a large skillet over medium heat, then add the finely chopped onion and celery. Cook for 6 to 8 minutes, stirring, until the vegetables have softened; they should look tender rather than browned and crisp. Stir in the poultry seasoning, kosher salt, and black pepper so the seasonings coat the vegetables.
Moisten the Bread Cubes All the Way Through
Put the dried bread cubes in a large bowl and add the cooked vegetables. Whisk the broth and eggs together until combined, then pour the liquid over the bread. Toss carefully, lifting cubes from the bottom so the liquid doesn’t collect in one spot. Before portioning, look for dry patches; every cube should be moistened.
Settle the Portions Into the Muffin Cups
Divide the mixture among the greased cups, distributing the vegetables and bread as evenly as you can. Press gently so the cubes settle and the portions hold together, but don’t crush them into a tight mass. If a cup has loose pieces sitting high above the rest, tuck them in rather than packing everything down. A gentle hand helps keep the centers from becoming heavy.
Bake Until Browned, Then Loosen the Edges
Bake for 25 to 30 minutes, until the tops and exposed edges are browned and the centers reach 165°F. The top should look toasted, not pale or wet, and a thermometer gives you a reliable check in the middle of a muffin. Let them rest in the pan for 5 minutes. Loosen around the edges before lifting each one out.
Two Simple Ways to Adapt These Stuffing Muffins
Make Them Vegetarian With Vegetable Broth
Replace the chicken broth with the same amount of low-sodium vegetable broth. The muffins keep their tender, bound texture, though the savory flavor will be a little less chicken-forward.
Use Plain Gluten-Free Bread Cubes
Swap in 12 ounces of plain dried gluten-free bread cubes. Their texture may vary by brand, so toss thoroughly and check that all the cubes are moistened before filling the cups; the finished muffins may be a little more delicate.
Storage and Reheating
- Refrigerator: Store cooled muffins in an airtight container for 3 to 4 days. The edges soften as they sit.
- Freezer: They freeze well for up to 2 to 3 months in a freezer-safe airtight container. Thaw in the refrigerator before reheating.
- Reheating: Warm in the microwave in short bursts until heated through. Long heating can dry out the bread, so check between bursts.
Questions That Come Up When Making Stuffing Muffins
Stuffing Muffins
Ingredients
Equipment
Method
- Heat the oven to 375°F.
- Generously grease a standard 12-cup muffin pan.
- Melt the butter in a large skillet over medium heat.
- Add the onion and celery, and cook for 6 to 8 minutes until softened.
- Stir in the poultry seasoning, salt, and pepper.
- Put the bread cubes in a large bowl and add the cooked vegetables.
- Whisk the broth and eggs together.
- Pour the broth mixture over the bread and toss until all the cubes are moistened.
- Divide the mixture among the muffin cups, pressing it gently into each cup.
- Bake for 25 to 30 minutes until browned and the centers reach 165°F.
- Let the muffins rest in the pan for 5 minutes.
- Loosen the edges and remove the muffins.
