
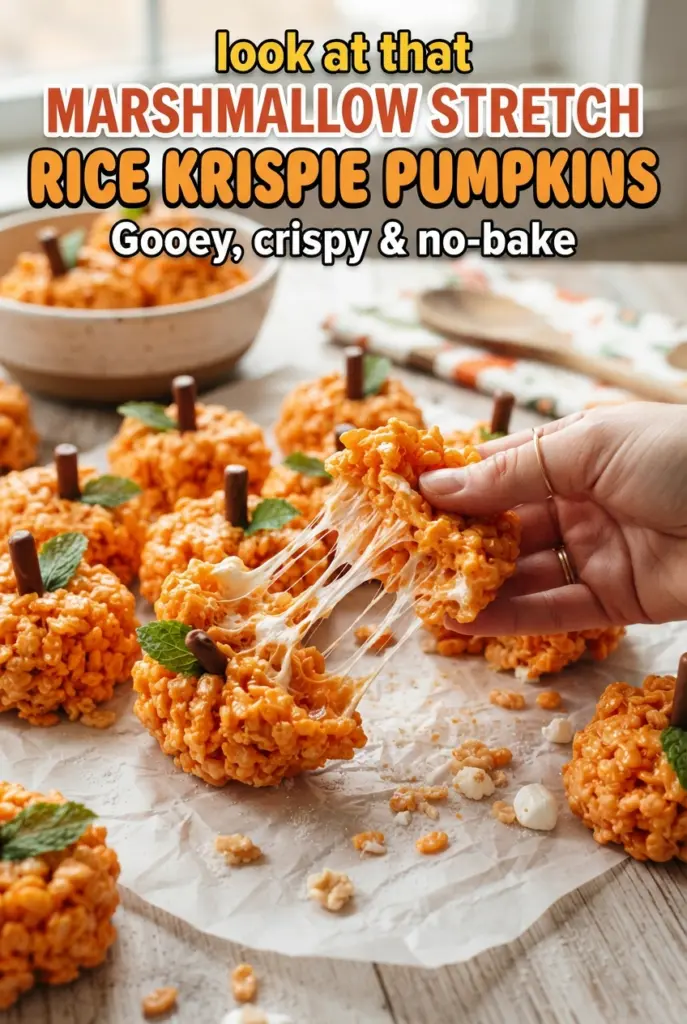
No-Bake Rice Krispie Treat Pumpkins
These no-bake Rice Krispie treat pumpkins stay soft in the center, hold their shape on the outside, and still deliver that crisp, marshmallowy snap people expect from a classic cereal…
Tip: save now, cook later.These no-bake Rice Krispie treat pumpkins stay soft in the center, hold their shape on the outside, and still deliver that crisp, marshmallowy snap people expect from a classic cereal treat. The orange color gives them instant Halloween charm, but it’s the texture that keeps them from feeling like a craft project pretending to be dessert. They’re chewy, buttery, and just sturdy enough to roll into little pumpkins without turning dense or dry.
The trick is keeping the marshmallow mixture warm, not scorching hot, when the cereal goes in. Overheating the marshmallows makes the finished treats stiff and brittle. Folding in that extra cup of marshmallows at the end gives you little pockets of stretch and keeps the pumpkins from setting up like hard little rocks. A quick rest before shaping also helps the mixture stay soft enough to form without sticking to everything in sight.
You’ll find the exact shaping method below, plus the one detail that keeps the grooves neat instead of squashed flat. The decorating step is simple, but a small pause before serving makes the pumpkins hold their shape better on a party tray.
The pumpkins held their shape and the centers stayed chewy, not hard. I loved that the extra marshmallows gave them those gooey pockets, and the Tootsie Roll stems stayed put all afternoon at my kid’s class party.
These Rice Krispie treat pumpkins are the kind of Halloween snack that disappears fast, so pin them for the next party table or classroom treat day.
The Marshmallow Heat That Keeps These Pumpkins Soft
Rice Krispie treats go wrong when the marshmallows get cooked too hard. Once that sugar overheats, the mixture tightens up as it cools, and you end up with pumpkins that set like bricks instead of staying chewy. Low heat is the whole game here. The butter should melt slowly, and the marshmallows should turn glossy and smooth without boiling or browning.
That extra cup of marshmallows gets folded in after the cereal, which sounds minor but changes the texture in a big way. Those unmelted pieces soften just enough from the residual heat to create stretchy pockets in the finished treats. They also help the mixture feel less sticky when you shape it, because you’re working with a slightly looser batch instead of a fully melted mass.
What Each Ingredient Is Actually Doing in These Pumpkin Treats
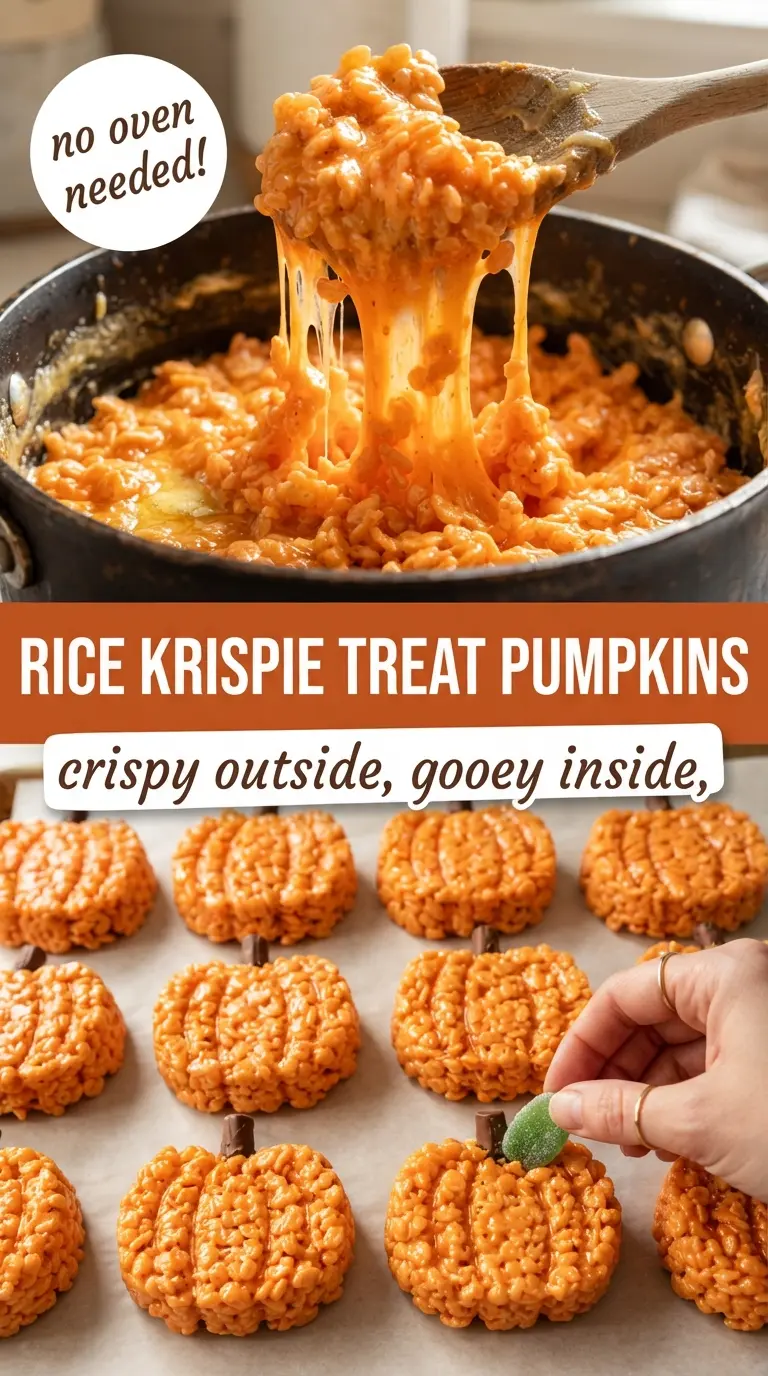
The butter gives the marshmallows a smoother melt and keeps the finished treats from tasting one-note sweet. Salt matters here more than people expect; it sharpens the marshmallow flavor and keeps the orange coating from tasting flat.
The mini marshmallows melt more evenly than big ones, and they’re worth using for that reason alone. The extra marshmallows added at the end don’t need to be a specific brand, but fresh marshmallows are better than stale ones because old marshmallows resist softening and leave you with a grainy texture. Gel food coloring gives you a bright pumpkin orange without thinning the mixture. Liquid coloring works in a pinch, but you’ll need more of it, and too much can make the treats slack. Crispy rice cereal is the structure; if you use a generic cereal, choose one that’s light and crisp, not heavily coated or dense.
- Mini marshmallows — These melt fast and evenly. If you only have large marshmallows, use the same total weight and cut the heat even lower so the outside doesn’t scorch before the inside melts.
- Orange gel food coloring — Gel gives the cleanest color with the least added moisture. Start with less than you think you need, then build the shade after the marshmallows are off the heat.
- Crispy rice cereal — This is what gives the pumpkins their signature crunch and light structure. Once it goes in, fold gently so you don’t crush the cereal and turn the batch dense.
- Tootsie Rolls and spearmint leaf candies — These are decoration, but they also help sell the pumpkin shape. Warm the Tootsie Rolls in your hands for a few seconds first so they press in without cracking.
Mixing, Shaping, and Grooving the Pumpkins Without Crushing Them
Melting the Base Slowly
Set the pot over low heat and let the butter melt before the marshmallows go in. Stir constantly once the marshmallows are added, and pull the pot off the burner as soon as the mixture looks smooth and glossy. If you see browning at the edges, the heat is too high and the batch will set up firm instead of soft. This is one of those recipes where rushing the stove hurts the final texture more than it helps the timing.
Folding in the Cereal and the Extra Marshmallows
Add the cereal first, then the remaining marshmallows, and fold just until everything is coated. The mixture should look shaggy at first, then come together as you turn it over a few times. If you stir hard, you’ll crush the cereal and lose the airy bite that makes these pumpkins worth making. Let the mixture cool for a few minutes before shaping so it’s warm and pliable rather than sticky enough to glue itself to your palms.
Shaping the Pumpkin Rounds
Grease your hands lightly, scoop about half a cup at a time, and press the mixture into loose balls. Don’t pack them tightly. A gentle press keeps them soft and gives them a more rounded pumpkin look instead of a hard, compact dome. Flatten the top just a little, then press a shallow dent in the center so the stem has a place to sit.
Adding the Ridges and Stems
Use the handle of a butter knife to press vertical grooves around the sides, working carefully so you don’t smash the shape flat. Five or six grooves are enough to suggest a pumpkin without turning it into a ribbed ball. Press the Tootsie Roll into the top dent and tuck the green leaf beside it while the surface is still slightly warm. That way the decorations grip instead of sliding off later.
How to Adapt These for Different Diets, Colors, and Party Sizes
Dairy-Free Pumpkin Treats
Use a plant-based butter with a neutral flavor and the same measurement. The texture stays close to the original as long as you keep the heat low, though the finished treats may taste a touch less rich. Avoid margarine spreads that contain a lot of water, since they can make the mixture softer and harder to shape.
Gluten-Free Version
Use a certified gluten-free crispy rice cereal and check the candy labels for the stems and leaves. The method doesn’t change. The only real risk here is cross-contact from the cereal, so ingredient labels matter more than any technique swap.
Different Colors for Other Holidays
Swap the orange gel for red, green, or pastel colors and shape them the same way. The technique stays identical, but darker colors can hide the pumpkin grooves, so press the ridges a little deeper if you want the shape to read clearly on a party tray.
Storage and Reheating
- Refrigerator: Store in an airtight container at room temperature for up to 2 days, or refrigerate for up to 4 days. The cereal will firm up in the fridge, so let them sit out before serving if you want the softest texture.
- Freezer: These freeze better unshaped than decorated. If you must freeze finished pumpkins, wrap them individually and freeze for up to 1 month, then thaw at room temperature; the candy decorations may soften slightly.
- Reheating: There’s no real reheating needed, but if the mixture gets too firm while shaping, warm your hands and wait a few more minutes before pressing. Don’t microwave the finished pumpkins, or the stems and leaves will melt and the cereal will turn chewy in the wrong way.
Questions I Get Asked About These Rice Krispie Treat Pumpkins
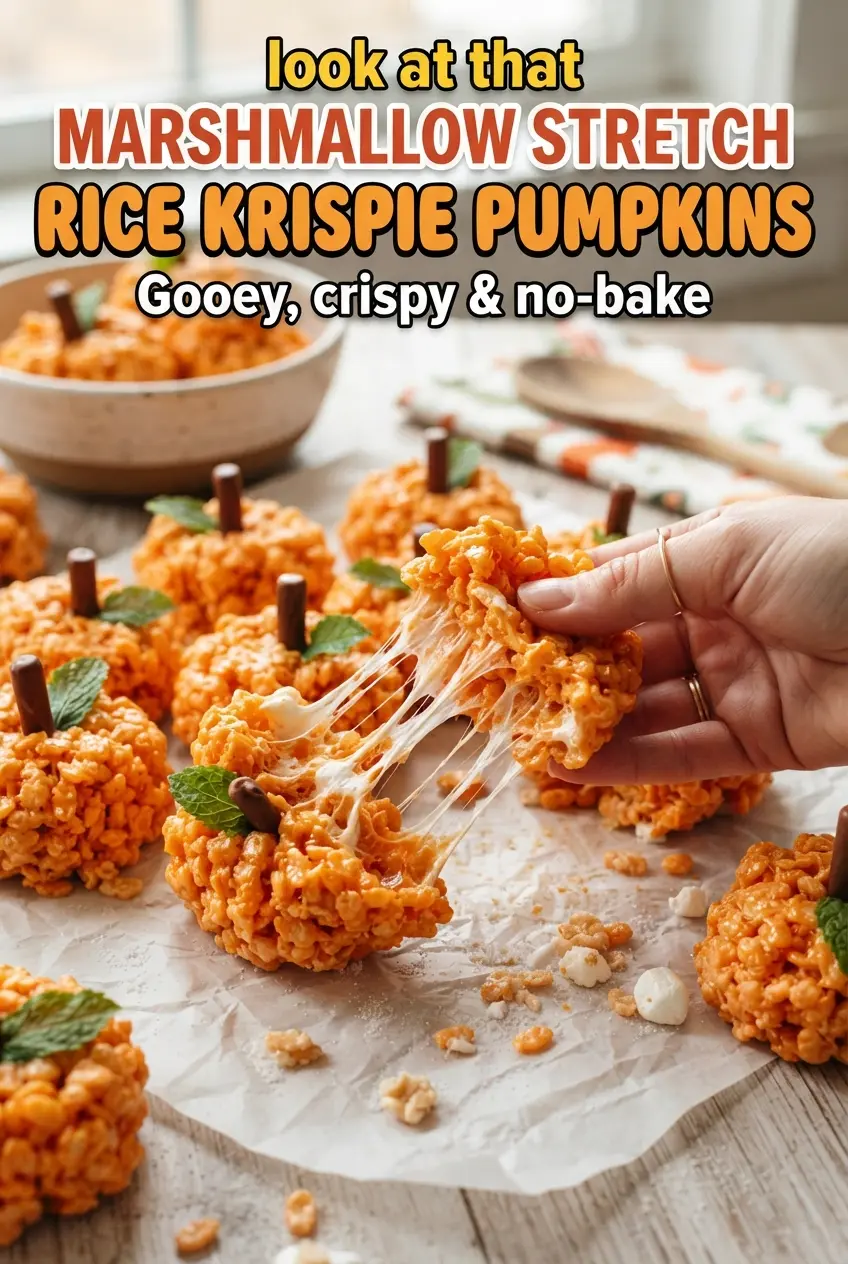
No-Bake Rice Krispie Treat Pumpkins
Ingredients
Equipment
Method
- Line a baking sheet with parchment paper and set it next to the stove.
- Melt the butter in a large pot over low heat.
- Add the 10 oz bag of marshmallows and the salt, then stir constantly until completely melted and glossy-smooth, 3–4 minutes.
- Remove the pot from the heat and stir in the vanilla and orange food coloring until the mixture is an even, bright pumpkin orange.
- Add the rice cereal and the remaining 1 cup of marshmallows, then fold gently until every piece is coated.
- Let the mixture cool for 3–5 minutes, until warm but comfortable to handle.
- Grease your hands, scoop about ½ cup of the mixture, and gently press it into a ball to keep it soft.
- Flatten the ball slightly, press your thumb into the top to make a shallow dent, and use the handle of a butter knife to press 5–6 vertical grooves around the sides.
- Press a Tootsie Roll into the dent for the stem and tuck a spearmint leaf right beside it, then place the pumpkin on the parchment.
- Repeat with the remaining mixture to make 12 pumpkins.
- Let the pumpkins set at room temperature for 30 minutes before serving.
