
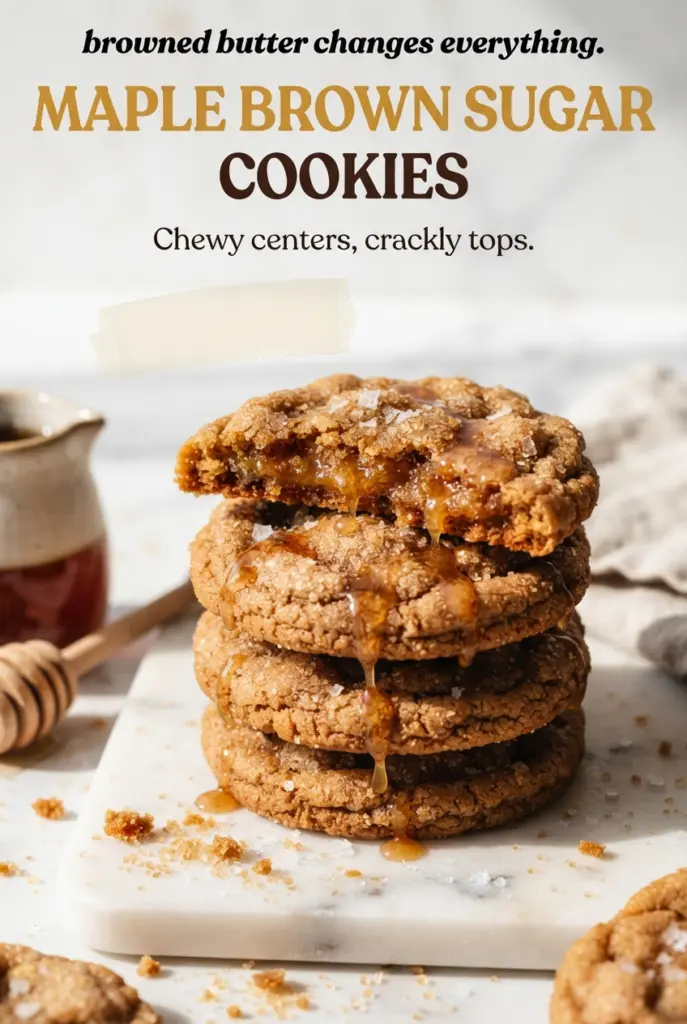
Maple Brown Sugar Cookies
Chewy maple brown sugar cookies land somewhere between a classic bakery cookie and the kind of homemade treat people hover over on a dessert tray. The browned butter gives them…
Tip: save now, cook later.Chewy maple brown sugar cookies land somewhere between a classic bakery cookie and the kind of homemade treat people hover over on a dessert tray. The browned butter gives them a nutty depth, the dark brown sugar keeps the centers soft, and the maple syrup brings a warm, caramel-like sweetness that doesn’t taste flat or one-note. The edges bake up with a light crunch, then the glaze adds just enough shine and extra maple punch to make the whole cookie feel finished.
Browned butter matters here because it concentrates flavor before the dough even comes together. It also changes the texture just enough to give these cookies that dense, chewy bite instead of a cakier one. I also like the mix of brown sugar and a little granulated sugar: the brown sugar keeps them moist, while the granulated sugar helps the edges set and gives the tops a slight crackle when they bake.
You’ll find the timing that keeps the centers soft, the reason the dough needs a short chill, and the small finishing move that makes the maple flavor stand out instead of disappearing under sweetness.
The browned butter and maple gave these such a deep caramel taste, and the pan tap at the end made the tops crackle just like the picture. I chilled the dough for 45 minutes and the cookies baked up thick with soft centers every time.
These maple brown sugar cookies bake up soft in the middle with crackly tops and that glossy maple glaze everyone notices first.
The Browning Step That Gives These Cookies Their Depth
Browned butter is the difference between a cookie that tastes sweet and a cookie that tastes layered. When you cook the butter until the milk solids turn golden brown, you get a nutty, toasted backbone that pairs naturally with maple. If you stop too early, the cookies still work, but they lose the warm caramel note that makes them stand out.
The other place people go wrong is chilling the dough too briefly or not at all. This dough is soft because of the maple syrup and browned butter, so it needs that 45-minute rest to firm up and keep the cookies thick. If the dough is too warm, the cookies spread before the centers set, and you end up with thin rounds instead of chewy cookies with puffy middles.
- Watch the butter, not the clock. The foam will fade, then the bottom of the pan will show amber specks and smell nutty. That is the point where you pull it off the heat.
- Use the pan tap. That quick smack against the counter helps collapse the puffy center just enough to create those crinkly ripples on top.
- Underbake slightly. The centers should still look a little soft when they come out. They finish setting on the pan, and that is what keeps them chewy.
What Each Ingredient Is Doing in This Dough
- Unsalted butter — Browning it first builds flavor you can’t get from plain softened butter. If you only have salted butter, use it and reduce the added salt a little, but the browned butter step still needs the full attention because it can go from golden to burnt fast.
- Dark brown sugar — This keeps the cookies moist and chewy while adding molasses depth that works with the maple. Light brown sugar will still bake well, but the flavor will be milder and the cookies a little less rich.
- Pure maple syrup — This is what makes the maple flavor taste real instead of artificial. Pancake syrup won’t behave the same or taste the same, and the dough will be sweeter without the same caramel complexity.
- Maple extract — Optional, but useful if you want the maple flavor to read more clearly after baking and glazing. If you skip it, the cookies still taste like maple, just a little softer and more restrained.
- Turbinado sugar — Rolling the dough balls in this gives the baked cookies a delicate crunch around the outside. Granulated sugar works in a pinch, but the texture is finer and less sparkly.
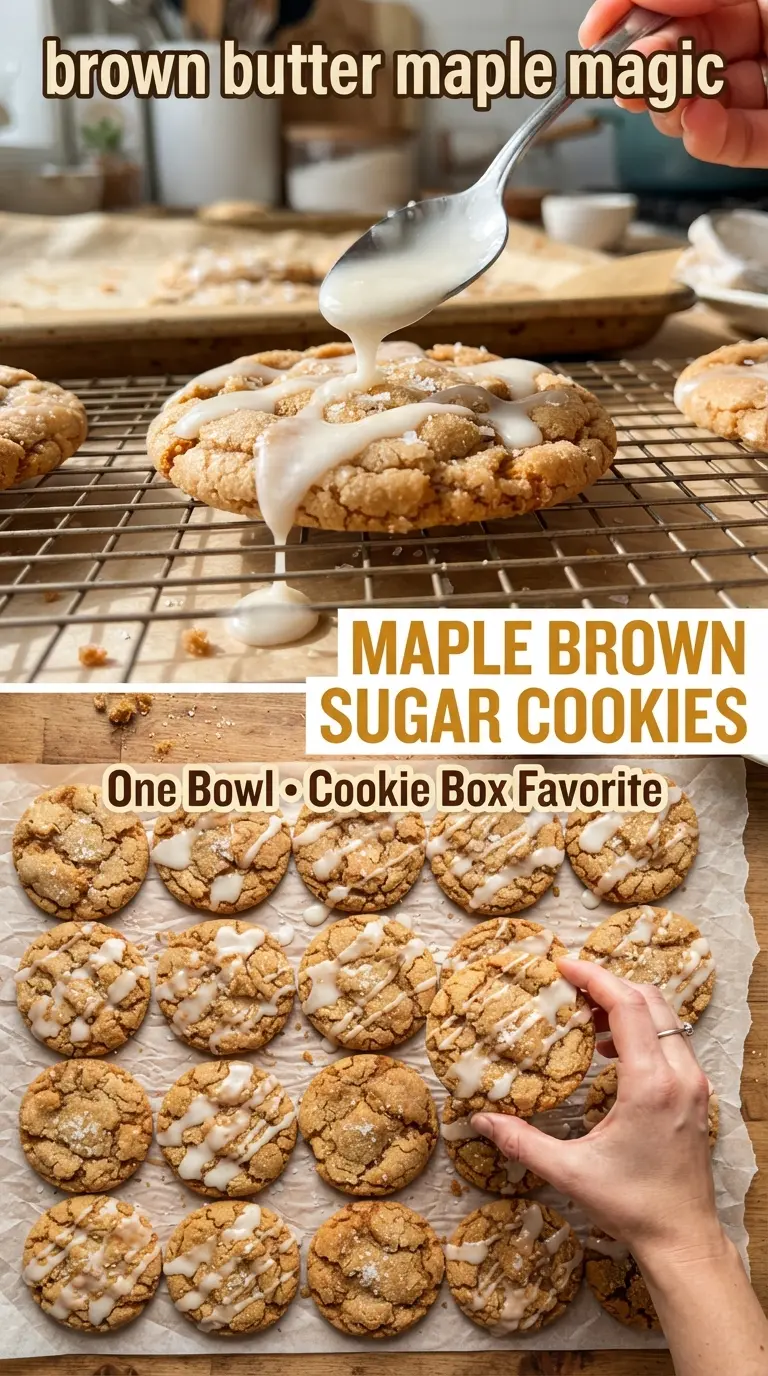
- Powdered sugar glaze — This glaze sets quickly and keeps the cookie surface from feeling sticky. Thin it carefully with the cream; too much liquid and it runs off instead of staying in that pretty ribbon on top.
Building the Dough So the Cookies Stay Thick and Chewy
Brown the butter first
Melt the butter in a light-colored skillet so you can see the color change. Swirl it often and watch for the milk solids to sink and then turn deep gold with a nutty smell. If you walk away at this stage, it can burn in seconds, and burnt butter tastes bitter instead of toasty. Pour it straight into a mixing bowl and scrape in every browned speck, because that’s where the flavor lives.
Whisk in the sugars while the butter is still warm
The warm butter helps the brown sugar and maple syrup dissolve a little, which gives the dough a smooth, glossy base. Whisk until the mixture looks combined and shiny, not greasy or separated. If the butter is too hot, it can start cooking the egg later, so let it cool for about 15 minutes before you move on.
Fold the flour mixture just until the dough comes together
Add the dry ingredients and stop mixing as soon as the last streaks of flour disappear. Overmixing develops gluten and makes these cookies tougher instead of chewy. The dough should look soft and a little dense, not wet and slack. Chill it for 45 minutes so the butter firms up enough to hold the cookie shape in the oven.
Bake until the centers still look underdone
Use a 2-tablespoon scoop and space the dough balls well apart because they will spread a little as the butter melts. Pull the tray when the edges look set but the middles still look puffed and slightly pale. Hit the pan firmly on the counter right after baking; that quick collapse is what gives the tops those crackly ridges without drying out the centers.
Make them dairy-free
Use a plant-based butter that browns well if you can find one; many don’t brown as clearly as dairy butter, so the nutty flavor will be softer. The cookies will still bake up chewy, but the toasted depth won’t be as pronounced.
Skip the maple extract
Leave it out if you only have pure maple syrup on hand. The cookies will taste a little subtler and more buttery, which is still excellent, especially once the glaze and flaky salt go on top.
Make them gluten-free
Use a 1:1 gluten-free baking blend that includes xanthan gum. The dough may spread a touch more, so chill it until it’s firm and scoop it cold to help the cookies hold their shape.
Storage and Reheating
- Refrigerator: Store in an airtight container for 4 to 5 days. The glaze may soften slightly, but the cookies stay chewy.
- Freezer: Freeze the unglazed baked cookies for up to 2 months. Thaw at room temperature, then glaze after they warm up so the topping doesn’t weep.
- Reheating: Warm a cookie for 5 to 8 seconds in the microwave if you want the centers softer. Don’t overheat them or the glaze will melt and the edges will lose their chew.
The Questions People Ask After the First Batch Disappears
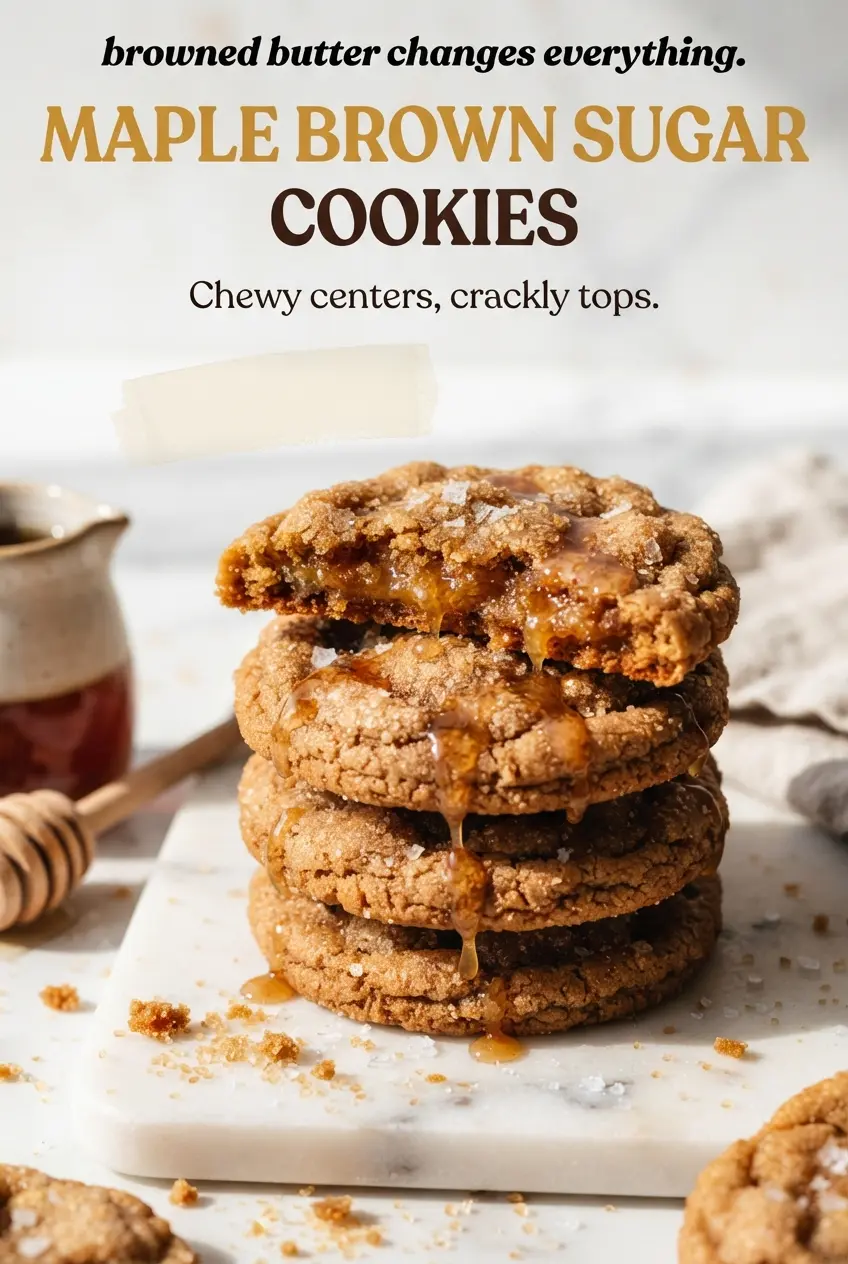
Maple Brown Sugar Cookies
Ingredients
Equipment
Method
- Melt the unsalted butter in a light-colored cast iron skillet over medium heat, swirling often, for 5–7 minutes until it foams and golden brown specks form at the bottom and it smells nutty.
- Pour the browned butter into a large bowl, scraping in all the specks, and let it cool for 15 minutes.
- Whisk the dark brown sugar, granulated sugar, and pure maple syrup into the browned butter until smooth and glossy.
- Whisk in the egg, egg yolk, vanilla extract, and maple extract until the mixture lightens slightly.
- Add the all-purpose flour, baking soda, baking powder, salt, and ground cinnamon and fold with a spatula just until no dry streaks remain.
- Cover the dough and chill it for 45 minutes until it is firm enough to scoop cleanly.
- Preheat the oven to 350°F (175°C) and line two baking sheet with parchment paper.
- Scoop 2-tbsp balls of dough, roll them in turbinado sugar, and place them 3 inches apart, 8 per sheet.
- Bake one sheet at a time for 10–12 minutes until the edges are set and the centers still look slightly underdone and puffy.
- Rap the pan firmly on the counter right out of the oven to create crackly ripples, then cool the cookies on the pan for 10 minutes before moving them to a rack.
- Whisk the powdered sugar, pure maple syrup, heavy cream, and salt together until the glaze ribbons off the whisk.
- Drizzle the glaze over the cooled cookies, sprinkle with flaky sea salt, and let it set for 20 minutes before serving.
