
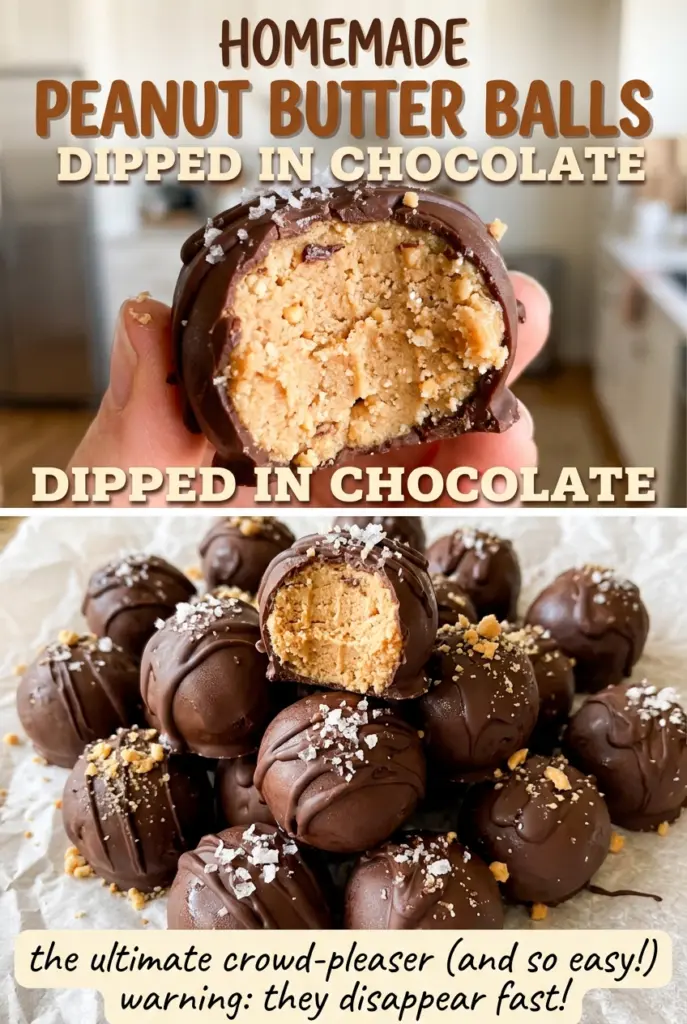
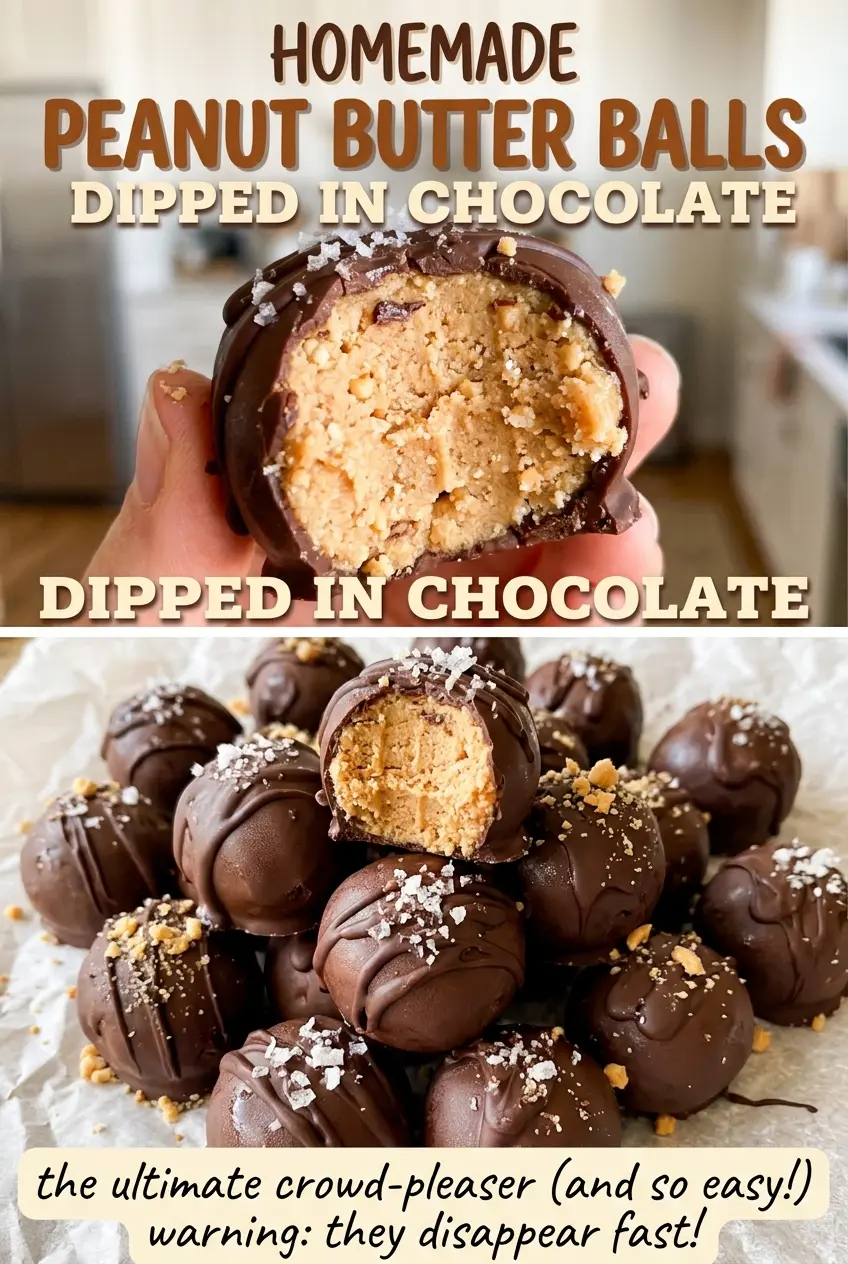
Homemade Peanut Butter Balls Dipped in Chocolate
The chocolate coating is at its easiest to work with when it’s smooth and fluid, but the peanut butter centers need to be cold enough to keep their shape on…
Tip: save now, cook later.The chocolate coating is at its easiest to work with when it’s smooth and fluid, but the peanut butter centers need to be cold enough to keep their shape on the fork. I let the balls chill before dipping, then take them one at a time so each one gets a neat, even coat. That small bit of timing makes homemade peanut butter balls dipped in chocolate feel much less fussy.
The filling is a simple mix of creamy peanut butter, softened butter, vanilla, and powdered sugar. Beat in the sugar gradually, stopping when the dough is firm enough to roll without sticking all over your hands. Once coated, the semisweet chocolate sets into a thin shell around a soft, sweet center—a classic combination in a tidy, bite-size treat.
Kitchen Note
Stir the chocolate after every microwave burst, even if a few chips still look intact. They’ll keep softening from the bowl’s heat, and stirring helps you catch the moment the coating turns smooth without overheating it.
Save these chocolate-dipped peanut butter balls for a make-ahead treat with a soft, sweet center and a crisp chocolate shell.
Why the Filling Needs to Hold Its Shape Before You Roll It
Peanut butter and butter make a soft, rich base, but they aren’t firm enough on their own to form balls that stay round. Powdered sugar gives the filling its structure. Adding it gradually lets you feel the dough change from creamy to thick and pliable, instead of guessing whether it will be workable after all the sugar is in.
A good dough should gather together and feel soft, but it shouldn’t cling heavily to your fingers or slump after you roll it. If it’s still sticky, keep beating in the powdered sugar already measured for the filling until the dough becomes firm. Don’t try to solve a soft mixture by adding extra peanut butter; that shifts the balance and can leave the centers too loose to dip neatly. Once the dough is workable, roll the balls to a similar size so they chill and coat evenly.
This texture is what makes the finished candy easy to eat, too. The filling stays tender rather than dry and crumbly, while the chocolate gives each piece a clean outside edge. A smooth, firm center is more useful here than a perfectly round ball made with a sticky dough.
What Each Ingredient Brings to the Peanut Butter Center and Chocolate Shell

- Creamy peanut butter — It gives the centers their familiar roasted-peanut flavor and smooth texture. A standard creamy peanut butter is the reliable choice; natural peanut butter with separated oil can make the filling loose or greasy. You don’t need an expensive brand, just one that’s thoroughly blended.
- Unsalted butter — Softened butter blends into the peanut butter and keeps the middle tender. If you only have salted butter, use the same amount; the centers will taste a little saltier. Don’t use melted butter, which can make the filling too soft to shape.
- Powdered sugar — Its fine texture blends into the filling without the grit that granulated sugar would leave. It also provides the structure that helps the balls hold their shape. There isn’t a direct swap that gives the same smooth result.
- Vanilla extract — A small amount rounds out the peanut butter and chocolate. Pure or imitation vanilla both work here, so use what you keep on hand.
- Semisweet chocolate chips — Semisweet chocolate keeps the coating from becoming overly sweet beside the filling. Ordinary chips work well; they’re made to hold their shape, so the shortening helps turn them into a coating that’s easier to dip with.
- Vegetable shortening — It loosens the melted chips and helps the coating flow around each ball. Refined coconut oil can stand in for the shortening in the same amount; the shell will set a little firmer and may have a faint coconut note if the oil isn’t refined.
How to Roll, Chill, and Coat the Centers Without a Mess
Beat the Peanut Butter Base Until Smooth
Beat the creamy peanut butter and softened butter together in a large bowl until no streaks of butter remain. The mixture should look even and creamy, not oily or lumpy. Beat in the vanilla before adding the sugar so it disperses through the filling. If the butter is still cold and firm, it won’t blend as smoothly, so give it time to soften before you start.
Work the Sugar In and Roll Even Balls
Beat in the powdered sugar gradually, stopping when a firm dough forms. The finished mixture should hold together when pinched and roll into a ball without coating your hands in a sticky layer. Roll the dough into 24 balls about 1 1/4 inches wide, keeping their sizes close so they’re ready for dipping at the same time. Arrange them on a parchment-lined rimmed baking sheet.
Chill Until the Centers Are Firm
Refrigerate the balls for 30 minutes, until firm. This gives the soft filling time to hold its shape when you lift it from the chocolate. If the centers still feel squishy when you press one lightly, leave them in the refrigerator a little longer before dipping. Parchment keeps the coated candies from sticking to the baking sheet as the chocolate sets.
Melt the Coating and Dip Each Ball
Combine the chocolate chips and vegetable shortening in a microwave-safe bowl. Microwave at 50% power in 30-second intervals, stirring after each one, until smooth. Dip a chilled ball in the chocolate, lift it out with a fork, and let the excess drip back into the bowl before returning it to the baking sheet. Once all the balls are coated, refrigerate them for 20 minutes, until the chocolate is set.
Easy Changes for a Different Chocolate Shell or Dietary Need
A Sweeter Milk Chocolate Coating
Swap the semisweet chips for the same amount of milk chocolate chips and keep the vegetable shortening. The coating will taste sweeter and more mellow, which makes the peanut butter filling feel a little less pronounced.
A Dairy-Free Batch
Use stick-style dairy-free butter in place of the softened butter and dairy-free semisweet chocolate chips in place of the regular chips. Keep the vegetable shortening. The filling may feel a touch softer, so let the shaped balls chill until firm before dipping.
A Darker, Less Sweet Shell
Use bittersweet chocolate chips in place of the semisweet chips, keeping the same amount of vegetable shortening. The stronger cocoa taste balances the sweet peanut butter center, and the dipping method stays the same.
Make-Ahead and Storage
- Refrigerator: Keep the finished balls in an airtight container for up to 1 week. The chocolate shell stays firm, and the centers remain soft.
- Freezer: Freeze them in an airtight container, with parchment between layers, for up to 2 months. Thaw in the refrigerator so condensation doesn’t soften the chocolate.
- Serving: These are best served chilled or just cool from the refrigerator. There’s no reheating needed; warming them can soften the shell and make the centers sticky.
Questions That Come Up When Making Chocolate-Dipped Peanut Butter Balls
Homemade Peanut Butter Balls Dipped in Chocolate
Ingredients
Equipment
Method
- Beat the peanut butter and softened butter in a large bowl until smooth.
- Beat in the vanilla extract.
- Gradually beat in the powdered sugar until a firm dough forms.
- Roll the dough into 24 balls about 1 1/4 inches wide and place them on a parchment-lined rimmed baking sheet.
- Refrigerate the balls for 30 minutes, until firm.
- Combine the chocolate chips and vegetable shortening in a microwave-safe bowl and microwave at 50% power in 30-second intervals, stirring after each, until smooth.
- Dip each chilled ball in the melted chocolate to coat, lift it out with a fork, and let excess chocolate drip off.
- Return each coated ball to the baking sheet.
- Refrigerate for 20 minutes, until the chocolate is set.
