
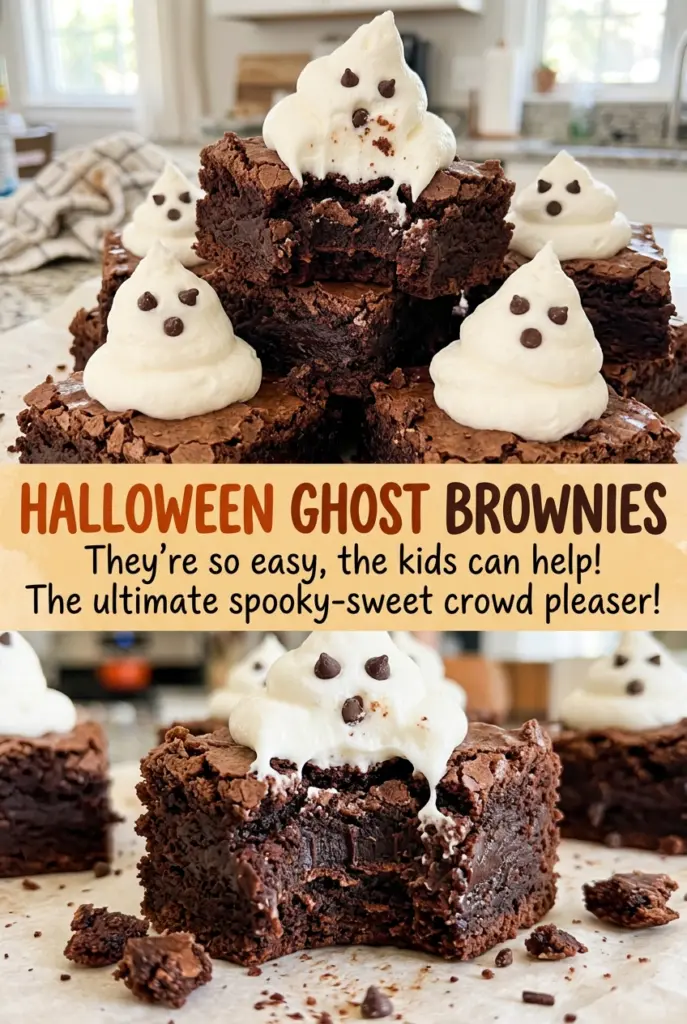
Halloween Ghost Brownies
The edges of these brownies set before the center does, and that’s exactly what you want. I pull the pan when a toothpick near the middle comes out with a…
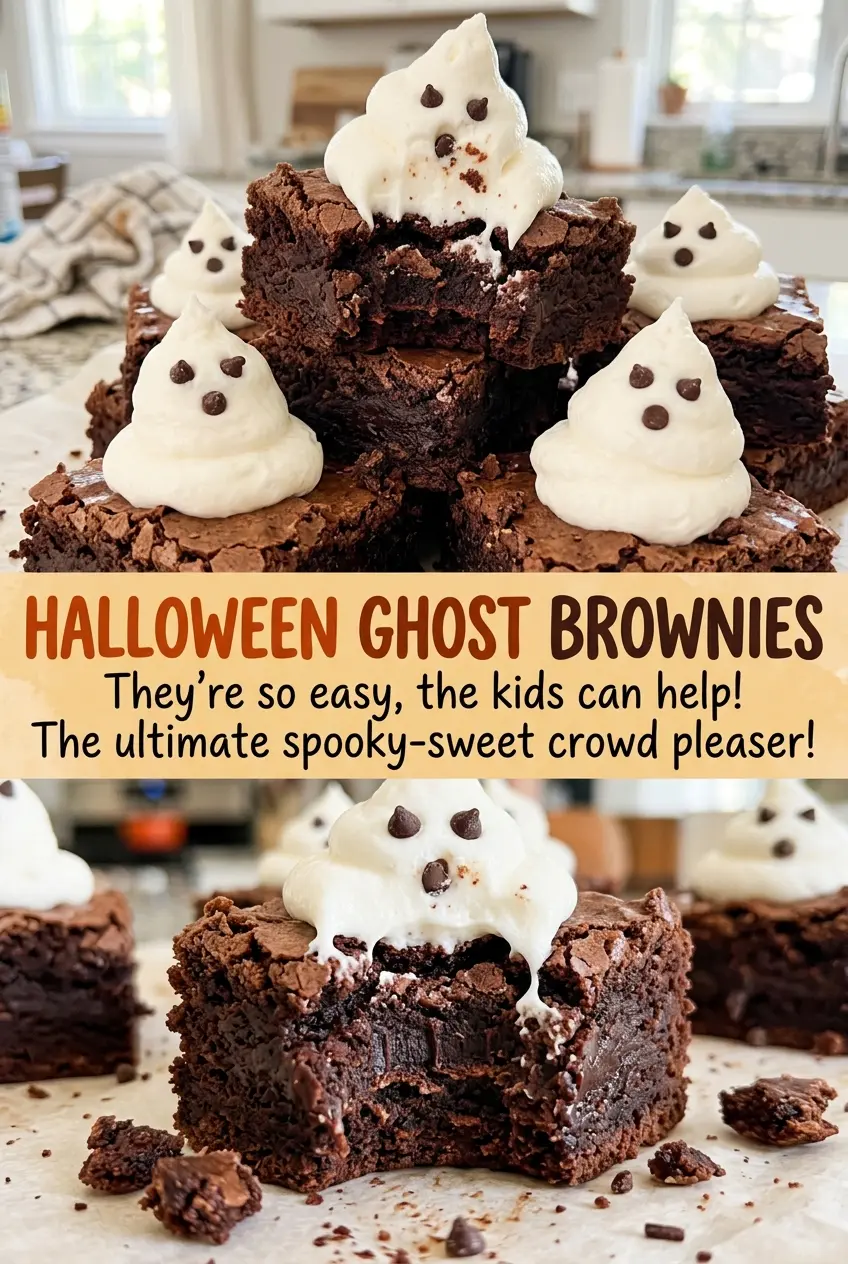
Tip: save now, cook later.The edges of these brownies set before the center does, and that’s exactly what you want. I pull the pan when a toothpick near the middle comes out with a few moist crumbs, not perfectly clean; the brownies stay soft enough to pair with a thick swirl of frosting. Once they’re cool, each square gets a tall white ghost and two tiny chocolate-chip eyes.
The batter comes together by whisking oil with the sugar, eggs, and vanilla, then stirring in the dry ingredients. There’s no need to cream butter for the brownie layer, and keeping the mixing gentle once the flour goes in helps the squares stay tender. The ghost frosting is a separate, quick mix: beat it until it’s fluffy but sturdy enough to hold a piped shape. You end up with fudgy chocolate bottoms and sweet little ghosts that stand out clearly on top.
Kitchen Note
For frosting that pipes into a clean ghost shape, the butter should feel soft when pressed but not look shiny or melted. If it’s greasy, give it a little more time to firm up before you beat it.
Save these Halloween Ghost Brownies for a party tray of fudgy squares topped with piped buttercream ghosts.
Why These Brownies Stay Fudgy Instead of Turning Cakey
This batter uses oil rather than butter, and it doesn’t include baking powder or baking soda. That combination gives you a compact, tender brownie instead of a tall, airy cake crumb. The oil also blends into the sugar and eggs without a creaming step, so the base is quick to mix and stays rich beneath the frosting.
Once the flour goes in, stir only until the dry streaks disappear. Extra mixing develops more gluten, which can make a small brownie feel firm or chewy rather than soft. The same restraint applies to the cocoa: mix it evenly through the batter, but don’t keep working the bowl after everything is combined. With the batter spread into an 8-inch square pan, the finished brownies have enough height for a ghost topping without making each bite mostly frosting. That balance is what makes the simple chocolate base worth keeping simple.
How the Brownie Base and Ghost Frosting Get Their Texture
- Vegetable oil — It keeps the brownie batter fluid and contributes to a soft, rich crumb. A neutral-tasting oil is a good fit; swapping in butter changes both the flavor and the texture, so stick with oil for this version.
- Unsweetened cocoa powder — Cocoa supplies the chocolate flavor without adding extra liquid. Choose a cocoa you enjoy tasting straight from the tin; either natural or Dutch-process unsweetened cocoa works in this brownie batter.
- All-purpose flour — Flour gives the squares enough structure to lift and cut cleanly. For a gluten-free adaptation, use a cup-for-cup gluten-free baking blend in place of the all-purpose flour; avoid almond or coconut flour, which won’t behave as a direct swap here.
- Eggs and granulated sugar — The eggs help bind the oil-based batter, while the sugar contributes sweetness and tenderness. Bring the eggs to room temperature if you have time; they whisk more easily into the oil and sugar.
- Unsalted butter — This is the base of the ghost frosting, so its texture matters more than the brand. Use butter softened enough to beat smoothly; salted butter would make the frosting saltier than intended.
- Powdered sugar and heavy cream — Powdered sugar thickens the frosting, and the cream helps it beat into a pipeable consistency. Keep the powdered sugar rather than swapping in granulated sugar, which won’t dissolve into the same smooth frosting.
- Mini semisweet chocolate chips — Their small size makes neat eyes that stay in proportion to each piped ghost. Semisweet chips also keep the decoration from becoming as sweet as the frosting.
- Vanilla extract — Vanilla rounds out both the chocolate batter and the buttercream. Use the same kind of extract in each portion so the flavor stays familiar and balanced.
Building the Brownies, Then Giving Each One a Ghost
Line the Pan and Mix the Batter
Heat the oven to 350°F and line an 8-inch square baking pan with parchment, leaving enough overhang to lift the brownies out later. Lightly coat the parchment with nonstick cooking spray so the batter releases cleanly. Whisk the granulated sugar and vegetable oil in a medium bowl, then whisk in the eggs and vanilla until the mixture looks smooth. Stir in the cocoa powder, flour, and salt just until no dry streaks remain; stop there rather than beating the batter until glossy.
Bake Until the Center Leaves Moist Crumbs
Spread the batter evenly in the prepared pan so the edges and center bake at a similar pace. Bake for 22 to 27 minutes, watching for set edges and a toothpick inserted near the center that comes out with a few moist crumbs. A clean toothpick can mean the brownies have gone too far, while wet batter means the center needs more time. Cool the brownies completely in the pan before adding any frosting.
Beat Frosting That Holds Its Shape
Beat the softened butter with an electric mixer until creamy, about 1 minute. Add the powdered sugar and salt, then beat on low speed until combined; starting low keeps the sugar from puffing out of the bowl. Add the vanilla and heavy cream, then beat on medium speed for 1 to 2 minutes, until the frosting is fluffy and thick enough to hold its shape. If the frosting looks loose, keep beating until it thickens rather than trying to pipe it immediately.
Pipe and Finish the Ghosts
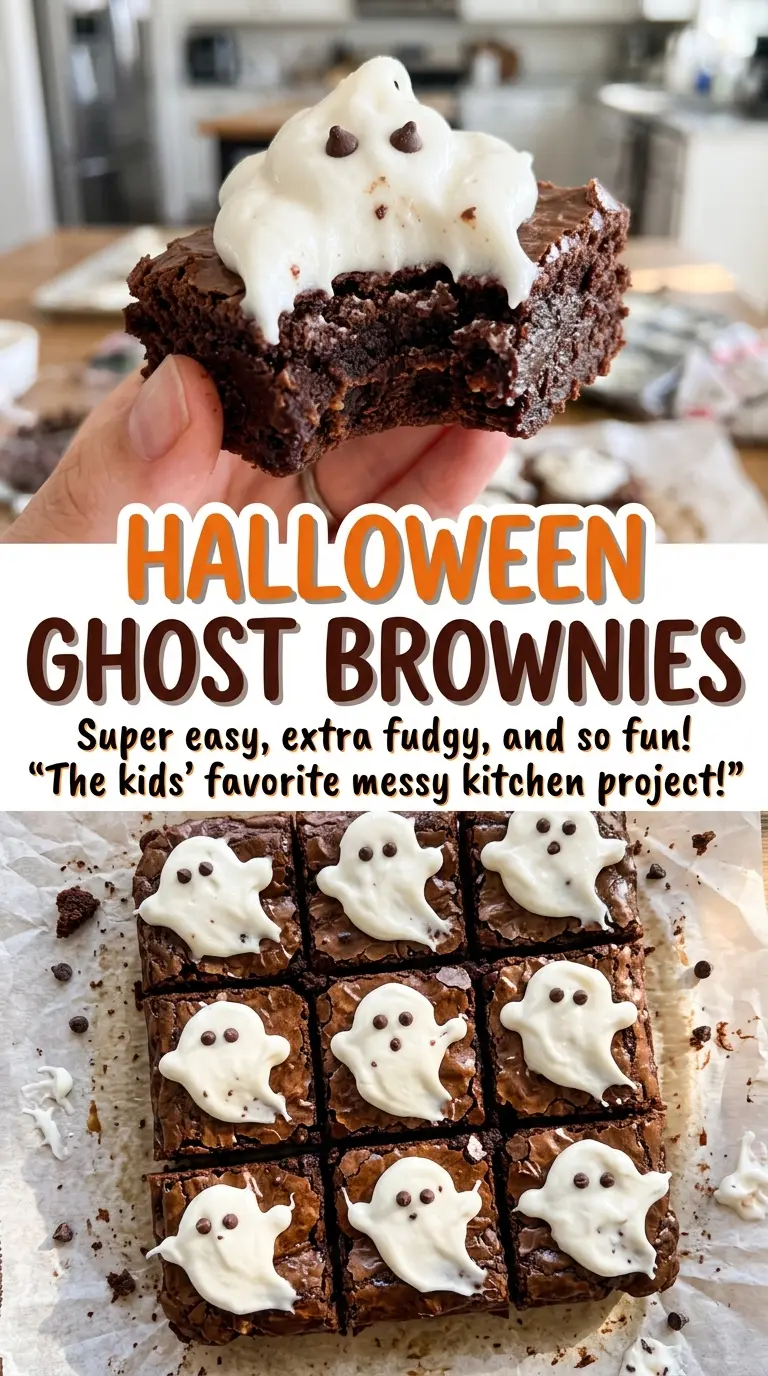
Use the parchment overhang to lift the cooled brownies from the pan, then cut them into 9 squares. Pipe a tall ghost-shaped mound of frosting onto each square, keeping the base wide enough to sit securely on the brownie. Press 2 mini semisweet chocolate chips point-side down into each mound for eyes. Let the frosting set for 15 minutes before serving so the decorations stay in place.
Three Ways to Change the Ghost Brownies’ Look
Make a gluten-free batch
Replace the all-purpose flour with an equal volume of cup-for-cup gluten-free baking blend. The brownies may have a slightly more delicate crumb, so let them cool fully before lifting and cutting them; almond flour and coconut flour aren’t direct replacements for this batter.
Turn them into smaller party bites
Cut the cooled brownie slab into 18 smaller pieces instead of 9, then pipe a smaller ghost onto each one and use two mini chips for the eyes. Each bite gets more frosting in proportion to the brownie, which makes these easy to arrange on a crowded dessert tray.
Pipe shorter, wider ghosts
For a lower-frosting finish, pipe a squat mound rather than a tall one and spread its base across the brownie square. You’ll get a higher brownie-to-frosting ratio in each bite, though the ghosts will look more like little white caps than tall figures.
Storage and Reheating
- Refrigerator: Store the decorated brownies in an airtight container for up to 4 days. The frosting will firm up when cold, so the ghosts won’t feel as soft straight from the fridge.
- Freezer: Freeze the undecorated brownie slab, well wrapped, for up to 2 months. Thaw it completely before cutting and piping the ghosts; the frosting looks best when it’s freshly made.
- Reheating: Don’t microwave the decorated brownies, since the buttercream will soften and slide. Let a piece sit at room temperature until the frosting loses its refrigerator chill before serving.
Questions That Come Up When Making Halloween Ghost Brownies
Halloween Ghost Brownies
Ingredients
Equipment
Method
- Heat the oven to 350°F.
- Line an 8-inch square baking pan with parchment paper, leaving an overhang, and lightly coat the parchment with nonstick cooking spray.
- Whisk the granulated sugar and vegetable oil in a medium bowl.
- Whisk in the eggs and vanilla until smooth.
- Stir in the cocoa powder, flour, and salt just until no dry streaks remain.
- Spread the batter evenly in the prepared pan.
- Bake for 22 to 27 minutes, until the edges are set and a toothpick inserted near the center comes out with a few moist crumbs.
- Cool completely in the pan.
- Beat the softened butter in a medium bowl with an electric mixer until creamy, about 1 minute.
- Beat in the powdered sugar and salt on low speed until combined.
- Add the vanilla and heavy cream.
- Beat on medium speed until fluffy and thick enough to hold its shape, 1 to 2 minutes.
- Lift the cooled brownies from the pan using the parchment.
- Cut the brownies into 9 squares.
- Pipe a tall ghost-shaped mound of frosting onto each square.
- Press 2 mini chocolate chips point-side down into each frosting ghost for eyes.
- Let the frosting set for 15 minutes before serving.
