
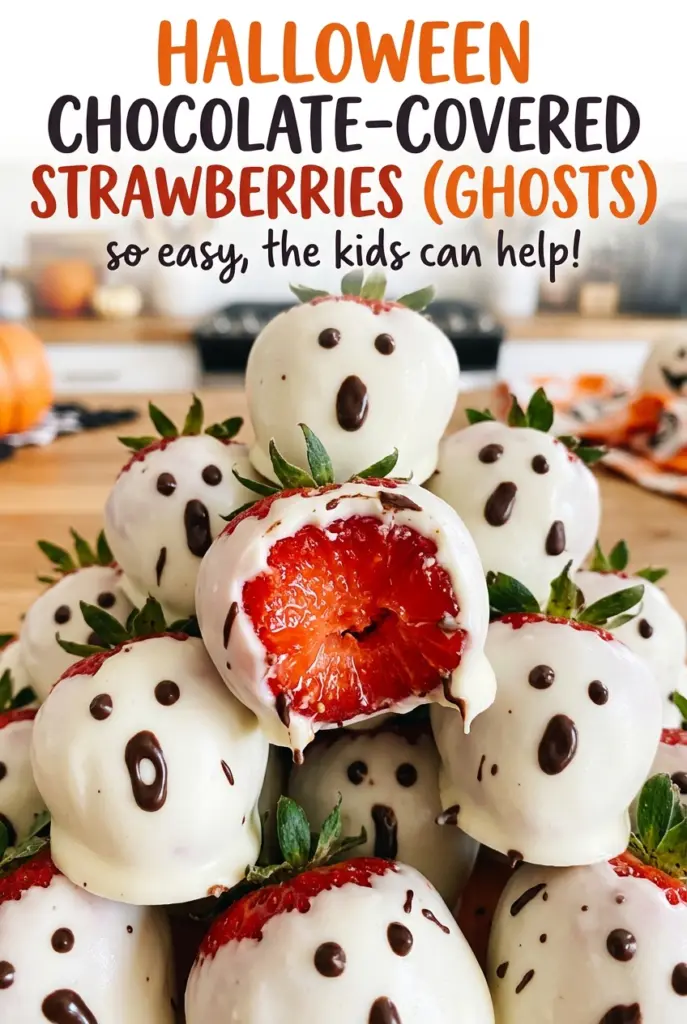
Halloween Chocolate-Covered Strawberries (Ghosts)
When you lift a dipped berry from the cup, a ribbon of white coating follows it; one small pull across the parchment turns that ribbon into a pointed ghost tail.…
Tip: save now, cook later.When you lift a dipped berry from the cup, a ribbon of white coating follows it; one small pull across the parchment turns that ribbon into a pointed ghost tail. That quick finish is what makes these Halloween chocolate-covered strawberries read as ghosts instead of plain dipped fruit. I like that every berry gets its own little expression, and the leafy top gives you a clean handle while the coating is still glossy. The batch makes twelve, so the finished ghosts fit together neatly on one baking sheet.
Give the strawberries a little attention before you melt anything: they need to be completely dry, and chilled berries should come to room temperature. I melt the white wafers in short bursts at half power, stirring each time, so the coating stays smooth and ready to dip. Once it firms, the semisweet chocolate faces bring just enough contrast to make each little ghost look different.
Kitchen Note
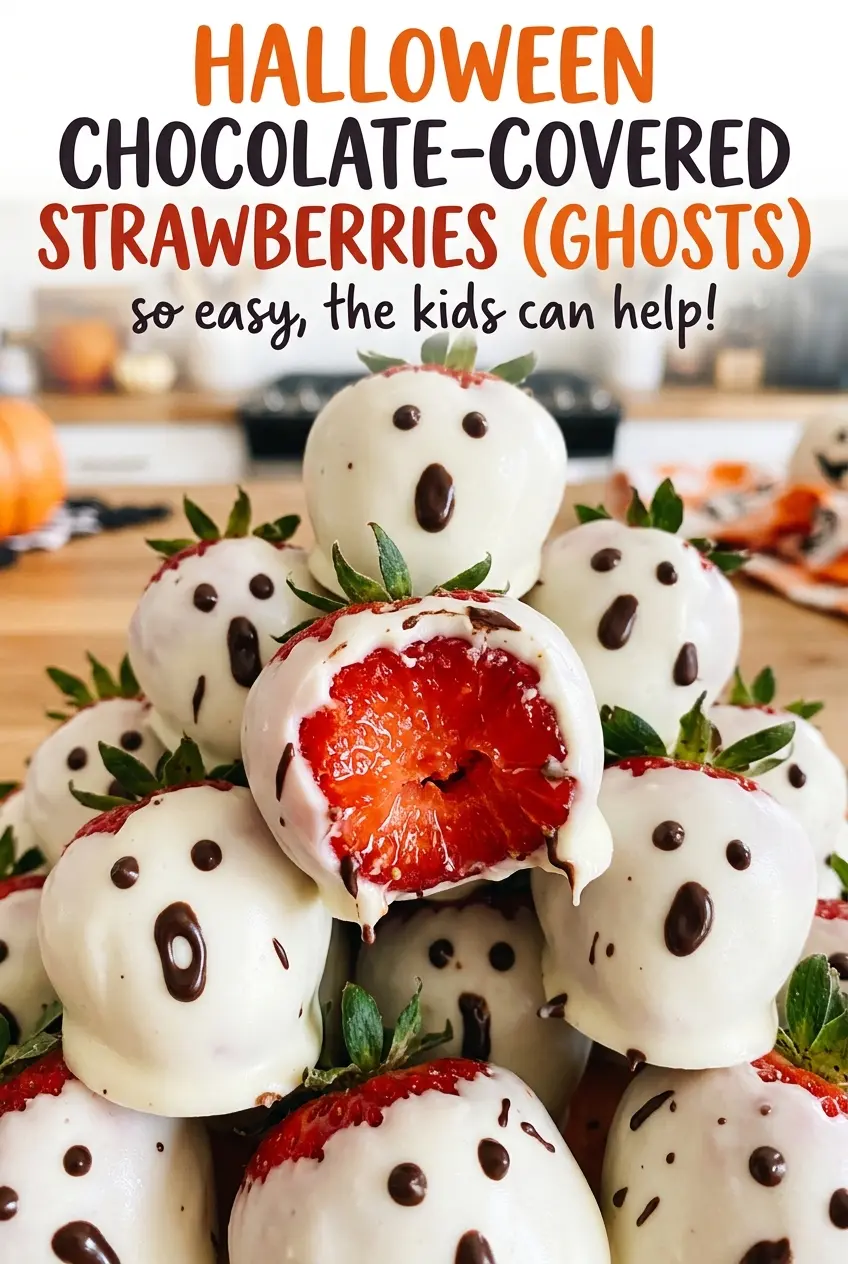
Snip only a tiny corner off the zip-top bag for the faces. A wide opening makes the chocolate come out in heavy blobs, while a little opening gives you much better control over the eyes and mouth.
Save these Halloween chocolate-covered strawberry ghosts for a party tray of white chocolate tails and hand-piped faces.
Why the Ghost Tail Comes From the Last Little Pull
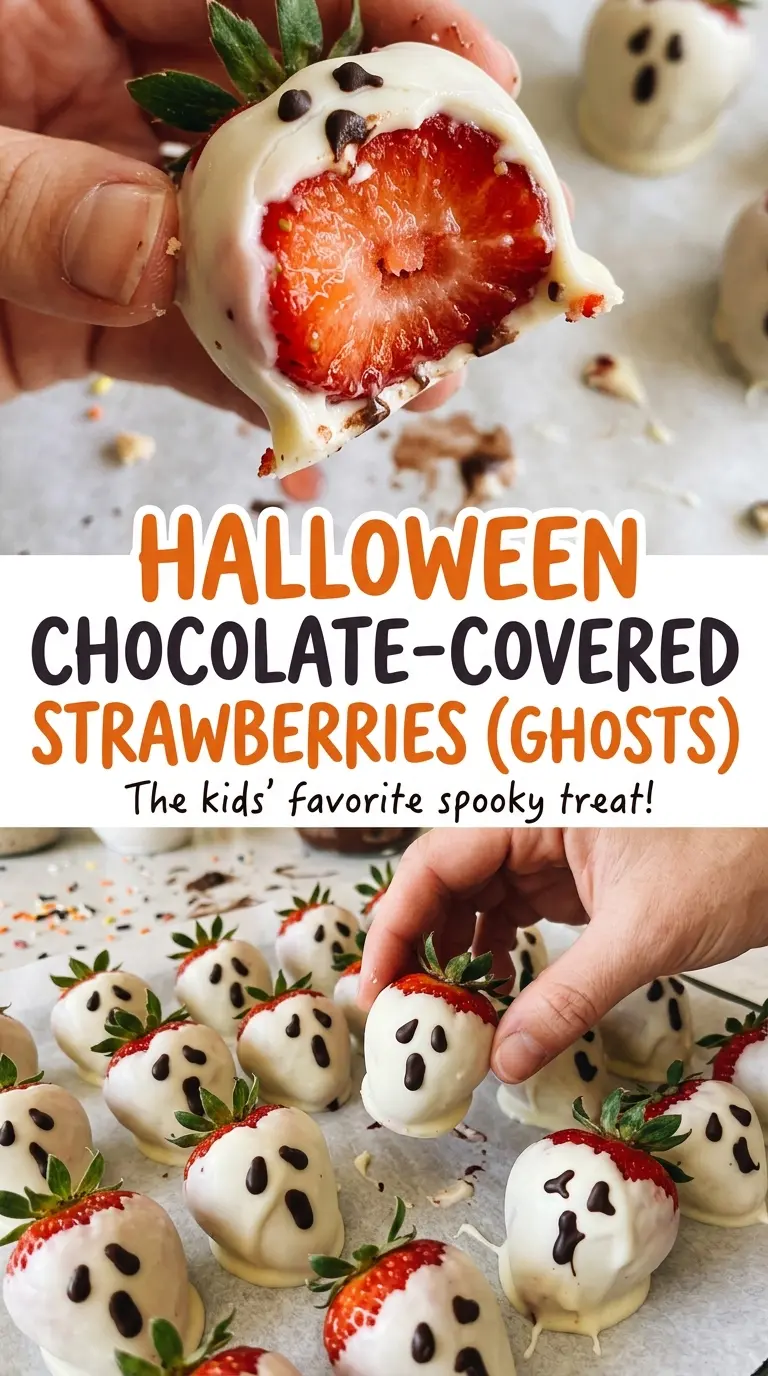
A clean ghost shape depends on what happens after the berry is coated. Lift it by the leafy top, pause over the measuring cup so extra chocolate drips back, then draw the tip through the coating as you set the strawberry down. That last movement leaves a tapered trail instead of a round puddle at the base.
If the berries go straight from the cup to the pan without that small pull, the coating can collect underneath and hide the point. You don’t need to make every tail identical; a few longer or shorter trails give the tray a hand-finished look. What matters is keeping the movement deliberate while the coating is still fluid. Once it starts to set, don’t keep dragging the berry through it or the tail will look thick and uneven.
The parchment gives each strawberry room to sit without sticking to the pan, and it catches any coating that drips from the fruit. Leave a little space between berries while the shells firm up. That way you can lift them cleanly later without knocking a tail into its neighbor.
Why Melting Wafers Make the Smoothest Ghost Shell
- Strawberries — Choose berries with leafy tops that are intact enough to grip, and favor firm fruit over soft or bruised berries. Rinsing is important, but the complete drying matters just as much: lingering water can interfere with a smooth chocolate coating. If the berries were chilled, let them come to room temperature before dipping.
- White chocolate melting wafers — These are made to melt into a fluid coating, which is useful when you need to cover a berry evenly and pull a pointed tail. A good-quality brand helps the shell taste creamy, but the main thing is choosing wafers intended for melting rather than ordinary chips. Regular white chocolate chips don’t always flow as smoothly for dipping.
- Semisweet chocolate chips — Semisweet gives the eyes and mouth a clear, dark contrast against the white shell. For this small amount of piping chocolate, standard chips work well once they’re melted with a little neutral oil. Choose a flavor you like, since the face is a small detail but still part of each bite.
- Neutral oil — The oil loosens the semisweet chocolate so it can move through the small opening in the bag. Canola works because it doesn’t add a noticeable flavor. A strongly flavored oil would distract from the chocolate and isn’t a good swap here.
Dip, Set, Then Pipe the Faces
Dry the Berries Before the Chocolate Comes Out
Line an 18×13-inch rimmed baking sheet with parchment paper. Rinse the strawberries and dry them completely with paper towels, taking care around the leafy tops and the little creases where water can cling. If they’ve been in the refrigerator, let them come to room temperature before dipping. A damp berry is the most likely reason the coating won’t cling evenly.
Melt the White Wafers Gently
Put the white chocolate melting wafers in a 1-quart microwave-safe measuring cup. Microwave at 50% power in 30-second bursts, stirring after each one, until smooth; this takes about 1 1/2 to 2 minutes. The finished chocolate should look glossy and flow from the spoon in a steady ribbon. If a few pieces remain, stir before adding more microwave time so you don’t overheat the coating.
Dip and Shape Each Ghost
Hold each strawberry by its leafy top and dip it into the melted white chocolate. Let the excess drip back into the cup, then pull the tip through the coating to make a ghostly tail as you set it on the prepared baking sheet. Keep the berry over the cup until the dripping slows, so the shell doesn’t pile up at the bottom. Leave the coated strawberries at cool room temperature until the chocolate is firm, about 15 to 20 minutes.
Pipe the Faces After the Shell Sets
Combine the semisweet chocolate chips and neutral oil in a 1-cup microwave-safe bowl. Microwave at 50% power in 15-second bursts, stirring after each, until smooth; it should take about 30 to 45 seconds. Transfer the chocolate to a small zip-top bag, snip a tiny corner, and pipe two eyes and a mouth onto each berry. Give the faces 5 to 10 minutes to set before serving so the details don’t smear as you move the strawberries.
Two Ways to Change Up the Ghosts
Orange candy-melt ghosts
Swap the white melting wafers for orange candy melts and keep the semisweet chocolate faces. The berries will have a bright orange shell and the same pointed ghost shape, with a sweeter candy coating instead of a white-chocolate taste.
Dairy-free chocolate ghosts
Use dairy-free white chocolate melting wafers and dairy-free semisweet chocolate chips, keeping the neutral oil for the faces. Choose wafers made for melting so the coating stays fluid enough to dip; the shell may taste a little less creamy than one made with standard white chocolate wafers.
Making Ahead and Holding
- Refrigerator: Store the finished strawberries in a covered container in a single layer for up to 1 day. The cold can leave a little condensation on the chocolate, so the shells look best on the day they’re made.
- Freezer: Freezing isn’t a good fit. The berries soften as they thaw and can release moisture, which makes the coating wet and messy.
- Serving: Keep them chilled until you’re ready to serve, then return leftovers to the refrigerator within 2 hours. There’s no reheating needed for these cold, chocolate-coated berries.
Questions That Come Up While Making These Strawberry Ghosts
Halloween Chocolate-Covered Strawberries (Ghosts)
Ingredients
Equipment
Method
- Line an 18x13-inch rimmed baking sheet with parchment paper.
- Rinse the strawberries and dry them completely with paper towels; let them come to room temperature if chilled.
- Melt the white chocolate wafers in a 1-quart microwave-safe measuring cup at 50% power in 30-second bursts, stirring after each, until smooth, about 1 1/2 to 2 minutes.
- Dip each strawberry by its leafy top, letting excess coating drip back into the cup, then pull the tip through the coating to make a ghostly tail and set it on the baking sheet.
- Let the coating set until firm, about 15 to 20 minutes at cool room temperature.
- Combine the semisweet chocolate chips and oil in a 1-cup microwave-safe bowl and microwave at 50% power in 15-second bursts, stirring after each, until smooth, about 30 to 45 seconds.
- Transfer the chocolate to a small zip-top bag and snip a tiny corner.
- Pipe two eyes and a mouth onto each strawberry; let the faces set for 5 to 10 minutes before serving.
