Grilled Smoked Kielbasa with Peppers and Onions
Smoky kielbasa with blistered peppers and sweet onions is one of those meals that disappears fast because it gives you a little char, a little sweetness, and a lot of…
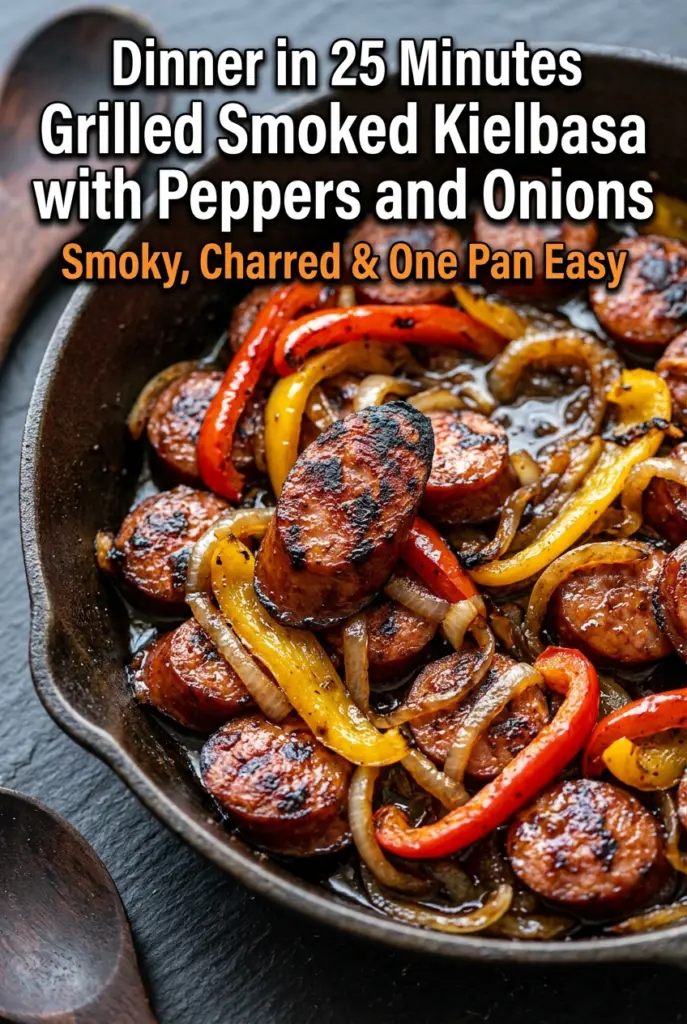
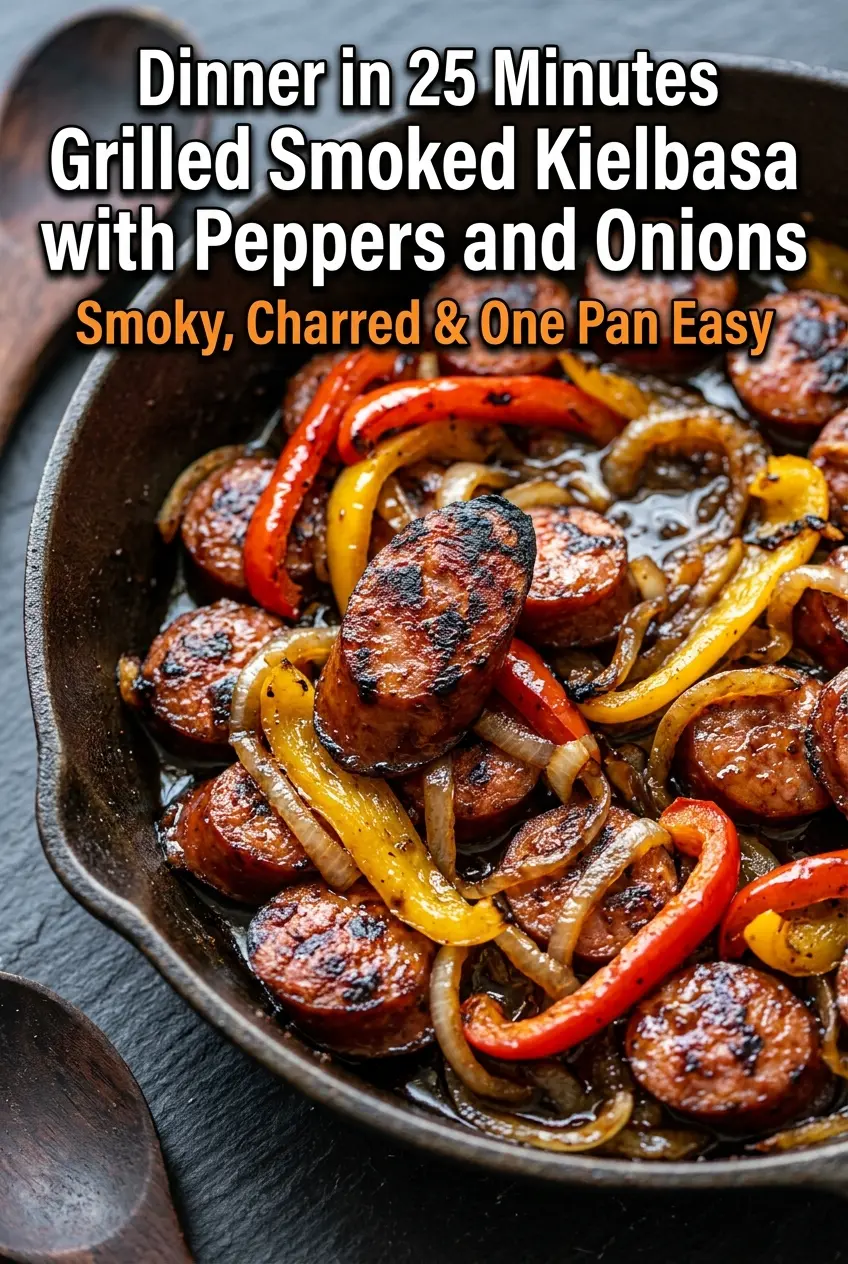
Tip: save now, cook later.Smoky kielbasa with blistered peppers and sweet onions is one of those meals that disappears fast because it gives you a little char, a little sweetness, and a lot of savory payoff in under 30 minutes. The sausage gets crisp edges instead of steaming, and the vegetables soften just enough to stay colorful while picking up all that browned flavor from the pan or grill.
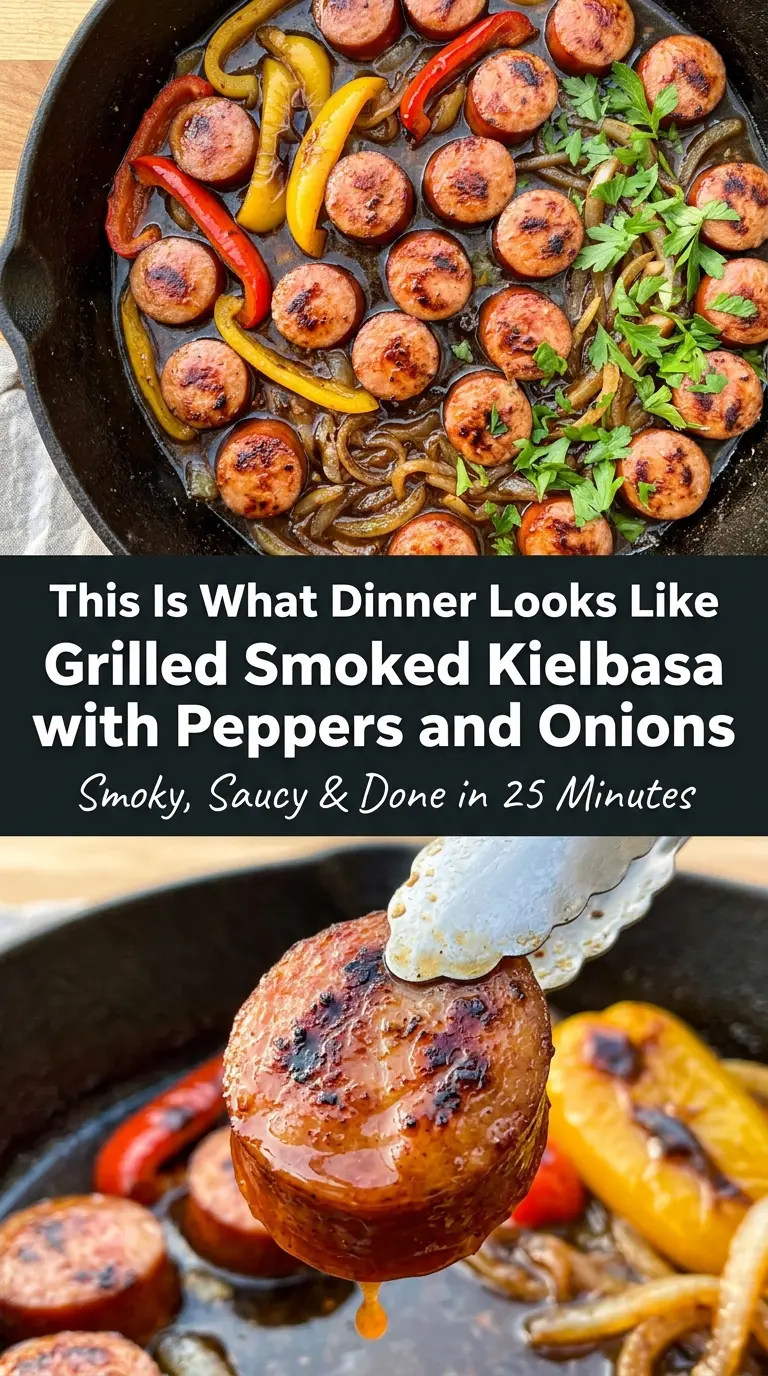
What makes this version work is the order. The kielbasa goes in first so it can build real color before the vegetables release their moisture. Then the peppers and onions cook in the same pan, where they can pick up the sausage drippings and finish with a glossy Worcestershire coating that ties everything together without turning it soupy.
Below, I’ll walk through the small timing details that matter, plus a few swaps that still keep the dish bold and satisfying. If you’ve ever ended up with pale sausage or limp vegetables, the fix is in here.
The kielbasa got these deep char marks without drying out, and the peppers were still a little crisp instead of mushy. I served it in hoagie rolls and my husband went back for seconds before I even sat down.
Save this grilled kielbasa with peppers and onions for a fast skillet dinner with real char and zero extra fuss.
The Charred Sausage Gets Better When You Stop Moving It
Kielbasa rewards patience. If you keep tossing it around, it never gets the deep browned edges that make this dish taste like more than sausage and vegetables in a pan. Let the rounds sit long enough to develop color before you turn them, and use a hot pan so the fat renders and the surface actually sears instead of just warming through.
The other common miss is crowding. When the pan is packed too tightly, the peppers and onions steam and the kielbasa loses that crisp edge. A single layer gives you the best chance at caramelized vegetables and browned sausage, and the Worcestershire goes in at the end so the whole skillet turns glossy instead of salty and scorched.
What Each Ingredient Is Doing in This Skillet
- Smoked kielbasa — This is the backbone of the dish, so buy a brand you’d actually enjoy eating on its own. Since it’s already cooked, you’re really looking for browning and texture, not doneness. Slice it into 1/2-inch rounds on a slight diagonal for more surface area and better char.
- Bell peppers — Red and yellow peppers bring sweetness that balances the smoky sausage. Thin strips cook quickly and soften without turning floppy. If you use green peppers instead, expect a sharper, less sweet result.
- Yellow onion — Onion adds the savory base and turns jammy at the edges when it hits the hot pan. Half-moons hold up better than fine dice, which can burn before the rest of the skillet is ready. White onion works too, but yellow gives a rounder, sweeter finish.
- Olive oil — You need just enough to coat the vegetables and help the spices cling. Don’t drown the pan; too much oil keeps everything from browning cleanly. Any neutral oil will work if that’s what you have.
- Worcestershire sauce — This is the finish that makes the skillet taste seasoned all the way through. It adds depth, a little tang, and a glossy coating without needing a sauce base. Add it at the end so it doesn’t reduce into bitterness.
- Smoked paprika and garlic powder — These echo the sausage’s smokiness and fill in the gap if your kielbasa is on the milder side. Fresh garlic would burn too fast at this heat, so the powder is the better move here. If you want more heat, a pinch of cayenne fits naturally.
The 20 Minutes That Actually Matter
Prepping for Even Browning
Cut the kielbasa, peppers, and onion before the pan goes on the heat. You want the vegetables in pieces that are thick enough to hold their shape but thin enough to soften in the same window as the sausage browns. If the onion slices are too thick, they stay crunchy while the kielbasa is already done; if they’re too thin, they collapse and scorch.
Getting the Kielbasa Charred, Not Just Warmed
Heat the skillet or grill pan until it’s properly hot before the sausage hits it. Add the kielbasa in a single layer and leave it alone for 2 to 3 minutes so the surface can develop a deep golden crust. If it sticks at first, don’t force it; once it browns, it releases more easily.
Softening the Vegetables Without Losing Their Shape
Cook the peppers and onions in the same pan, tossing only occasionally. You’re looking for softened edges, a few blistered spots, and onion slices that turn translucent with browned corners. If there’s too much liquid in the pan, raise the heat slightly and keep cooking until it evaporates instead of covering the skillet.
Bringing It All Together at the End
Return the kielbasa to the pan and add the Worcestershire sauce only once the vegetables are almost done. Stir for 1 to 2 minutes, just until everything looks glossy and hot. That last short toss is what keeps the sauce from disappearing into the pan or making the sausage taste flat.
Three Ways to Work This Into Your Week
Turn It Into a Hoagie Dinner
Pile the kielbasa, peppers, and onions into toasted rolls for a sandwich that eats like a proper deli lunch. The bread catches the juices, so use something sturdy enough to hold up. A little mustard on the roll works better than heavy sauces here because it cuts the richness instead of covering it.
Make It Gluten-Free
Use a gluten-free kielbasa and check the Worcestershire label, since some brands include soy sauce or malt vinegar. The cooking method doesn’t change at all, and the skillet still gets the same charred edges. Serve it over rice or roasted potatoes instead of bread if you want the easiest gluten-free route.
Add More Vegetables Without Diluting the Flavor
Mushrooms or zucchini fit in well, but add them in moderation so they don’t crowd the pan and mute the browning. Mushrooms bring more savory depth, while zucchini softens faster and gives the dish a lighter feel. Keep the kielbasa as the main event or the whole skillet loses its boldness.
Storage and Reheating
- Refrigerator: Store in an airtight container for up to 4 days. The peppers soften a little more as they sit, but the flavor holds up well.
- Freezer: It freezes okay, though the peppers will be softer after thawing. Cool completely, pack flat in freezer bags or containers, and freeze for up to 2 months.
- Reheating: Reheat in a skillet over medium heat until hot, which brings back more texture than the microwave. If the pan looks dry, add a teaspoon of oil or a splash of water, but don’t cover it for long or the vegetables will steam.
Answers to the Questions Worth Asking
Grilled Smoked Kielbasa with Peppers and Onions
Ingredients
Equipment
Method
- Slice the smoked kielbasa sausage into 1/2-inch diagonal rounds to maximize surface area for charring.
- Cut the bell peppers into strips and slice the yellow onion into half-moons, keeping the thickness roughly even.
- Toss the bell peppers and onion with olive oil, garlic powder, smoked paprika, salt, and black pepper until every piece is evenly coated.
- Heat a grill pan or cast iron skillet over medium-high heat until very hot, about 2 minutes.
- Add the kielbasa rounds in a single layer and grill undisturbed for 2–3 minutes per side until deep golden char marks form, then remove and set aside.
- In the same pan, cook the peppers and onions, tossing occasionally, for 6–8 minutes until softened and lightly caramelized.
- Return the kielbasa to the pan, drizzle with Worcestershire sauce, and toss for 1–2 minutes until heated through and glossy.
- Finish with fresh chopped parsley and serve immediately over rice, in hoagie rolls, or straight from the skillet.
