
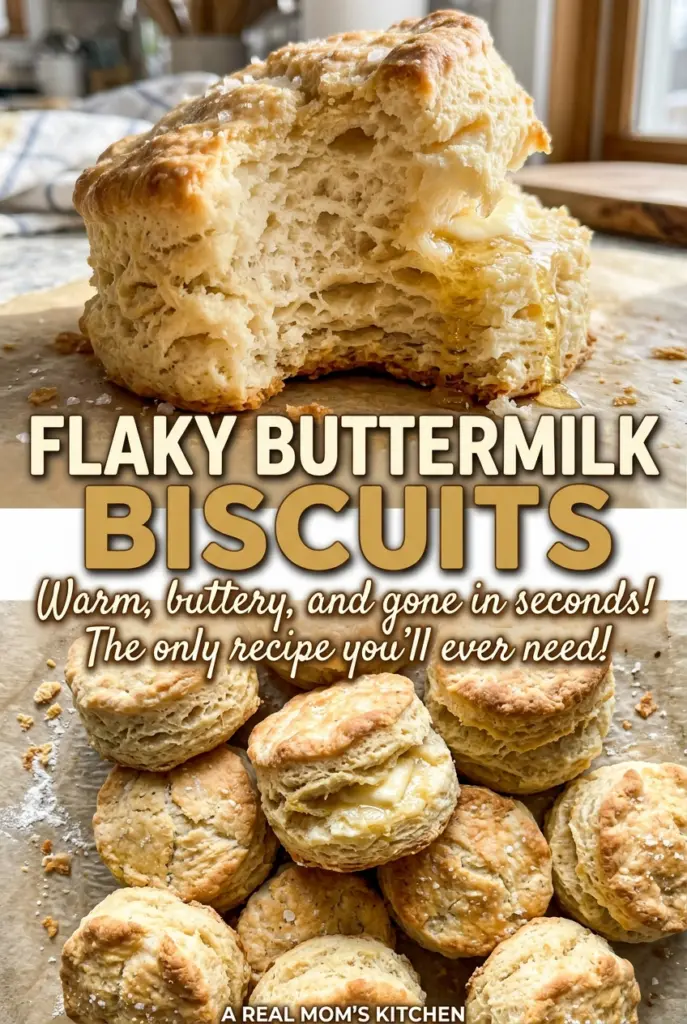
Flaky Buttermilk Biscuits
The butter should still look like little pale pebbles in the flour when you stop cutting it in. That’s the moment I watch for with these flaky buttermilk biscuits: too-small…
Tip: save now, cook later.The butter should still look like little pale pebbles in the flour when you stop cutting it in. That’s the moment I watch for with these flaky buttermilk biscuits: too-small pieces disappear into the dough, while those pea-size bits help build the tender, layered middle. The dough won’t look smooth, and that’s a good sign.
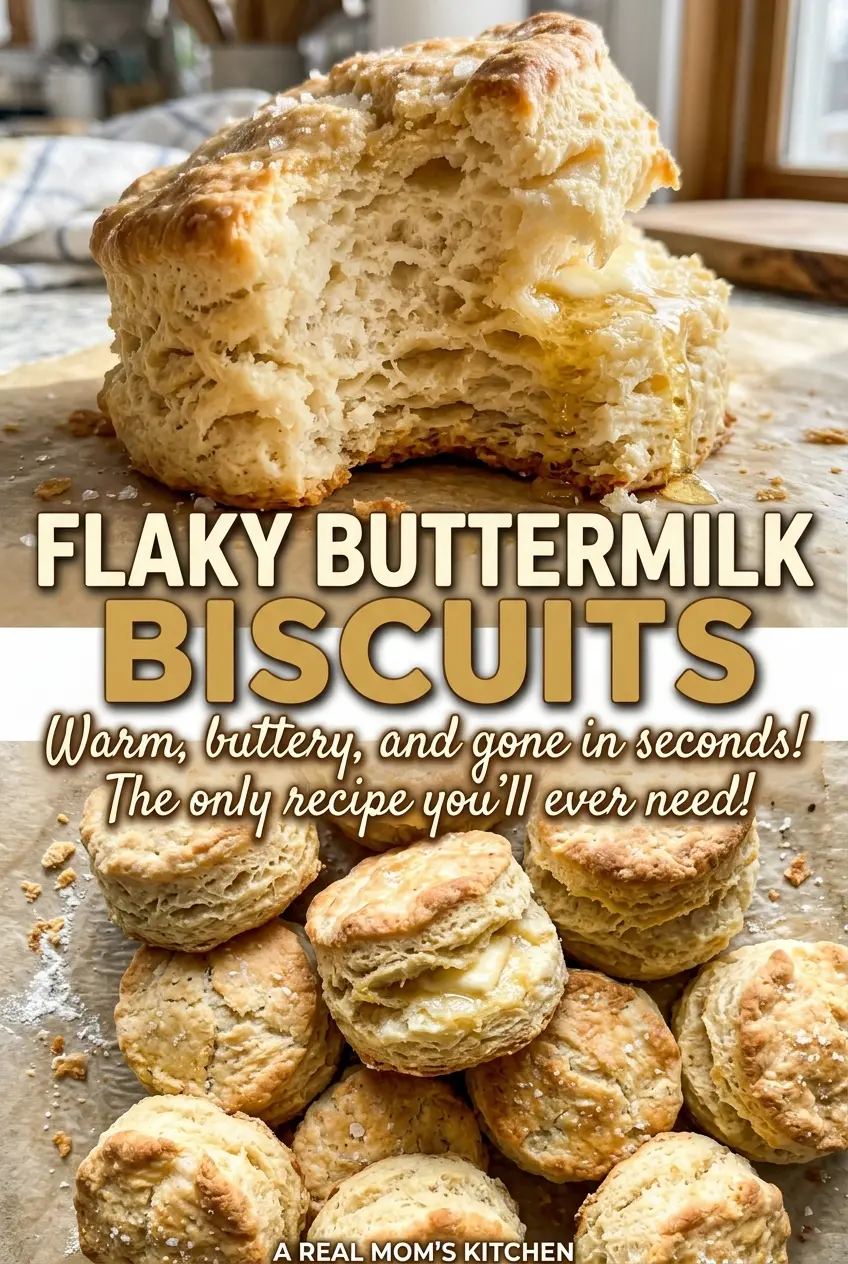
I keep the butter and buttermilk cold, then handle the dough just enough to bring it together. Folding the dough gives the biscuits their flaky structure without kneading it into a tough, even mass. Cut straight down, leave the cutter untwisted, and you’ll have eight tall biscuits with golden tops and soft centers.
They’re made with pantry basics, but the little details matter: cold butter, a shaggy dough, and a light touch. Serve them after their short rest on the baking sheet, while the edges are still warm and crisp.
Kitchen Note
Stop stirring as soon as the buttermilk has turned the flour into a shaggy dough. A few dry-looking spots are fine; keep mixing until it looks smooth and the biscuits can turn dense.
Save these flaky buttermilk biscuits for a morning when you want golden tops, tender layers, and a dough that comes together with a light touch.
Why the Folds Matter More Than Extra Mixing
Biscuits can turn tough when the dough is worked until it feels smooth and tidy. That kind of mixing develops more gluten, which is useful in bread but works against the soft, flaky bite you want here. The dough should come together, not become elastic.
Folding gives you another route to layers. Pat the dough into a rectangle, fold it in half, and repeat the fold twice. Each fold stacks the dough rather than stirring it together, so you create distinct layers while keeping your hands-on time short. Pat it back to the same thickness before cutting; an even slab helps the biscuits bake at a similar pace.
There’s no need to add flour just because the dough looks rough. A shaggy surface is expected, and a little unevenness is less of a problem than working the dough until it’s smooth. Keep the folds gentle and deliberate, then move on to cutting. That balance is what makes the finished biscuits flaky instead of compact.
How Buttermilk, Butter, and Leaveners Shape These Biscuits

- All-purpose flour — It gives the dough enough structure to hold its shape while staying tender. A standard store-brand flour works well; bread flour has more strength and can make biscuits chewier, so I stick with all-purpose here.
- Baking powder and baking soda — Both contribute lift, and the baking soda works alongside the acidity in the buttermilk. Use baking powder that’s fresh and has been stored tightly closed; old leavening can leave biscuits flat. I wouldn’t replace the all-purpose flour with self-rising flour, since that would change the balance of leaveners and salt.
- Cold unsalted butter — The butter needs to stay in visible pieces as it’s cut into the flour. Those bits help create a flaky texture as the biscuits bake. An everyday butter is fine; the cold temperature and the size of the pieces matter more than choosing a specialty brand.
- Cold buttermilk — It brings moisture and tang, and its acidity works with the baking soda. Regular milk isn’t a direct replacement because it lacks that acidity. Choose fresh buttermilk and keep it chilled until you’re ready to stir it in.
- Kosher salt — It seasons the dough and keeps the biscuits from tasting flat. Since salt crystal sizes vary, swapping in a different type without adjusting the amount can change how salty the batch tastes; kosher salt keeps this formula consistent.
From Cold Butter to Tall, Golden Biscuits
Whisk the Dry Ingredients Evenly
Heat the oven to 450°F and line a baking sheet with parchment paper. Whisk the flour, baking powder, baking soda, and kosher salt together in a large bowl so the leaveners are distributed through the flour. If they sit in little pockets, some biscuits may rise differently from others. Give the bowl a thorough whisk before adding the butter.
Cut in the Butter While It’s Cold
Add the cold butter cubes and work them into the flour with a pastry cutter or your fingertips. Stop when the largest pieces are about pea-size; the mixture should still have visible butter rather than looking uniformly sandy. If the butter starts to soften, handle the mixture lightly and move on instead of rubbing it into the flour. Those pieces are meant to remain distinct.
Stir Just Until the Dough Looks Shaggy
Pour in the cold buttermilk and stir until the flour is moistened and a shaggy dough forms. It won’t look perfectly even, and you don’t need to chase down every crumb by stirring harder. Overmixing at this point makes the dough tougher. Turn it onto the prepared baking sheet while it’s still rough and easy to handle.
Fold, Pat, and Cut Without Twisting
Gently pat the dough into a rectangle that’s 3/4 inch thick, then fold it in half and repeat the fold twice. Pat it back to 3/4 inch thick before cutting out 8 biscuits with a 2 1/2-inch cutter. Press the cutter straight down without twisting; twisting can pinch the edges and interfere with an even rise. Space the biscuits about 1 inch apart on the baking sheet.
Bake Until the Tops Turn Golden
Bake for 12 to 15 minutes, watching for tall biscuits with golden-brown tops. Their color is the clearest cue that they’re ready, so check near the end of the baking window rather than relying on the clock alone. Let them rest on the baking sheet for 5 minutes before serving. The short rest gives the hot biscuits a chance to settle before you pull them apart.
Two Ways to Handle the Butter, Plus How to Keep the Batch
Use a pastry cutter for a tidy mix
A pastry cutter keeps your hands away from the butter and makes it easier to work the cubes through the flour without warming them. Stop once the largest butter pieces are pea-size. This approach is handy if your hands run warm or you prefer a more contained mixing process.
Use your fingertips for a hands-on mix
Your fingertips work just as well for cutting in the butter, and they let you feel when the pieces are the right size. Work quickly and lightly so the butter stays cold. This method gives you a direct sense of the mixture, but it’s best not to rub the butter until it disappears.
Storage and Reheating
- Refrigerator: Store cooled biscuits in an airtight container for up to 3 days; chilling softens the crispness of the edges.
- Freezer: They freeze well. Once cooled, wrap them tightly and freeze for up to 2 months.
- Reheating: Warm them in an oven until heated through. Avoid covering or microwaving them for too long, which can make the exterior soft instead of restoring a little warmth and crispness.
Questions That Come Up With Buttermilk Biscuits
Flaky Buttermilk Biscuits
Ingredients
Equipment
Method
- Heat the oven to 450°F.
- Line a baking sheet with parchment paper.
- Whisk the flour, baking powder, baking soda, and salt together in a large bowl.
- Cut the cold butter into the flour mixture with a pastry cutter or your fingertips until the largest pieces are about pea-size.
- Pour in the buttermilk.
- Stir just until a shaggy dough forms; do not overmix.
- Turn the dough onto the prepared baking sheet.
- Gently pat the dough into a 3/4-inch-thick rectangle.
- Fold the dough in half and repeat the fold twice.
- Pat the dough back to 3/4 inch thick.
- Cut out 8 biscuits with a 2 1/2-inch cutter, pressing straight down without twisting.
- Space the biscuits about 1 inch apart on the baking sheet.
- Bake for 12 to 15 minutes, until the biscuits are tall and golden brown on top.
- Let the biscuits rest on the baking sheet for 5 minutes before serving.