
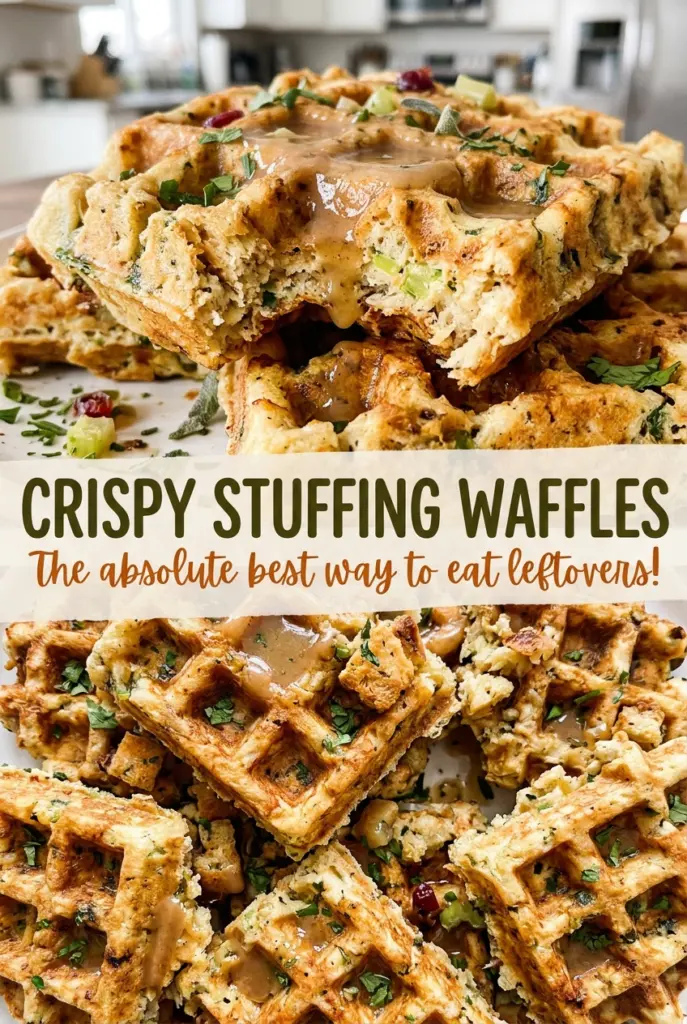
Crispy Stuffing Waffles
The waffle iron gives cold stuffing a second life: the outside turns deeply golden, while the middle stays tender enough to hold together. I make these crispy stuffing waffles when…
Tip: save now, cook later.The waffle iron gives cold stuffing a second life: the outside turns deeply golden, while the middle stays tender enough to hold together. I make these crispy stuffing waffles when there’s cooked stuffing to use up and I want something with more texture than another scoop on the plate. The eggs help the mixture hold its shape, and a little chicken broth brings the stuffing together without turning it into a smooth batter.
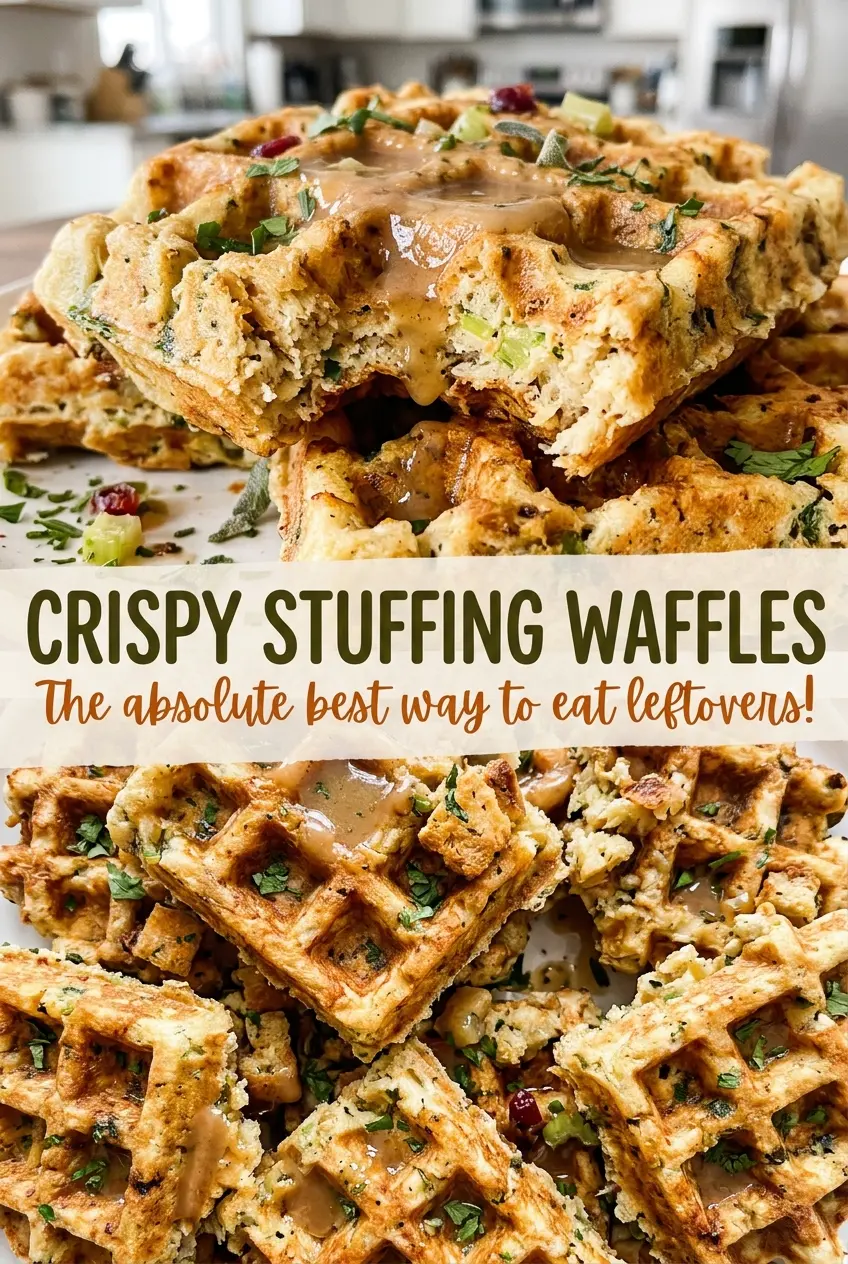
Don’t expect a pourable waffle batter. The mixture should look like stuffing, evenly coated with egg and broth, with its original texture still visible. That’s what gives each waffle those crisp edges and a soft center. A Belgian-style iron gives the mixture room to cook into sturdy, well-shaped waffles, and the short rest after cooking helps them settle before serving.
Kitchen Note
Give each waffle its full 2-minute rest before serving. The brief pause lets the crisp outside firm up, so the waffle is less likely to break when you lift or cut it.
Save these crispy stuffing waffles for a golden, crunchy way to turn cold cooked stuffing into a satisfying meal.
Why These Waffles Need Stuffing, Not Smooth Batter
Stuffing already has the texture and seasoning that make these waffles worth making. The eggs bind those pieces as they cook, while the chicken broth loosens the cold mixture just enough to combine it evenly. Together, they help the stuffing hold in the waffle iron without asking you to turn it into a uniform paste.
That distinction matters. If you keep stirring until every piece disappears, you lose the rustic structure that gives the finished waffles their crisp, craggy surface. Mix until the egg and broth are distributed throughout, but stop while the stuffing still looks like stuffing. A few visible pieces are just right; dry pockets or streaks of egg mean it needs another turn in the bowl.
The waffle iron cooks both sides against hot plates, so the mixture gets plenty of direct contact with the surface. That’s how you get a crisp exterior without frying the stuffing in a pan. Keep the heat at medium-high and judge the result by the deep golden color and crisp feel, as well as the temperature in the center.
The Ingredients That Help Stuffing Hold Its Shape
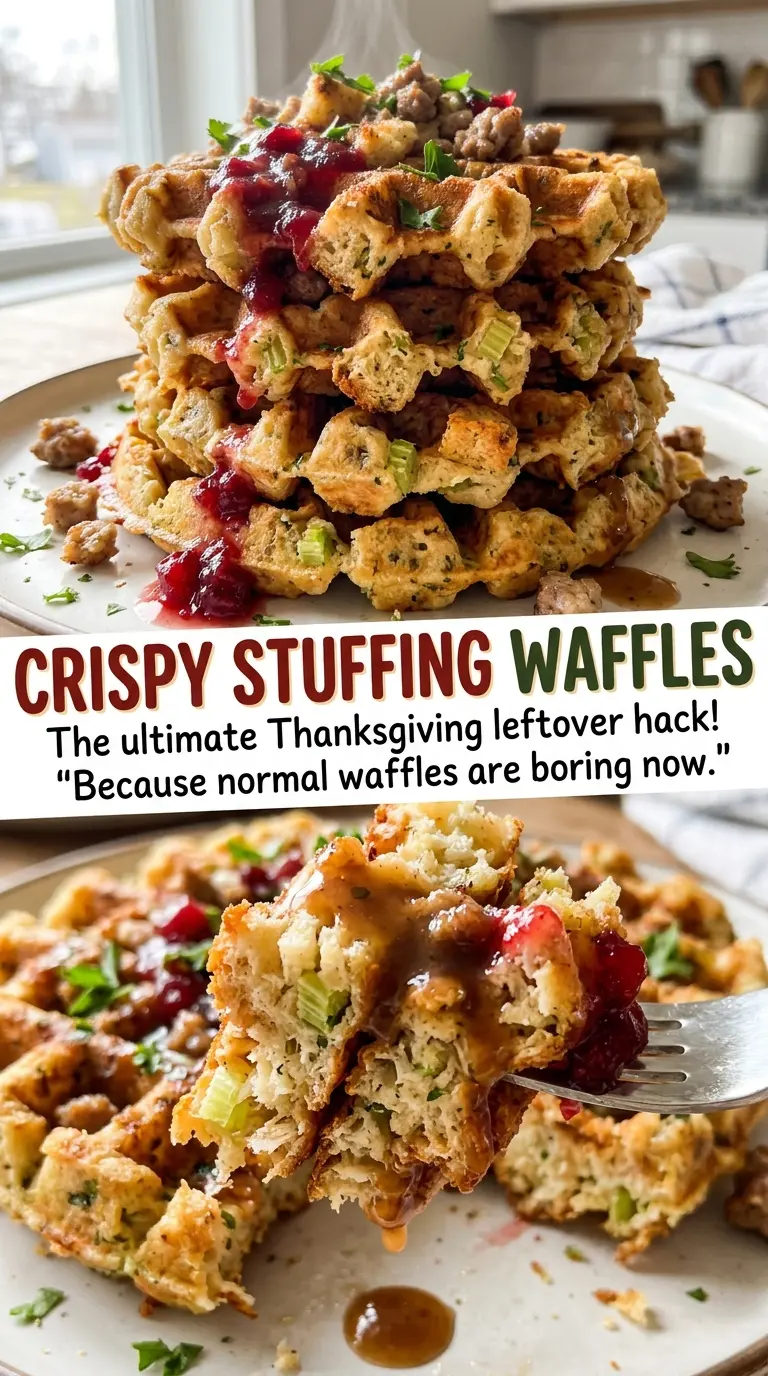
- Cold cooked stuffing — This is the structure and seasoning in every waffle, so use stuffing that’s already cooked and cold. Its texture and moisture vary by recipe, which is why the mixture should be combined until evenly coated rather than beaten smooth. Cornbread or bread-based stuffing both work as the starting point; the finished waffles will reflect whichever one you use.
- Eggs — Eggs bind the stuffing as it cooks and help the waffles stay in one piece when lifted. I wouldn’t leave them out or replace them here; without that binder, the mixture is much more likely to crumble.
- Chicken broth — Broth softens and brings the cold stuffing together while adding savory flavor. Use broth you like the taste of, but there’s no need for a specialty brand. Mix it through well so the moisture isn’t concentrated in one spot.
- Vegetable oil — A light coating helps the stuffing release from the waffle iron and brown against the plates. Brush it on lightly; the goal is a thin sheen, not a pool of oil.
How to Get Crisp Waffles Without Losing the Tender Center
Mix the Stuffing Until Evenly Coated
Preheat a Belgian-style waffle iron to medium-high. In a large bowl, combine the cold cooked stuffing, eggs, and chicken broth until the mixture looks evenly coated. Keep the stuffing’s texture intact instead of stirring it into a paste. If you spot a dry pocket or a streak of egg, fold the mixture again before it goes into the iron.
Oil the Iron and Fill the Wells
Brush the waffle iron lightly with vegetable oil, then divide the stuffing mixture among the waffle iron wells. Spread it into the wells without packing it into a dense lump, so the hot plates can reach the mixture. Close the lid and let the iron do the work. Lightly grease the iron between batches as needed; skipping that coating can make the crisped edges cling when you open it.
Cook Until Deeply Golden and Rest
Cook each waffle for 5 to 7 minutes, until it’s deeply golden and crisp and the center reaches 165°F. Color alone isn’t enough if the middle hasn’t reached that temperature, so check the center when needed. If the outside looks pale, give it time within the cooking window rather than opening the iron repeatedly. Let the finished waffles rest for 2 minutes before serving.
Two Stuffing Styles That Make These Waffles Their Own
Cornbread Stuffing Waffles
Use cold cooked cornbread stuffing in place of a bread-based stuffing. The cornbread gives the waffles a softer, more tender crumb and a slightly sweeter note, while the waffle iron still creates crisp edges.
Herb-Forward Stuffing Waffles
Choose a cooked stuffing with a stronger herb flavor for a more aromatic waffle. The base method stays the same, and the result depends on the seasoning already in the stuffing, so taste it before mixing if you’re deciding which style to use.
Storage and Reheating
- Refrigerator: Refrigerate cooked waffles promptly in an airtight container and use within 3 to 4 days. They’ll lose some of their crispness as they chill.
- Freezer: Freeze the cooled waffles in an airtight container or freezer bag for up to 2 months for best quality. Separate layers so they’re easier to take out individually.
- Reheating: Reheat in a toaster oven or waffle iron until hot throughout to bring back some of the crisp edges. The microwave works, but it softens the outside.
Questions That Come Up When Making Stuffing Waffles
Crispy Stuffing Waffles
Ingredients
Equipment
Method
- Preheat a Belgian-style waffle iron to medium-high.
- In a large bowl, combine the stuffing, eggs, and chicken broth until evenly mixed.
- Brush the waffle iron lightly with the vegetable oil.
- Divide the stuffing mixture among the waffle iron wells, close the lid, and cook each waffle for 5 to 7 minutes, until deeply golden and crisp and the center reaches 165°F; grease the iron lightly between batches as needed.
- Let the waffles rest for 2 minutes before serving.