
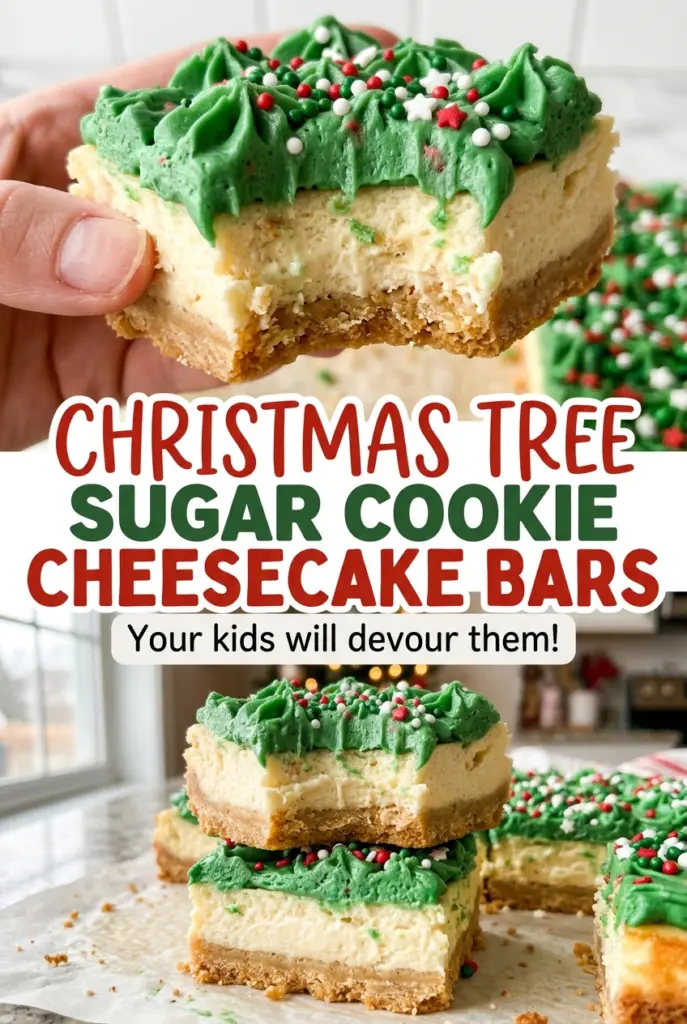
Christmas Tree Sugar Cookie Cheesecake Bars
As the green frosting comes off the piping tip, those little white stars turn each square into a tiny Christmas tree. These Christmas Tree Sugar Cookie Cheesecake Bars bring together…
Tip: save now, cook later.As the green frosting comes off the piping tip, those little white stars turn each square into a tiny Christmas tree. These Christmas Tree Sugar Cookie Cheesecake Bars bring together a soft, buttery cookie base and a creamy cheesecake layer, with a festive finish that’s easy to portion and share.
I like making them when I want a holiday dessert that feels a little more special than a pan of cookies but doesn’t require decorating a dozen individual treats from scratch. Each bar gets its own tree, and the 9×13-inch pan gives you 12 neat servings.
The contrast is what makes each bite work: sweet sugar cookie underneath, lightly tangy cheesecake above, and a smooth vanilla frosting on top. The decorations are simple, but they make the bars instantly recognizable on a dessert table.
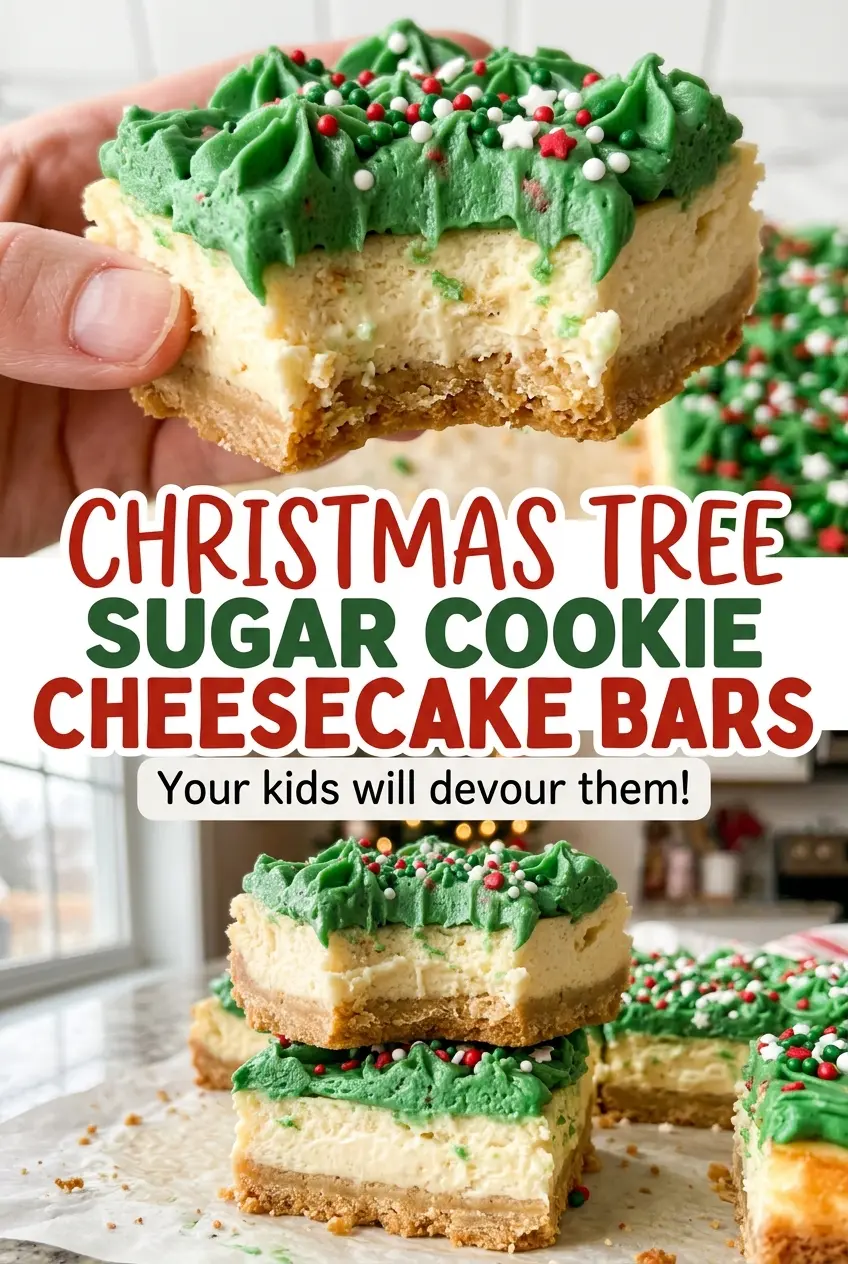
Kitchen Note
Let the cheesecake cool completely in the pan before you cover it. Covering warm bars traps condensation, and droplets can leave marks across the smooth top.
Save these Christmas Tree Sugar Cookie Cheesecake Bars for a holiday dessert table, with creamy cheesecake and a little piped tree on every bar.
Why This Cookie Crust Gets Baked Before the Cheesecake Goes On
Sugar cookie dough behaves differently from a crumb crust. It starts as a soft dough that needs time in the oven to set, while cheesecake filling is wet and heavy. Spreading the filling over raw dough would leave the bottom layer underbaked by the time the cheesecake was ready.
The short first bake gives the cookie layer a head start. Look for a surface that appears set and edges just beginning to turn golden; the crust will finish baking under the cheesecake filling. It shouldn’t be deeply browned at this point, because it still has a longer bake ahead.
That separate bake also gives you two clear textures instead of one soft, blended base. The cookie layer stays recognizable under the creamy filling, and the baked surface gives you a steadier foundation for cutting the chilled dessert into bars.
What the Cookie Base and Cheesecake Filling Each Need
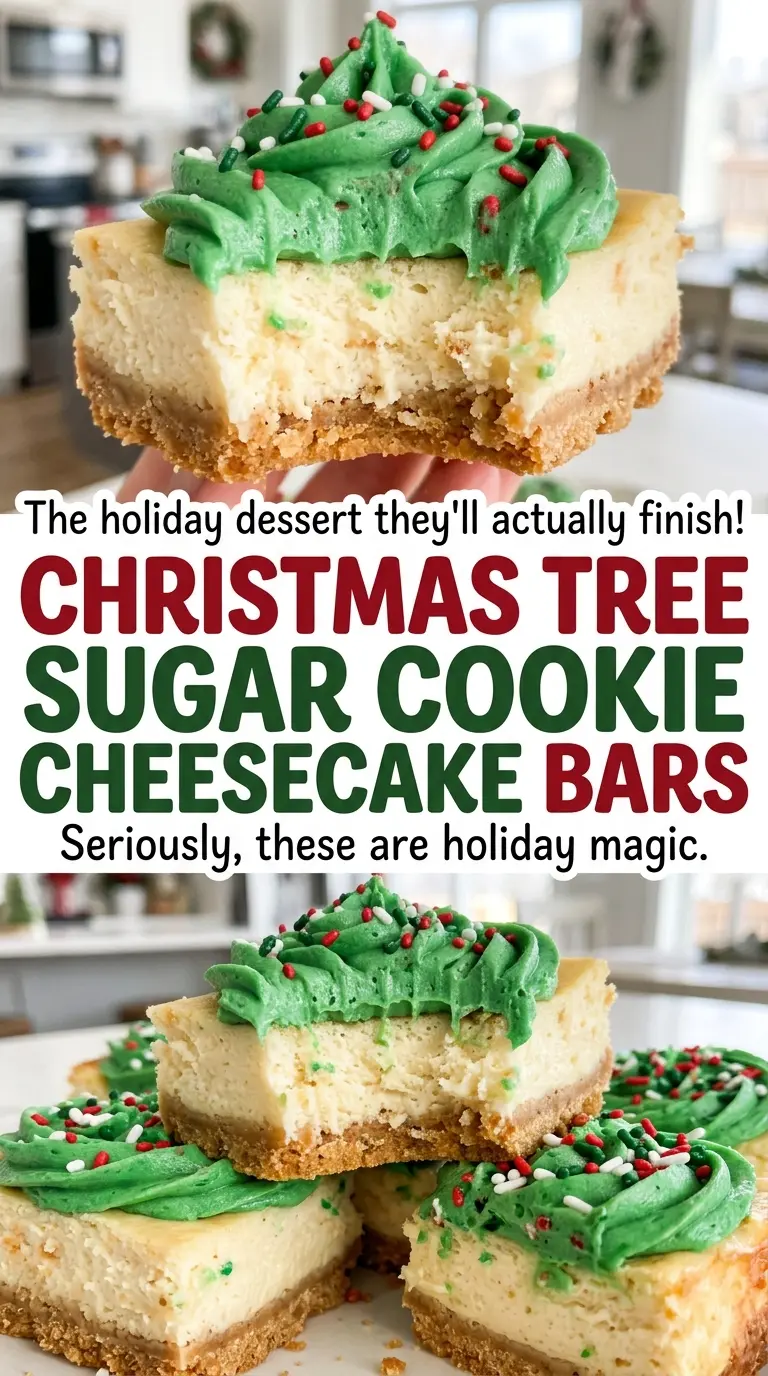
- Unsalted butter and granulated sugar — Butter gives the cookie crust its tender, rich texture, while creaming it with sugar helps the dough turn light before the dry ingredients go in. Unsalted butter lets the measured salt stay in control; salted butter varies by brand, so I stick with unsalted here.
- All-purpose flour and baking powder — All-purpose flour gives the crust enough structure to hold the cheesecake, and the baking powder keeps the cookie layer from baking into a dense slab. Self-rising flour changes the leavening and salt balance, so it isn’t a one-for-one swap.
- Cream cheese, sour cream, and eggs — Softened cream cheese is easier to beat smooth, while sour cream brings a gentle tang that keeps the filling from tasting flat. The eggs bind the filling as it bakes; room-temperature eggs blend into the mixture more evenly. I don’t replace the sour cream with another ingredient here, because its moisture and tang are part of the filling’s balance.
- Powdered sugar and green gel food coloring — Powdered sugar dissolves into a smooth frosting that can be piped, and gel coloring builds a deep green without adding much liquid. If you’d rather have plain vanilla frosting, leave out the green coloring; the frosting will stay pale instead of turning into a tree-green finish.
- White star-shaped sprinkles — These add the recognizable tree topper and stand out against the green frosting. Their small size matters: a large decoration can overwhelm the little piped trees.
From Soft Cookie Dough to Piped Christmas Trees
Make a soft, even cookie layer
Beat the softened butter and granulated sugar in a large bowl until light and creamy, about 2 minutes. Beat in the egg and vanilla, then mix in the flour, baking powder, and salt just until a soft dough forms. Press the dough evenly into the parchment-lined, lightly greased 9×13-inch pan. Uneven thickness can leave you with thin, overbrowned edges and a thicker middle.
Give the crust its first bake
Bake the crust at 350°F for 14 to 17 minutes. Its surface should look set, and the edges should only just be starting to turn golden. If you wait for the whole crust to look deeply browned, it can become too firm during the second bake. Cool it in the pan for 10 minutes, then lower the oven temperature to 325°F.
Mix and bake the cheesecake filling
Beat the softened cream cheese and sugar until smooth, then mix in the flour and salt. Add the room-temperature eggs one at a time on low speed, followed by the sour cream and vanilla; stop mixing once everything is combined. Spread the filling evenly over the crust and bake for 40 to 50 minutes, until the edges are set and the center reaches 160°F on an instant-read thermometer. A smooth filling starts with an even mixture, not extra beating.
Chill, cut, and add the trees
Cool the bars completely in the pan, then cover and refrigerate for at least 4 hours, until thoroughly chilled. For the frosting, beat the butter until creamy, then gradually beat in the powdered sugar, vanilla, salt, and milk until smooth and pipeable. Mix in green gel food coloring until the frosting is a deep green. Lift the bars out by the parchment overhang, cut into 12 bars, pipe a small tree onto each, and finish each tree with a white star sprinkle.
Two Easy Ways to Change the Tree-Topped Finish
Pipe pale vanilla trees
Leave the green gel coloring out of the frosting and pipe the same tree shapes in pale vanilla. The bars keep their cookie-and-cheesecake layers, but the finish is softer and less colorful; the white stars will blend in more than they do on green.
Serve them without the frosting
Skip the tree frosting and star sprinkles for a simpler cheesecake bar. You’ll get the same sugar cookie crust and creamy filling with less sweetness on top, and the cheesecake layer becomes the main visual focus.
Storage and Reheating
- Refrigerator: Keep the bars covered and refrigerate for up to 4 days. The cut edges may dry a little over time.
- Freezer: Freeze the chilled bars without frosting in an airtight container for up to 1 month. Thaw them in the refrigerator, then add the frosting and stars.
- Reheating: These bars are best served chilled, so don’t reheat them. Warmth softens the cheesecake and can make the frosting lose its shape.
Questions That Come Up Before You Bake These Bars
Christmas Tree Sugar Cookie Cheesecake Bars
Ingredients
Equipment
Method
- Preheat the oven to 350°F.
- Line a 9x13-inch baking pan with parchment paper, leaving overhang on two sides, and lightly grease the parchment.
- Beat the butter and sugar in a large bowl until light and creamy, about 2 minutes.
- Beat in the egg and vanilla.
- Mix in the flour, baking powder, and salt just until a soft dough forms.
- Press the dough evenly into the prepared pan.
- Bake for 14 to 17 minutes, until the surface looks set and the edges are just beginning to turn golden.
- Cool the crust in the pan for 10 minutes.
- Reduce the oven temperature to 325°F.
- Beat the cream cheese and sugar until smooth.
- Mix in the flour and salt.
- Beat in the eggs one at a time on low speed.
- Mix in the sour cream and vanilla just until combined.
- Spread the filling evenly over the crust.
- Bake for 40 to 50 minutes, until the edges are set and the center reaches 160°F on an instant-read thermometer.
- Cool the bars completely in the pan.
- Cover and refrigerate for at least 4 hours, until thoroughly chilled.
- Beat the butter until creamy.
- Gradually beat in the powdered sugar, vanilla, salt, and milk until smooth and pipeable.
- Mix in green gel food coloring until the frosting is a deep green.
- Lift the chilled bars from the pan using the parchment overhang and cut into 12 bars.
- Pipe a small tree onto each bar.
- Finish each tree with a star-shaped sprinkle.
