

Cheese and Cracker Pumpkin Pies
At the end of the refrigerator chill, each little pie lifts from its paper liner with a compact graham base tucked under a creamy pumpkin center. That contrast is what…
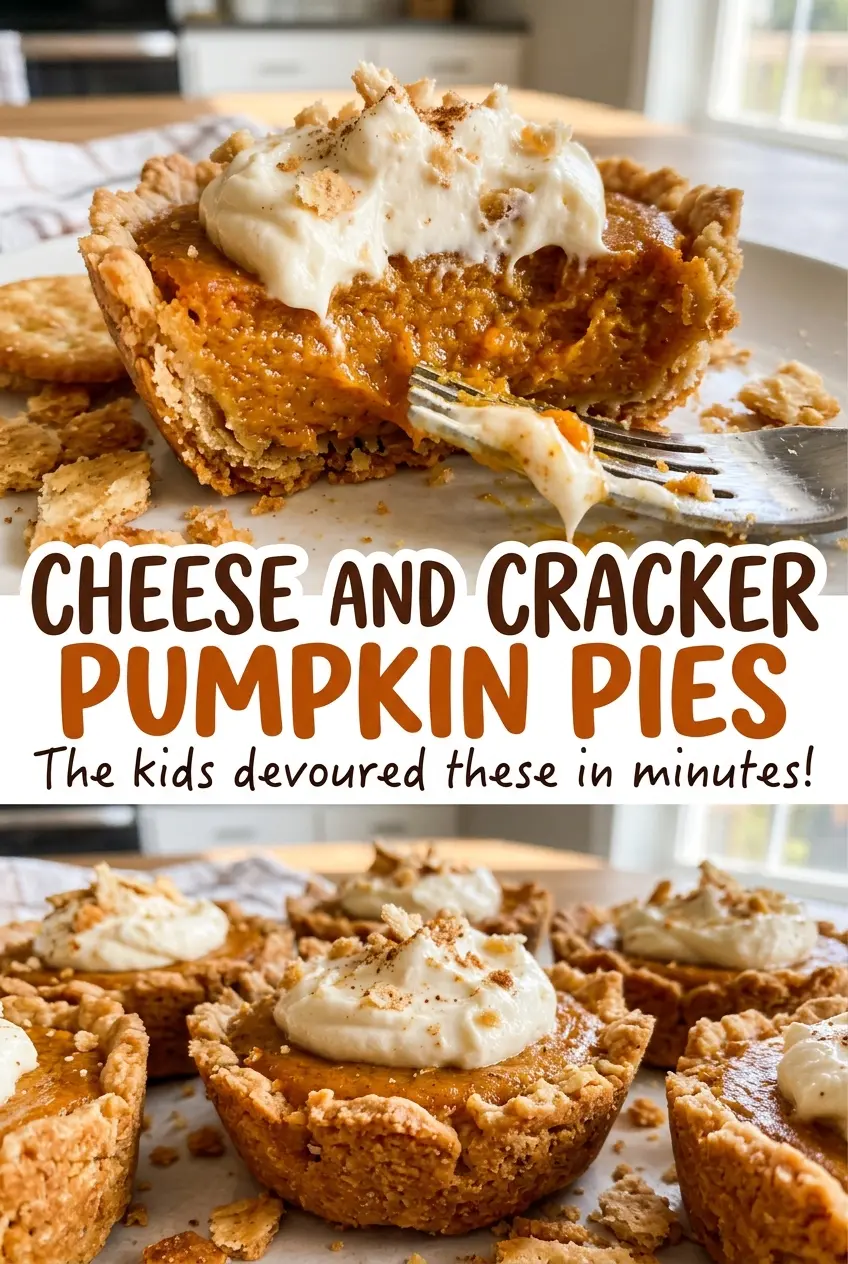
Tip: save now, cook later.At the end of the refrigerator chill, each little pie lifts from its paper liner with a compact graham base tucked under a creamy pumpkin center. That contrast is what makes these Cheese and Cracker Pumpkin Pies feel more like individual cheesecake bites than a slice cut from a full pie. The muffin-pan size also gives you neat portions without slicing through the soft filling.
Cream cheese makes up the base of the filling, with canned pumpkin and pumpkin pie spice worked through it. The result is tangy and gently spiced, rather than a dense mouthful of pumpkin. I take an extra moment to get the cream cheese smooth before adding the rest; any lumps at that point are harder to work out later.
Once chilled, each pie has a soft, creamy center and a sweet graham crumb underneath. The small portions make these especially easy to serve without losing the layers that make them good.
Kitchen Note
Press the crumb mixture firmly into the liner bottoms before baking. A loose base is more likely to break apart when you peel the paper away, so I take a moment to level and compact every crust.
Save these Cheese and Cracker Pumpkin Pies for a creamy, gently spiced dessert with a neat graham cracker base in every bite.
These Have a Cream-Cheese Center, Not a Mini Pumpkin-Pie Custard
These are cheesecake-style pumpkin bites, not miniature slices of traditional pumpkin pie. A classic pumpkin pie sets around a pumpkin-and-egg custard; here, the cream cheese is the foundation, so the pumpkin reads as a warm, earthy note against a tangier, richer filling. That distinction matters when you’re deciding what the center should feel like: it should be creamy and dense, not airy or spoon-soft.
The small format makes the contrast even more noticeable. Each bite gets a generous amount of filling next to a thin graham base, so an overly sweet crust can take over, while a thick crumb layer can make the pie feel heavy. Granulated sugar keeps both parts simply sweet and lets the pumpkin spice show through. Serve them thoroughly chilled, when the filling holds its shape and the cream cheese tang is clear. They’re meant to be a little cheesecake-style treat, not pumpkin custard in a miniature shell.
What the Cream Cheese and Pumpkin Each Bring to the Filling
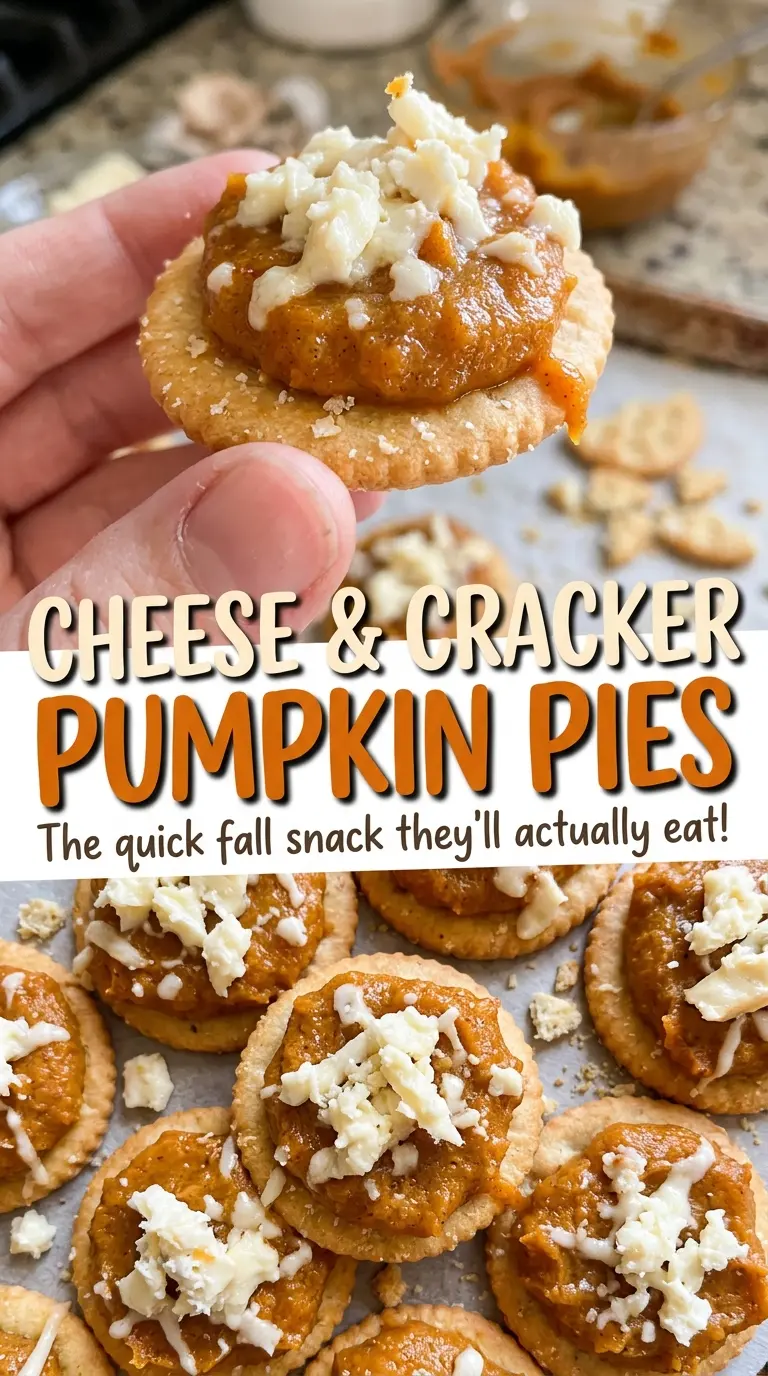
- Graham cracker crumbs — Finely crushed crumbs compact into a sturdy base; coarse pieces leave gaps and make the crust less even. Store-brand crumbs work well. If you’re crushing whole crackers, keep going until no large pieces remain.
- Unsalted butter — Melted butter coats the crumbs and holds them together after baking. Unsalted butter gives you a clean, buttery crust; salted butter works in its place but makes the base taste a little more seasoned.
- Cream cheese — This gives the filling its rich, tangy body. Let it soften before mixing so it beats smoothly; plain block-style cream cheese is a reliable choice. Neufchâtel can replace it in the same amount, though the filling will taste a little less rich.
- Canned pumpkin puree — It brings pumpkin flavor and moisture without turning the filling into a loose custard. Choose plain puree rather than a sweetened pumpkin dessert product, since the sugar and spice are added separately.
- Eggs — Whole eggs help the filling set while keeping it creamy. Room-temperature eggs blend more readily into the cream cheese mixture; cold eggs can make a smooth batter harder to maintain.
- Pumpkin pie spice and vanilla — The spice supplies the familiar warm flavor, while vanilla rounds it out. A fresh jar of spice gives a clearer aroma; standard vanilla extract is fine here, so there’s no need to reach for an expensive bottle.
- Granulated sugar — It sweetens the crust and filling without adding a molasses flavor that would compete with the pumpkin spice. Keep the crust and filling sugars separate when you measure them so each part gets its intended sweetness.
Build the Crumb Base, Then Bake the Filling to a Gentle Jiggle
Compact and pre-bake the graham crusts
Heat the oven to 350°F and line a standard 12-cup muffin pan with paper liners. Stir the graham cracker crumbs, melted butter, and sugar until the crumbs look evenly moistened, with no dry pockets. Divide the mixture among the liners and press it firmly into the bottoms. Bake for 8 minutes, then let the crusts cool in the pan as you lower the oven temperature to 325°F.
Mix a smooth pumpkin and cream cheese base
Beat the softened cream cheese and sugar in a medium bowl until the mixture looks smooth, with no visible lumps. Mix in the pumpkin, pumpkin pie spice, and salt until the color is even throughout. If you still see streaks of cream cheese, scrape the sides and bottom of the bowl and mix again before adding the eggs. Starting with a smooth base makes it easier to keep the finished filling even.
Add the eggs gently and fill each liner
Beat in the eggs one at a time, mixing after each addition rather than adding both together. Stir in the vanilla once the eggs are incorporated. Divide the filling among the cooled crusts, keeping the portions as even as you can so the pies bake at the same rate. Stop filling below the liner edges to leave room for the soft centers.
Bake until the edges are set, then chill completely
Bake at 325°F for 20 to 25 minutes. The edges should look set while the centers still have a slight jiggle; don’t wait for the centers to look completely firm in the oven. Cool the pies in the pan for 30 minutes, then refrigerate them for at least 3 hours before serving. That chill firms the centers enough to handle and gives the flavors time to settle.
Two Crust Swaps That Keep These Little Pies in Balance
Make the crust gluten-free
Replace the regular graham cracker crumbs with finely crushed gluten-free graham-style crumbs, using the same amount. Choose a fine, dry crumb so it absorbs the melted butter evenly; depending on the brand, the baked base may be a touch more delicate.
Give the base a ginger snap
Use finely crushed gingersnap cookies in place of the graham cracker crumbs, keeping the crumb quantity the same. The crust will taste sweeter and more strongly spiced, which makes the pumpkin filling feel especially cozy without changing the filling method.
Storage and Reheating
- Refrigerator: Cover and refrigerate the pies for 3 to 4 days. The crumb base softens a little as it sits, while the filling stays creamy.
- Freezer: Freeze the fully chilled pies in a single layer until firm, then wrap them individually and store them in an airtight container for up to 1 month. Thaw them in the refrigerator before serving.
- Reheating: These are best served cold, so don’t microwave them. Heat will soften the filling and can make the butter in the crust greasy.
Questions That Come Up When Baking These Pumpkin Pies
Cheese and Cracker Pumpkin Pies
Ingredients
Equipment
Method
- Heat the oven to 350°F.
- Line a 12-cup standard muffin pan with paper liners.
- Stir the graham cracker crumbs, melted butter, and sugar together until evenly moistened.
- Divide the crumb mixture among the liners and press firmly into the bottoms.
- Bake for 8 minutes.
- Reduce the oven temperature to 325°F.
- Let the crusts cool in the pan.
- Beat the cream cheese and sugar in a medium bowl until smooth.
- Mix in the pumpkin, pumpkin pie spice, and salt.
- Beat in the eggs one at a time.
- Mix in the vanilla.
- Divide the filling among the crusts.
- Bake at 325°F for 20 to 25 minutes, until the edges are set and the centers still have a slight jiggle.
- Cool the pies in the pan for 30 minutes.
- Refrigerate for at least 3 hours before serving.