
Apple Crisp Cheesecake
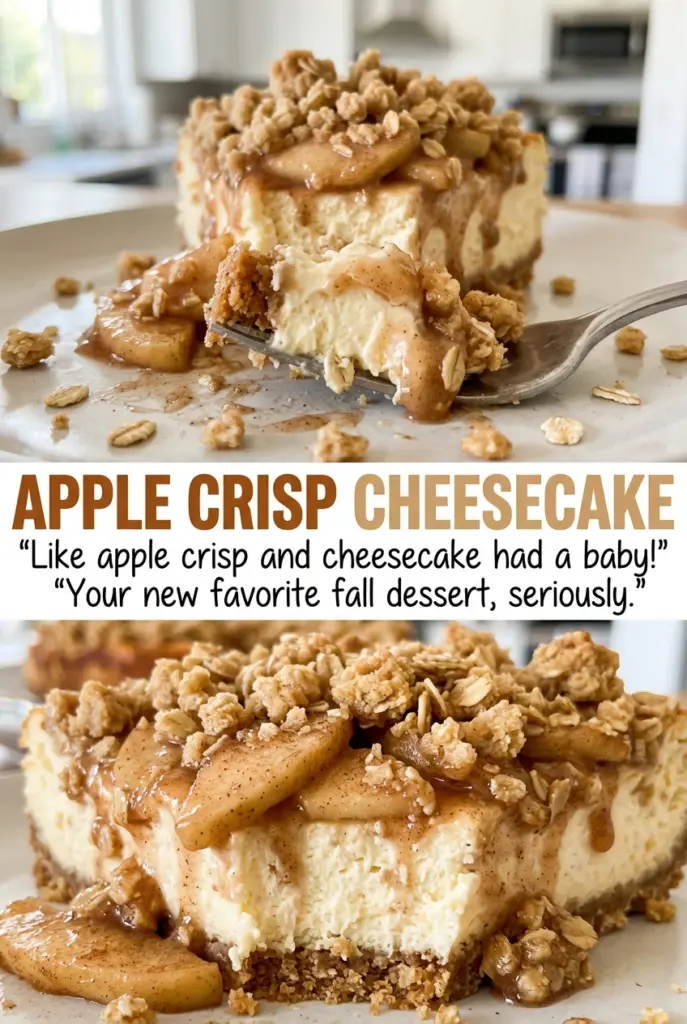
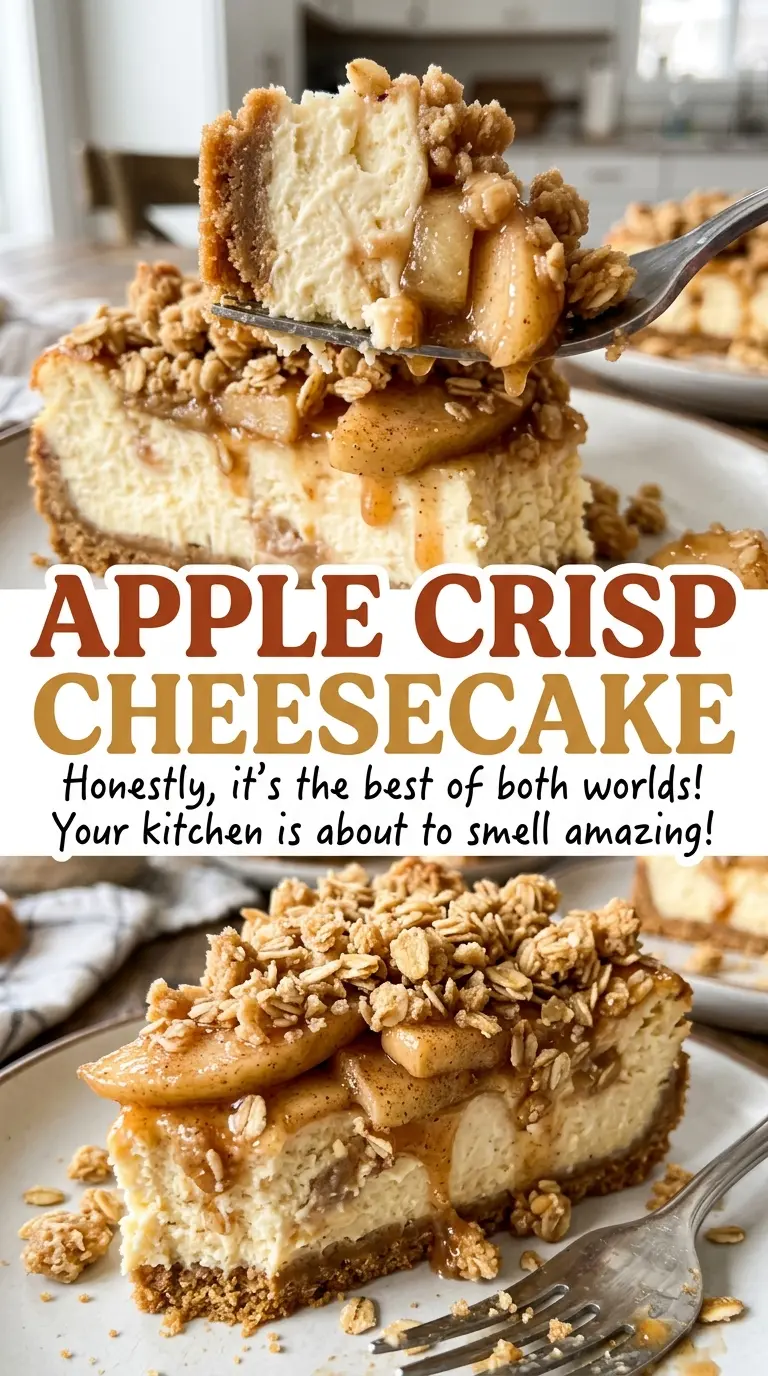
When I lift the springform ring, the apple slices are still easy to see over the creamy filling, and the graham cracker crust holds together under a fork. This Apple…
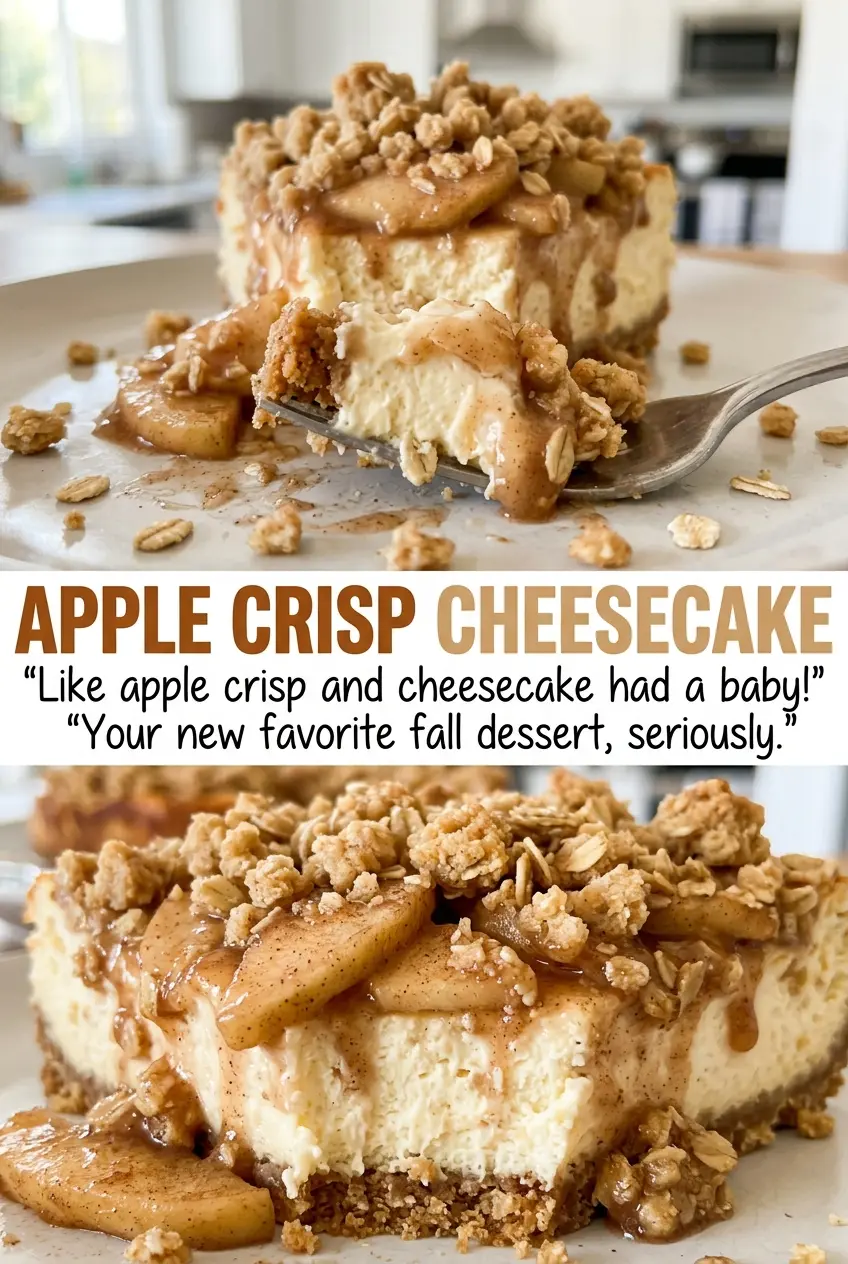
Tip: save now, cook later.When I lift the springform ring, the apple slices are still easy to see over the creamy filling, and the graham cracker crust holds together under a fork. This Apple Crisp Cheesecake brings the cinnamon-brown-sugar warmth of apple crisp to a classic baked cheesecake, with a buttery crust underneath and a crisp oat topping added at the end. It makes 12 servings, so each slice has a little of every layer.
Cheesecake needs a gentler landing than a quick trip from a hot oven to a cool counter. Turning off the oven, cracking the door, and leaving the cake inside for an hour gives it time to ease down in temperature before it cools completely. That gradual rest, followed by a long chill, helps the filling set into neat slices instead of looking loose in the middle. The finished cheesecake is cool and creamy, with tender spiced apples and a crisp topping that brings the crunch.
Kitchen Note
I get a smoother filling when the cream cheese, eggs, and sour cream aren’t refrigerator-cold. Give them time to lose that chill before mixing; cold ingredients are harder to blend into an even batter.
Save this Apple Crisp Cheesecake for its cinnamon apples, creamy center, and buttery oat crunch added just before serving.
Why the Crisp Topping Goes on After the Cheesecake Cools
The oat topping and the cheesecake need different kinds of baking. The topping gets its own time on a rimmed baking sheet, where the exposed oats and flour can turn golden and the small butter-bound clumps can dry into a crisp crumble. The apple-topped filling, meanwhile, needs a longer, gentler bake to set without turning the topping dark or overly firm.
Putting the crumble on at the end keeps that contrast intact. The apples bring moisture as they bake, and the chilled cheesecake is a soft, creamy base; a layer of crisp baked oats under those conditions would lose some of its crunch. Let the crumble cool completely on its own, then scatter it over the chilled cheesecake just before serving. You get tender fruit, smooth filling, and crisp bits in the same bite rather than a topping that has softened while the cake rests.
Why Granny Smith Apples and Cold Butter Matter Here
- Granny Smith apples — Their tartness gives the sweet filling a clean counterpoint, and their firm flesh holds its shape in the oven. Peeling and cutting them into even slices helps them soften at the same pace.
- Graham cracker crumbs — Fine, evenly crushed crumbs make a compact crust that slices cleanly. The standard grocery-store crumbs work well here; very coarse pieces are more likely to leave loose spots.
- Butter — Melted butter binds the crust, while cold cubed butter is cut into the topping to make little clumps. Keep those jobs distinct: softened topping butter blends in too readily and won’t give the same crumbly texture.
- Old-fashioned rolled oats — The broad flakes give the topping its crisp, hearty texture. Quick oats break down more finely, so they’re not the best choice for this particular crumble.
- Cream cheese and sour cream — Cream cheese gives the center its rich, dense structure, while sour cream loosens it slightly and adds a gentle tang. Use block cream cheese rather than a soft spread from a tub for a batter that sets as intended.
- Brown sugar and cinnamon — Brown sugar brings a molasses note to the crumble and apple layer, while cinnamon connects the fruit and topping. The sugars are divided between components, so measure them into separate portions before mixing.
The Order That Keeps the Crust, Filling, and Topping in Balance
Bake the Graham Cracker Base
Heat the oven to 350°F and grease the bottom and sides of a 9-inch springform pan. Stir the crumbs with the crust sugar and melted butter, then press the mixture firmly over the bottom; an even, compact layer is less likely to crumble when sliced. Bake for 8 to 10 minutes, until fragrant and set. Cool it on a wire rack, and lower the oven temperature to 325°F.
Give the Oat Crumble Its Own Bake
Combine the oats, topping flour, brown sugar, cinnamon, and salt, then cut in the cold butter until you see pea-size clumps. Spread them over a parchment-lined rimmed baking sheet so they brown evenly rather than steam in a thick pile. Bake at 325°F for 20 to 25 minutes, stirring once halfway through, until golden. Cool the crumble completely; warm topping can soften once it meets the cheesecake.
Mix the Filling Gently and Coat the Apples
Beat the cream cheese on medium-low until smooth, then add the sugar and filling flour and mix just until combined, scraping down the bowl as needed. Add the eggs one at a time on low speed, followed by the sour cream and vanilla, stopping when the batter looks smooth. Toss the apple slices with lemon juice, brown sugar, cinnamon, and flour until evenly coated. Pour the filling into the cooled crust and arrange the apples in an even layer over it.
Bake to a Set Edge, Then Cool Slowly
Bake at 325°F for 65 to 80 minutes. The edges should look set, and an instant-read thermometer inserted near the center should register 160°F; start checking toward the earlier end of the range, since ovens vary. Turn off the oven, crack the door, and leave the cheesecake inside for 1 hour. Cool it completely at room temperature, then refrigerate it in the pan for at least 6 hours before running a thin knife around the edge, releasing the ring, and adding the cooled topping just before serving.
When to Skip the Oats—and How to Make a Gluten-Free Version
A Gluten-Free Cheesecake
Use gluten-free graham cracker crumbs in place of the regular crumbs, a 1:1 gluten-free baking flour in place of the all-purpose flour, and certified gluten-free oats. Keep the same measurements and follow the same method. The topping may have a slightly different crumble, but the cinnamon apple and cheesecake layers stay familiar.
An Apple-Topped Cheesecake Without the Crumble
Leave off the crisp topping and serve the cheesecake with its baked cinnamon apples showing. The result is less crunchy and a little less rich on top, but the apple layer still gives each slice the familiar spiced-apple character. This is a useful option when you want a simpler finish without changing the cheesecake bake.
Storage and Reheating
- Refrigerator: Keep the cheesecake covered and chilled for up to 4 days. The topping gradually softens once it sits on the cake, so add it close to serving time.
- Freezer: Freeze the cheesecake without the topping, wrapped tightly, for up to 2 months. Thaw it overnight in the refrigerator, then add the separately stored crumble before serving.
- Reheating: This cheesecake is best served chilled and doesn’t need reheating. Warming it softens the filling and takes away the crisp texture of the topping.
Questions That Come Up Before This Cheesecake Goes in the Oven
Apple Crisp Cheesecake
Ingredients
Equipment
Method
- Heat the oven to 350°F.
- Grease the bottom and sides of a 9-inch springform pan.
- Stir the graham cracker crumbs with 2 tablespoons sugar and 5 tablespoons melted butter.
- Press the crumb mixture firmly over the bottom of the pan.
- Bake for 8 to 10 minutes, until fragrant and set.
- Cool the crust on a wire rack.
- Reduce the oven temperature to 325°F.
- Combine the oats, 1/2 cup flour, 1/3 cup brown sugar, 1/2 teaspoon cinnamon, and salt.
- Cut in 4 tablespoons cold butter until the mixture forms pea-size clumps.
- Spread the mixture on a parchment-lined rimmed baking sheet.
- Bake at 325°F for 20 to 25 minutes, stirring once halfway through, until golden.
- Cool the topping completely.
- Beat the cream cheese with an electric mixer on medium-low speed until smooth.
- Add 3/4 cup sugar and 2 tablespoons flour and beat just until combined, scraping down the bowl as needed.
- Add the eggs one at a time, mixing on low speed after each addition.
- Mix in the sour cream and vanilla just until smooth.
- Toss the apples with the lemon juice, 2 tablespoons brown sugar, 1 teaspoon cinnamon, and 1 tablespoon flour until evenly coated.
- Pour the filling into the cooled crust.
- Arrange the apples in an even layer on top.
- Bake at 325°F for 65 to 80 minutes, until the edges are set and an instant-read thermometer inserted near the center registers 160°F.
- Turn off the oven, crack the door, and leave the cheesecake inside for 1 hour.
- Remove the cheesecake and cool completely at room temperature.
- Refrigerate the cheesecake in the pan for at least 6 hours.
- Run a thin knife around the edge before releasing the springform ring.
- Scatter the cooled crisp topping over the cheesecake just before serving.
